
1. Introduction
The Milescraft DrillBlock drill guide jig is designed to assist in drilling straight holes consistently. Featuring an inserted metal drill guide, it minimizes errors during drilling. This drill block is versatile, allowing for drilling on various surfaces. Equipped with clear centerlines, it ensures accurate alignment for precise results.
2. Key Features
- Centerlines: Ensures accurate alignment when drilling into various surfaces.
- Non-slip Feet: Holds the DrillBlock in place, preventing slipping and marring on wooden workpieces.
- V-Grooves: Two integrated V-grooves allow for stable use on corners and cylindrical surfaces.
- Durable Construction: Made from reinforced nylon and metal for long-lasting performance.
- Multiple Drill Bit Sizes: Accommodates 6 common drill bit sizes: 1/8", 3/16", 1/4", 5/16", 3/8", and 1/2".
3. Setup
- Identify Drill Bit Size: Determine the required drill bit size for your project.
- Select Corresponding Bushing: Locate the matching metal bushing size on the Drill Block. The sizes are clearly marked (1/8", 3/16", 1/4", 5/16", 3/8", 1/2").
- Prepare Workpiece: Mark the drilling location on your material. Ensure the surface is clean and stable.
4. Operating Instructions
4.1. Drilling on Flat Surfaces
- Align the Drill Block's centerline with your marked drilling point on the flat surface.
- Press the Drill Block firmly against the surface, ensuring the non-slip feet provide stability.
- Insert your drill bit into the selected metal bushing.
- Begin drilling, maintaining steady pressure. The metal bushing will guide the drill bit, ensuring a straight hole.
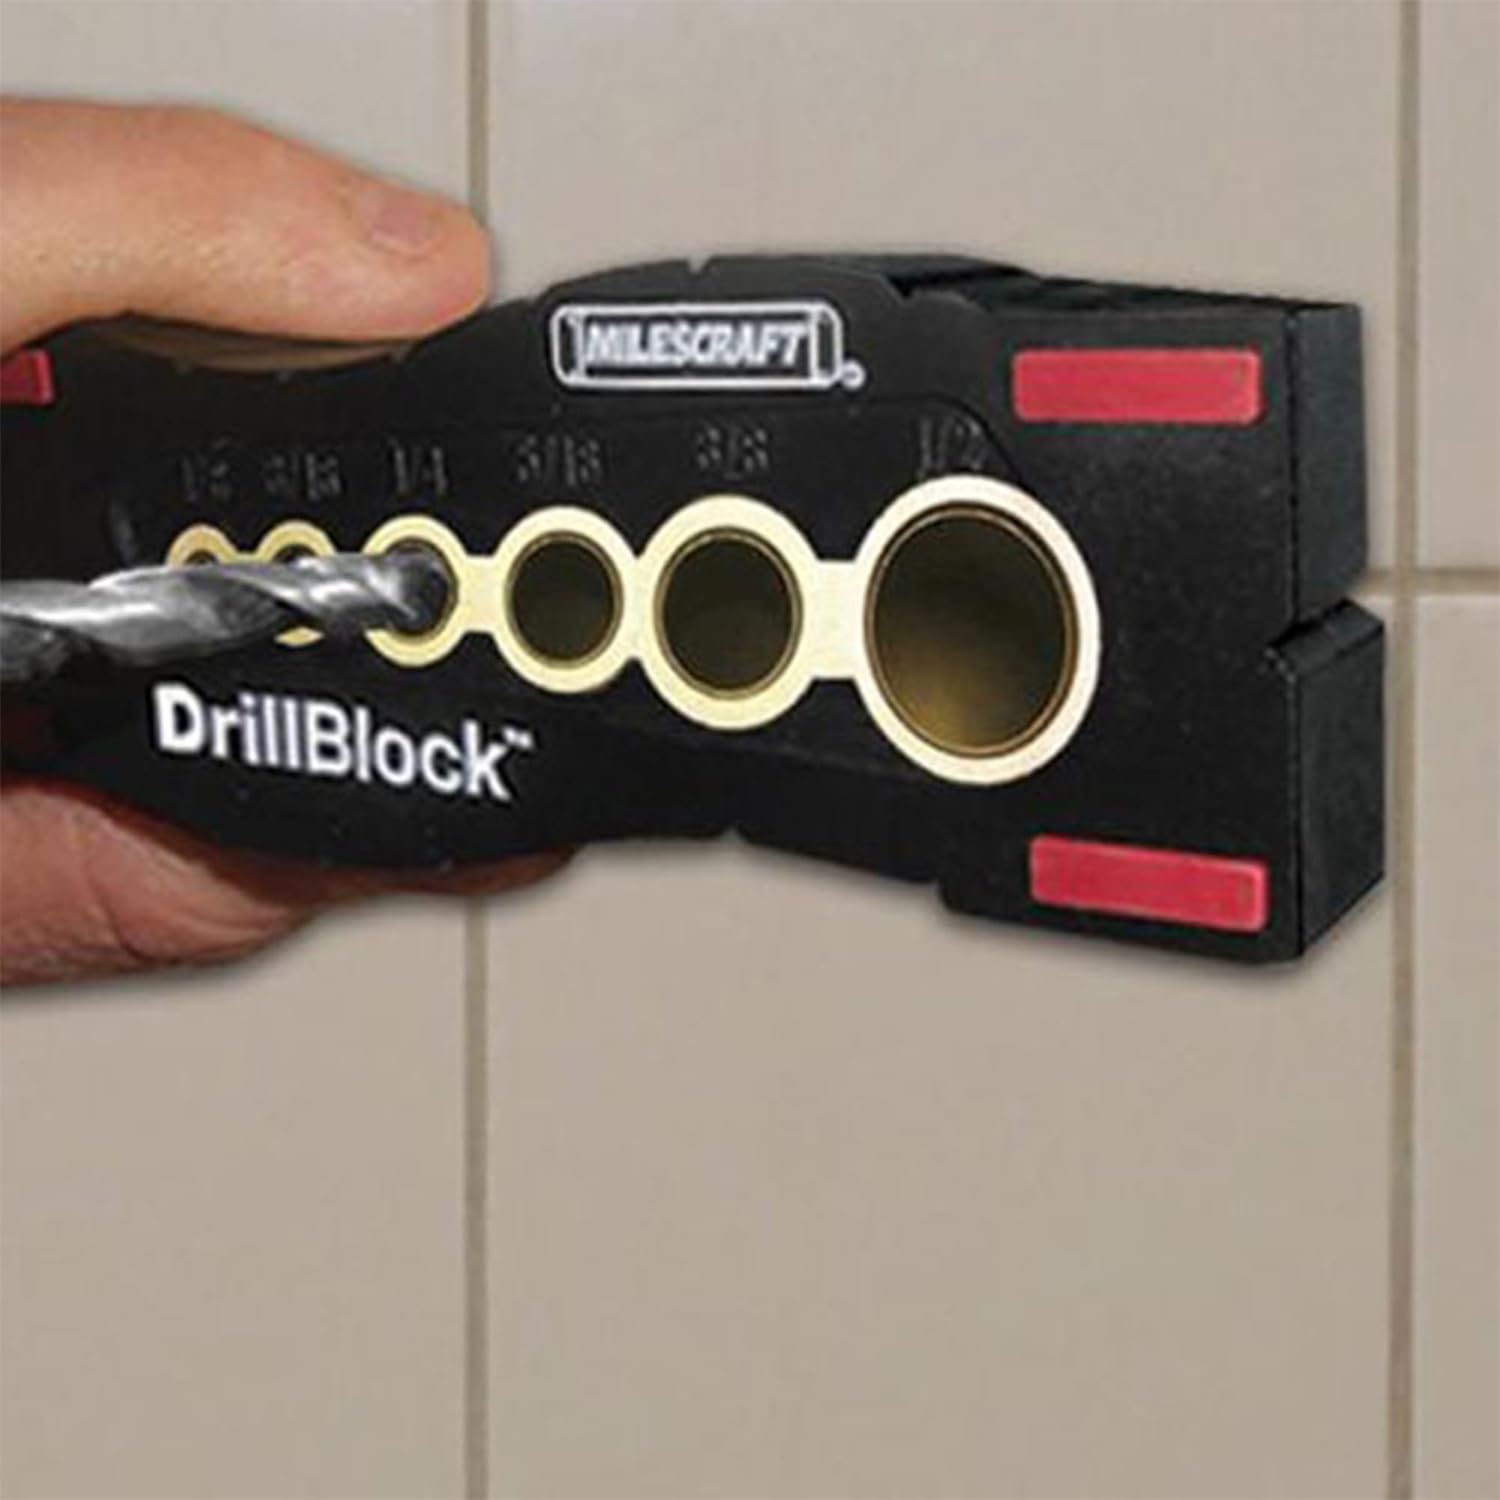
Image: Milescraft Drill Block used to drill a straight hole into a flat wooden surface.
4.2. Drilling on Rounded or Corner Surfaces
- For rounded materials (like pipes) or corners, position the Drill Block so that the V-groove on its underside cradles the material.
- Use the centerlines on the V-groove to align with your desired drilling point.
- Hold the Drill Block securely in place, ensuring it does not shift.
- Insert your drill bit into the appropriate bushing and drill through the material. The V-groove will help maintain perpendicularity.

Image: Milescraft Drill Block guiding a drill bit into a cylindrical pipe.
4.3. General Usage Tips
- Always ensure the Drill Block is held firmly against the workpiece to prevent movement and ensure accuracy.
- For very thick materials, consider drilling a pilot hole with a smaller bit size first, then upsizing to the final desired hole using the Drill Block.
- The non-slip TPE pads on both sides help prevent slipping and marring on surfaces.
Video: Official Milescraft demonstration of the 1312 Drill Block in use, showcasing its features and how to achieve straight holes.
5. Maintenance
- Cleaning: After each use, wipe down the Drill Block with a dry cloth to remove any dust or debris. Avoid harsh chemicals that may damage the material or non-slip pads.
- Storage: Store the Drill Block in a dry place, away from extreme temperatures, to prolong its lifespan.
6. Troubleshooting
- Holes are not straight: Ensure the Drill Block is held firmly and flat against the workpiece throughout the drilling process. Verify that the correct size bushing is being used for the drill bit.
- Drill Block is slipping: Check that the non-slip feet are clean and free of debris. Apply more pressure to the Drill Block against the workpiece. For very smooth or challenging surfaces, consider clamping the Drill Block if possible.
7. Specifications
| Model Number | 1312 |
| Item Weight | 3.52 ounces |
| Product Dimensions | 8 x 2.75 x 1.25 inches |
| Material | Reinforced Nylon and Metal |
| Included Drill Bit Sizes | 1/8", 3/16", 1/4", 5/16", 3/8", 1/2" |
8. Warranty & Support
For warranty information or technical support, please refer to the official Milescraft website or contact their customer service directly. Keep your purchase receipt for any warranty claims.


