
1. Introduction
Thank you for choosing the De'Longhi EO12562 Electric Mini-Oven. This appliance is designed for versatile cooking, baking, and grilling in a compact form factor. To ensure safe and efficient operation, please read this manual thoroughly before first use and retain it for future reference.
2. Important Safety Instructions
- Read all instructions before using the appliance.
- Do not touch hot surfaces. Use handles or knobs.
- To protect against electrical shock, do not immerse cord, plugs, or the appliance in water or other liquid.
- Close supervision is necessary when any appliance is used by or near children.
- Unplug from outlet when not in use and before cleaning. Allow to cool before putting on or taking off parts.
- Do not operate any appliance with a damaged cord or plug, or after the appliance malfunctions or has been damaged in any manner.
- The use of accessory attachments not recommended by the appliance manufacturer may cause hazards.
- Do not use outdoors.
- Do not let cord hang over edge of table or counter, or touch hot surfaces.
- Do not place on or near a hot gas or electric burner, or in a heated oven.
- Extreme caution must be used when moving an appliance containing hot oil or other hot liquids.
- Always attach plug to appliance first, then plug cord into the wall outlet. To disconnect, turn any control to 'off', then remove plug from wall outlet.
- Do not use appliance for other than intended use.
3. Product Overview
Familiarize yourself with the components of your De'Longhi EO12562 Mini-Oven.
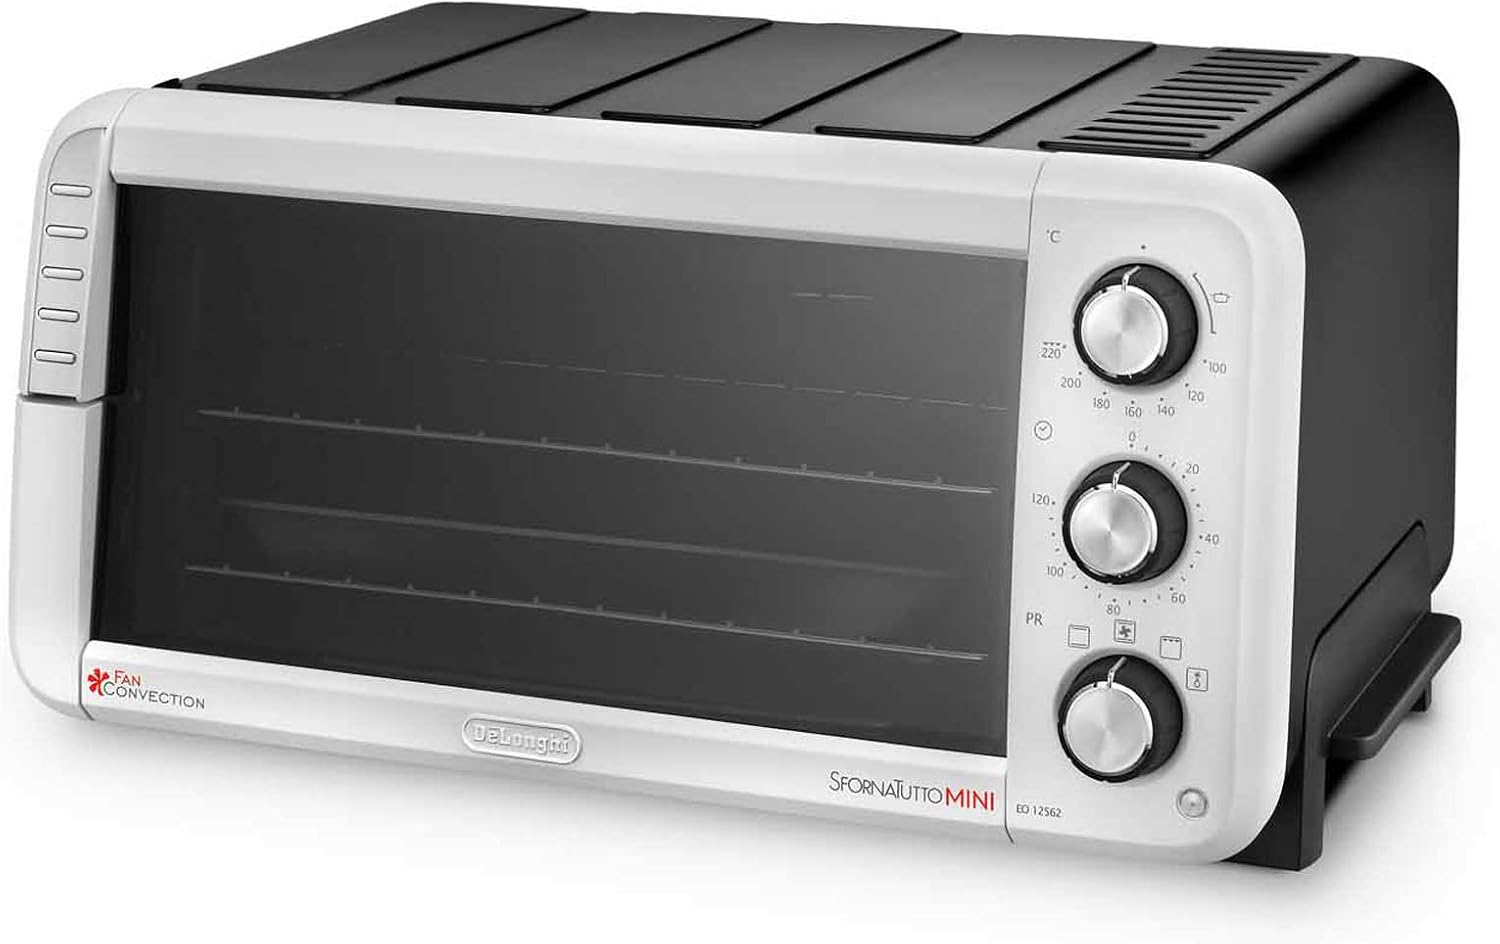
Figure 1: Angled view of the De'Longhi EO12562 Electric Mini-Oven, showcasing its compact design and control panel on the right side.

Figure 2: Frontal view of the De'Longhi EO12562 Electric Mini-Oven, highlighting the oven door and the three control knobs.
Control Panel

Figure 3: Close-up of the three control knobs on the De'Longhi EO12562. From top to bottom: Temperature, Function, and Timer.
- Temperature Knob: Used to select the desired cooking temperature.
- Function Knob: Used to select one of the five available cooking functions (e.g., convection bake, grill).
- Timer Knob: Used to set the cooking duration.
- Oven Door: Transparent glass door for viewing food.
- Heating Elements: Upper and lower heating elements.
- Rack/Tray: Removable rack and baking tray for food placement.
4. Setup
Unpacking
- Carefully remove the oven and all packaging materials.
- Remove any protective films or stickers from the appliance.
- Check for any damage during transit. If damaged, do not use and contact customer support.
Placement
- Place the oven on a stable, heat-resistant, and level surface.
- Ensure adequate ventilation around the oven. Maintain a minimum distance of 10 cm (4 inches) from walls and other appliances.
- Do not place the oven near flammable materials or under wall cabinets.
Initial Cleaning
Before first use, wipe the interior and exterior of the oven with a damp cloth. Wash the rack and baking tray with warm, soapy water. Dry all parts thoroughly.
First Use (Burn-in)
It is recommended to run the oven empty for approximately 15 minutes on the highest temperature setting with the convection function (if available) to burn off any manufacturing residues. A slight odor or smoke may be present during this process; ensure the area is well-ventilated.
5. Operating Instructions
General Operation
- Place the food on the baking tray or rack.
- Insert the tray/rack into the desired position inside the oven.
- Close the oven door securely.
- Plug the power cord into a suitable electrical outlet.
Selecting Temperature and Function
- Turn the Temperature Knob to the desired cooking temperature (e.g., 180°C, 200°C).
- Turn the Function Knob to select one of the five available cooking modes. Common functions include:
- Bake: Uses both upper and lower heating elements for general baking.
- Grill: Uses only the upper heating element for grilling and browning.
- Convection Bake: Uses both heating elements with a fan for even heat distribution and faster cooking.
- Defrost: Gentle heat or fan-only for thawing.
- Keep Warm: Low temperature to keep food warm.

Figure 4: Interior view of the oven showing a roast cooking, with red arrows illustrating the circulation of hot air during convection cooking.
Using the Timer
- Turn the Timer Knob clockwise to set the desired cooking time (up to 120 minutes).
- The oven will start heating once the timer is set.
- When the set time elapses, the oven will automatically turn off and a bell will sound.
- To turn off the oven manually before the timer finishes, turn the timer knob counter-clockwise to the 'OFF' position.

Figure 5: Interior view of the oven with chicken pieces and vegetables cooking on a wire rack, demonstrating the oven's capacity and rack usage.
6. Cleaning and Maintenance
Regular cleaning ensures optimal performance and extends the life of your oven.
Cleaning
- Always unplug the oven from the power outlet and allow it to cool completely before cleaning.
- Wipe the exterior surfaces with a damp cloth and mild detergent. Do not use abrasive cleaners or metal scouring pads.
- Remove the baking tray and wire rack. Wash them in warm, soapy water. For stubborn stains, soak them before cleaning.
- Clean the interior of the oven with a damp cloth and mild detergent. Avoid getting water into the heating elements or fan opening.
- The glass door can be cleaned with a glass cleaner.
- Ensure all parts are thoroughly dry before reassembling and using the oven.
Maintenance
- Periodically check the power cord for any signs of damage.
- Do not attempt to repair the oven yourself. Contact qualified service personnel for any repairs.
7. Troubleshooting
| Problem | Possible Cause | Solution |
|---|---|---|
| Oven does not turn on. | Not plugged in; power outage; timer not set. | Ensure plug is securely in outlet; check household circuit breaker; set the timer knob. |
| Food not cooking evenly. | Incorrect temperature/function; oven overloaded; improper rack position. | Verify temperature and function settings; avoid overcrowding the oven; try a different rack position. |
| Smoke or unusual odor during operation. | Food spills; initial burn-in; residue from cleaning products. | Clean oven interior thoroughly; ensure proper ventilation during initial use; ensure all cleaning product residue is removed. |
| Timer does not advance or stops. | Timer mechanism issue. | Ensure the timer knob is turned past the 'OFF' position to engage the mechanism. If problem persists, contact customer support. |
8. Specifications
| Feature | Specification |
|---|---|
| Model Number | EO12562 |
| Brand | De'Longhi |
| Capacity | 12 Liters |
| Wattage | 1400 watts |
| Voltage | 230 Volt |
| Dimensions (L x W x H) | 46 x 32.41 x 23.01 cm |
| Weight | 8 kg (17.64 lbs) |
| Material | Glass (door) |
| Special Features | Scratch-resistant |
| Functions | 5 cooking functions (e.g., Bake, Grill, Convection) |
9. Warranty and Support
This product is covered by a manufacturer's warranty. Please refer to the warranty card included with your purchase for specific terms and conditions. For technical assistance, spare parts, or repair services, please contact De'Longhi customer support through their official website or the contact information provided in your product documentation.