1. Introduction
Thank you for choosing the Excalibur X12.1BR 12-inch Car Subwoofer. This passive subwoofer, pre-installed in an optimized bass reflex enclosure, is designed to deliver deep and powerful bass to your vehicle's audio system. With a maximum power of 1000W and 300W RMS, it provides significant acoustic impact. This manual provides essential information for proper installation, operation, and maintenance to ensure optimal performance and longevity of your subwoofer.
2. Safety Information
Please read all safety instructions carefully before installing and operating this product. Failure to do so may result in injury or damage to the equipment.
- Professional Installation Recommended: For optimal performance and safety, professional installation by a qualified car audio technician is highly recommended.
- Power Source: Ensure the vehicle's battery is disconnected before any wiring to prevent electrical shorts.
- Ventilation: Ensure adequate ventilation around the subwoofer enclosure to prevent overheating.
- Wiring: Use appropriate gauge wiring for power, ground, and speaker connections. Incorrect wiring can cause damage to the subwoofer or amplifier.
- Volume Levels: Prolonged exposure to high sound pressure levels can cause permanent hearing damage. Operate the system at moderate volume levels.
- Secure Mounting: Always secure the subwoofer enclosure properly in the vehicle to prevent it from shifting during sudden stops or accidents.
3. Package Contents
Verify that all items are present in the package:
- Excalibur X12.1BR Subwoofer (pre-installed in bass reflex enclosure)
4. Setup and Installation
The Excalibur X12.1BR is designed for straightforward integration into your car audio system. It requires an external amplifier for operation.
4.1. Placement
The compact design of the enclosure makes it suitable for placement in the vehicle's trunk. Ensure the subwoofer is placed in a stable position and securely fastened to prevent movement. Avoid blocking the side port for optimal bass reflex performance.

Figure 1: Angled view of the Excalibur X12.1BR subwoofer in its bass reflex enclosure. Note the side port for enhanced bass.
4.2. Wiring Connections
The subwoofer features side input terminals for quick and secure connection to your external amplifier. The subwoofer has a standard impedance of 4 Ohm.
- Disconnect Battery: Before making any electrical connections, disconnect the negative terminal of your vehicle's battery.
- Connect Speaker Wires: Connect the positive (+) terminal of the subwoofer to the positive (+) speaker output of your amplifier. Connect the negative (-) terminal of the subwoofer to the negative (-) speaker output of your amplifier. Ensure a secure connection at both ends.
- Amplifier Connection: Refer to your amplifier's instruction manual for proper power, ground, and remote turn-on connections.
- Reconnect Battery: Once all connections are secure and verified, reconnect the vehicle's battery.

Figure 2: Close-up view of the side input terminals on the Excalibur X12.1BR subwoofer enclosure, ready for amplifier connection.
5. Operation
Once installed, the Excalibur X12.1BR subwoofer will work in conjunction with your external amplifier to produce deep bass frequencies.
5.1. Initial Power-Up and Settings
- Turn on System: Power on your car audio system and amplifier.
- Adjust Amplifier Gain: Start with the amplifier's gain control at its minimum setting. Gradually increase the gain until the subwoofer output blends smoothly with your main speakers without distortion.
- Set Low-Pass Filter (LPF): Use the low-pass filter on your amplifier to control the upper frequency limit of the subwoofer. A common starting point is between 80Hz and 120Hz. Adjust to your preference for seamless integration.
- Phase Control: If your amplifier has a phase control (0°/180°), experiment with both settings to find the one that provides the most impactful and coherent bass response.
The subwoofer has a frequency response range of 35Hz to 1000Hz and a sensitivity of 94dB, allowing it to efficiently convert amplifier power into volume.
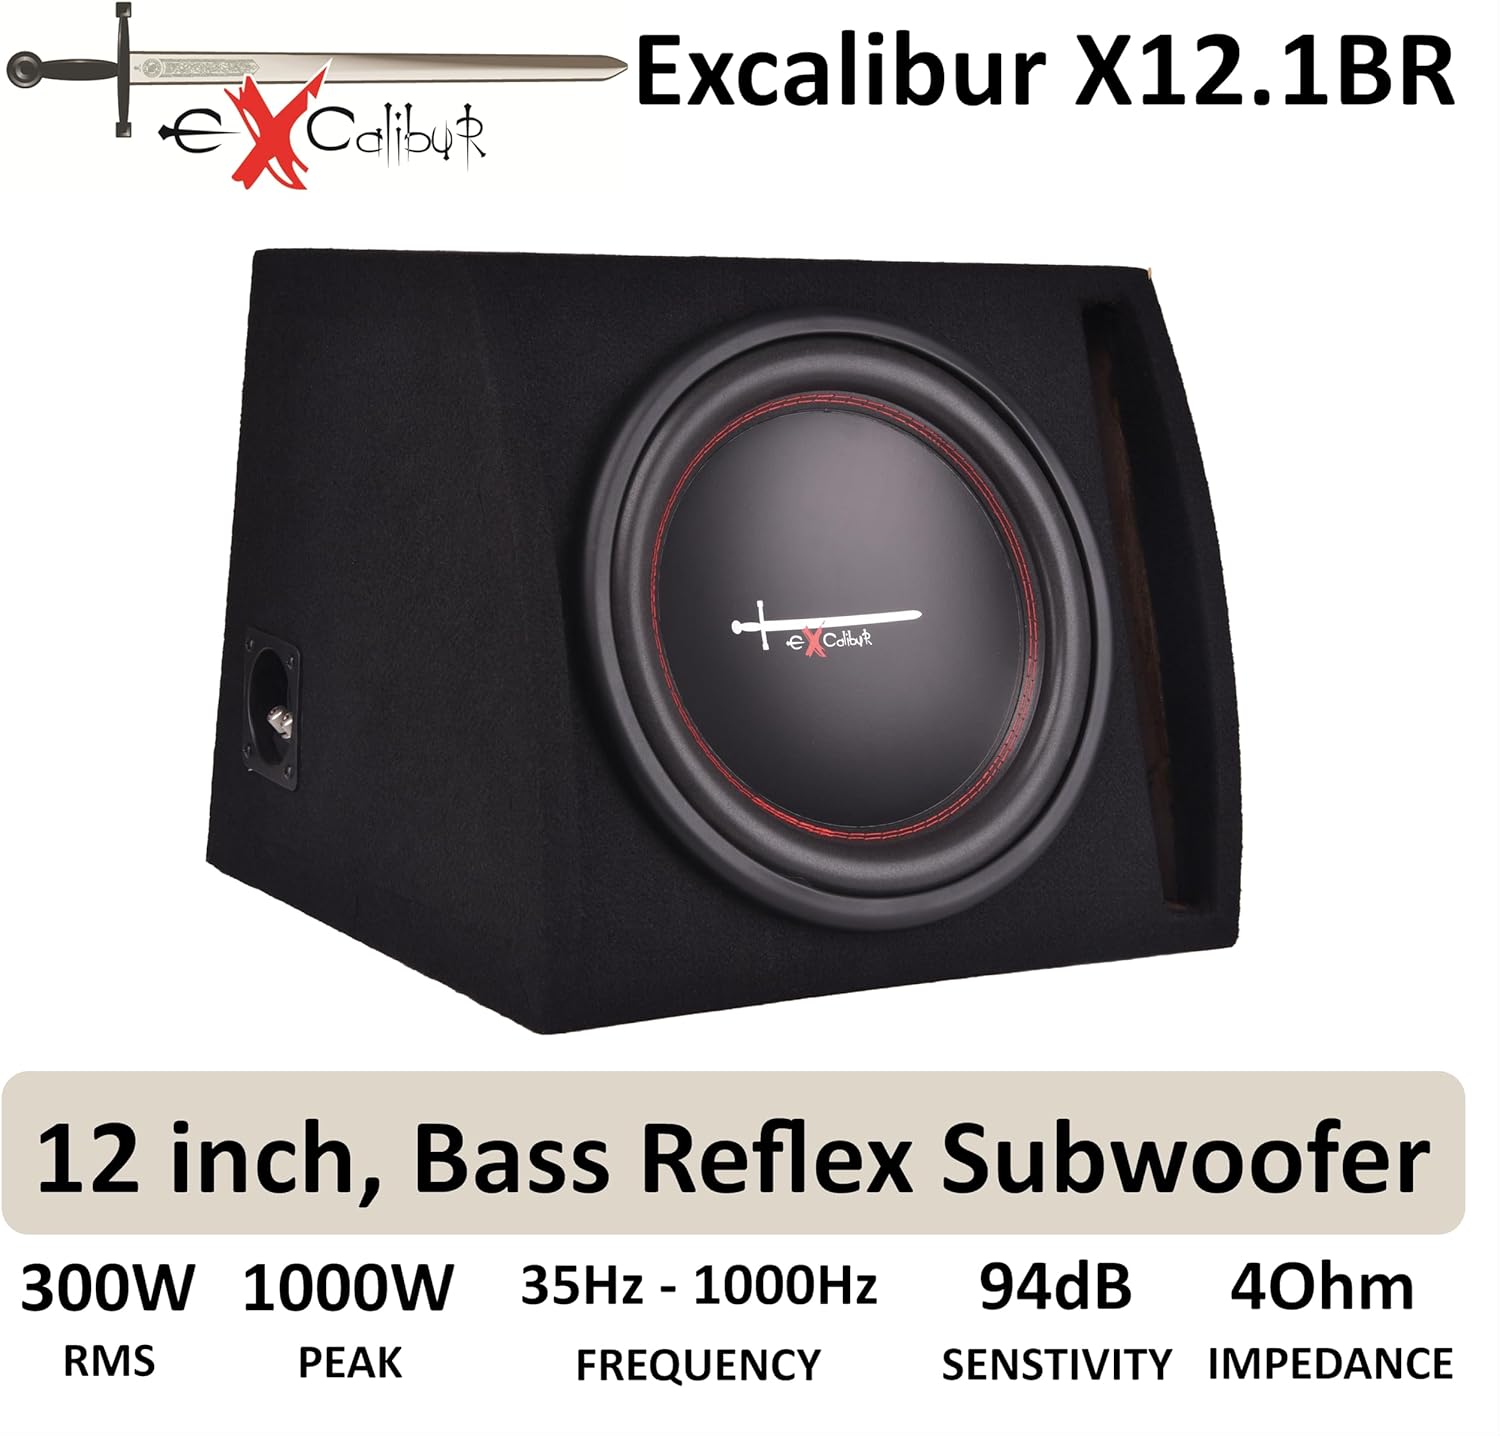
Figure 3: The Excalibur X12.1BR subwoofer highlighting its key specifications: 300W RMS, 1000W Peak, 35Hz-1000Hz Frequency, 94dB Sensitivity, and 4 Ohm Impedance.
6. Maintenance
The Excalibur X12.1BR subwoofer is designed for durability. Regular maintenance is minimal but important for longevity.
- Cleaning: The enclosure is covered with durable black felt. Use a soft, dry cloth or a vacuum cleaner with a brush attachment to gently clean the surface and remove dust or debris. Avoid using liquid cleaners directly on the enclosure or speaker cone.
- Inspection: Periodically check all wiring connections to ensure they remain tight and free from corrosion. Inspect the speaker cone for any signs of damage.
- Environmental Factors: Avoid exposing the subwoofer to extreme temperatures, direct sunlight for prolonged periods, or excessive moisture.
7. Troubleshooting
If you experience issues with your Excalibur X12.1BR subwoofer, refer to the following common problems and solutions:
| Problem | Possible Cause | Solution |
|---|---|---|
| No sound from subwoofer |
|
|
| Distorted or weak bass |
|
|
| Subwoofer cuts out |
|
|
If the problem persists after trying these solutions, consult a professional car audio technician.
8. Specifications
Detailed technical specifications for the Excalibur X12.1BR Subwoofer:
| Feature | Specification |
|---|---|
| Brand | Excalibur |
| Model Name | BM X121BR |
| Subwoofer Diameter | 12 Inches (30 cm) |
| Speaker Type | Component (in Bass Reflex Enclosure) |
| Maximum Speaker Output Power | 1000 Watts (Peak) |
| RMS Power | 300 Watts |
| Impedance | 4 Ohms |
| Sensitivity | 94 dB |
| Frequency Response | 35Hz - 1000Hz |
| Enclosure Type | Bass Reflex with Side Port |
| Color | Black |
| Product Dimensions (L x W x H) | 40.4 x 35.4 x 26 cm |
| Product Weight | 8 Kilograms |
| Power Source | Corded Electric |
| Connectivity Technology | Auxiliary (Wired) |
| Is Waterproof | False |
| Manufacturer | AutoStyle |
| Country of Origin | China |

Figure 4: Overview of the Excalibur X12.1BR subwoofer, highlighting its deep bass capability, bass reflex design, and compact enclosure.
9. Warranty and Support
For warranty information and technical support, please refer to the documentation provided with your purchase or contact the retailer where the product was acquired. You may also visit the official Excalibur website for further assistance.