1. Introduction
This manual provides essential information for the safe installation, operation, and maintenance of your Rabalux 3353 Alabastro Ceiling Lamp. Please read these instructions carefully before installation and retain them for future reference.
1.1. Safety Information
- Always disconnect the power supply before installation, maintenance, or bulb replacement.
- Installation should be performed by a qualified electrician to ensure compliance with local wiring regulations.
- Do not exceed the maximum wattage specified for the bulbs.
- Ensure the lamp is securely mounted to a suitable ceiling structure.
- This product is designed for indoor use only (IP20 rating).
2. Package Contents
Verify that all components are present before beginning installation:
- Rabalux 3353 Alabastro Ceiling Lamp body (metal frame)
- Glass shade (alabaster/bronze claw finish)
- Mounting hardware (screws, wall plugs, mounting bracket)
- Instruction manual
Note: Light bulbs are not included and must be purchased separately.
3. Setup and Installation
Follow these steps for safe and proper installation of your ceiling lamp.
3.1. Pre-Installation
- Turn off the main power supply at the circuit breaker or fuse box.
- Unpack all components and inspect for any damage. Do not install if damaged.
- Identify the desired mounting location on the ceiling. Ensure it can support the weight of the lamp.
3.2. Mounting the Lamp
- Attach the mounting bracket to the ceiling using the provided screws and wall plugs. Ensure it is firmly secured.
- Connect the electrical wires from the ceiling to the lamp's terminal block. Ensure correct polarity (Live to Live, Neutral to Neutral, Earth to Earth).
- Carefully lift the lamp body and secure it to the mounting bracket.
- Install two E27 bulbs (max 60W each) into the lamp holders.
- Attach the glass shade to the lamp body, ensuring it is securely fastened.

Figure 1: Lamp Dimensions (Diameter: 400mm)
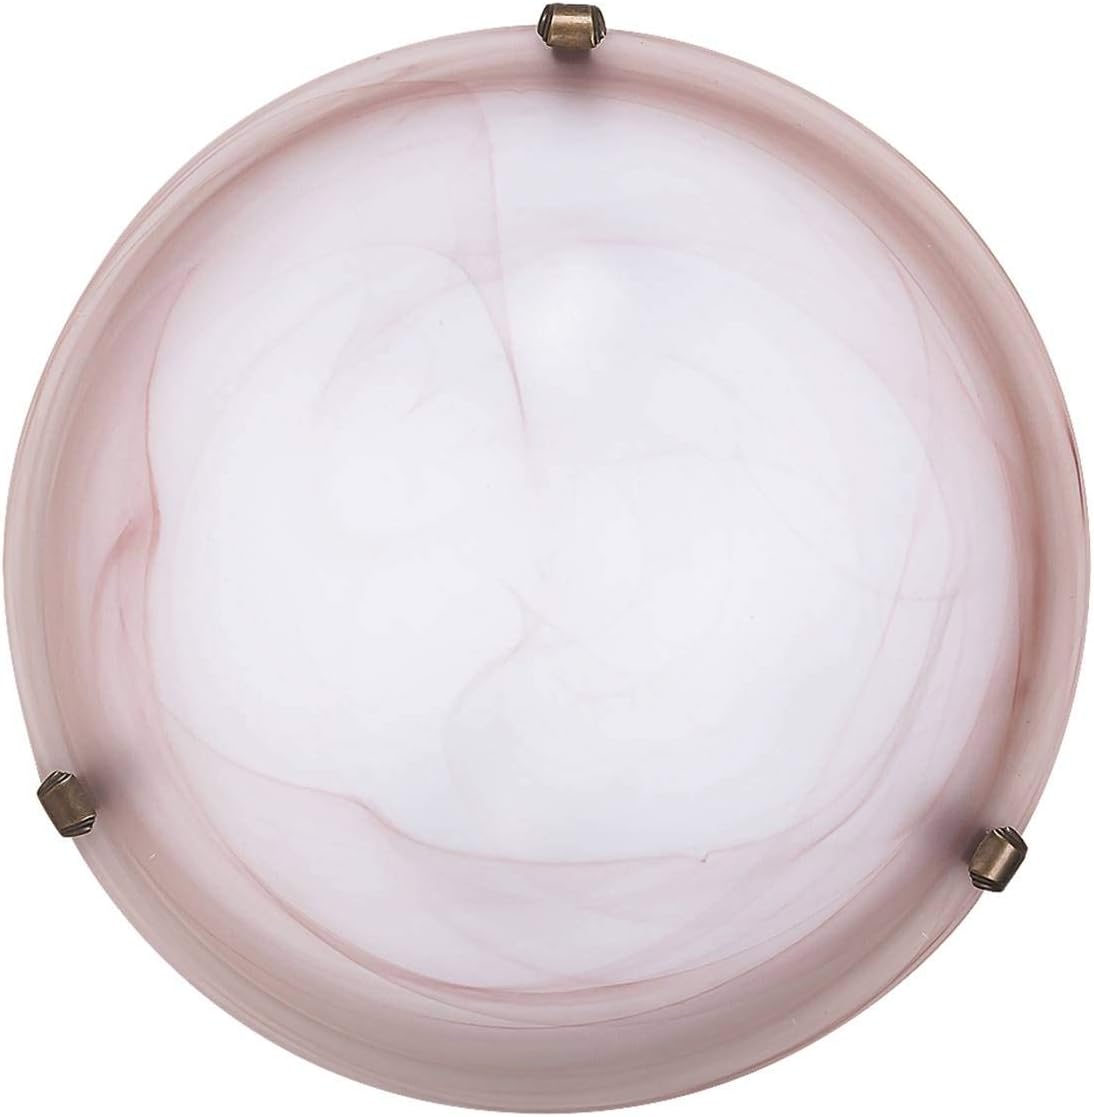
Figure 2: Rabalux 3353 Alabastro Ceiling Lamp
4. Operating Instructions
Once installed, the Rabalux 3353 Alabastro Ceiling Lamp is operated via a standard wall switch.
4.1. Turning On/Off
Flip the wall switch connected to the lamp to turn it on or off.
4.2. Dimming Function
This lamp is dimmable. If connected to a compatible dimmer switch and using dimmable E27 bulbs, you can adjust the light intensity according to your preference. Refer to your dimmer switch's instructions for specific operation.
5. Maintenance
Regular maintenance ensures the longevity and optimal performance of your lamp.
5.1. Cleaning
- Always disconnect power before cleaning.
- Wipe the metal and glass surfaces with a soft, dry, or slightly damp cloth.
- Do not use abrasive cleaners, solvents, or harsh chemicals, as these can damage the finish.
5.2. Bulb Replacement
- Ensure the lamp is cool and power is disconnected.
- Carefully remove the glass shade.
- Unscrew the old E27 bulb and screw in a new one. Ensure the new bulb does not exceed 60W.
- Reattach the glass shade securely.
For information on cleaning and disposing of broken or deteriorated bulbs, please consult local guidelines.
6. Troubleshooting
If you encounter issues with your lamp, try these basic troubleshooting steps:
- Lamp not turning on: Check if the power supply is connected and the wall switch is on. Verify that the bulbs are correctly installed and not faulty. Check the circuit breaker.
- Dimming not working: Ensure you are using dimmable E27 bulbs and a compatible dimmer switch.
- Flickering light: This could indicate a loose bulb, an incompatible dimmer, or a faulty bulb.
If problems persist after performing these checks, consult a qualified electrician.
7. Specifications
| Feature | Specification |
|---|---|
| Brand | Rabalux |
| Model | 3353 Alabastro |
| Material | Metal (housing), Glass (shade) |
| Color | Brown / Bronze claw |
| Diameter | 400 mm |
| Weight | 2.05 kg |
| Bulb Type | E27 |
| Number of Bulbs | 2 |
| Max Wattage per Bulb | 60 W |
| Dimmable | Yes |
| Protection Class | IP20 |
| Power Source | Corded Electric |
| EU Energy Label Compatibility | A++ - E |

Figure 3: EU Energy Label Compatibility
8. Warranty and Support
For warranty information and customer support, please refer to the documentation provided at the point of purchase or visit the official Rabalux website. You can also visit the Rabalux Brand Store for more products and information.


