
1. Product Overview
This manual provides essential information for the installation, operation, and maintenance of your Briggs & Stratton 317054GS pressure washer pump. This genuine Briggs & Stratton replacement pump is designed to meet OEM standards, ensuring optimal performance and compliance with emission regulations for your outdoor power equipment.
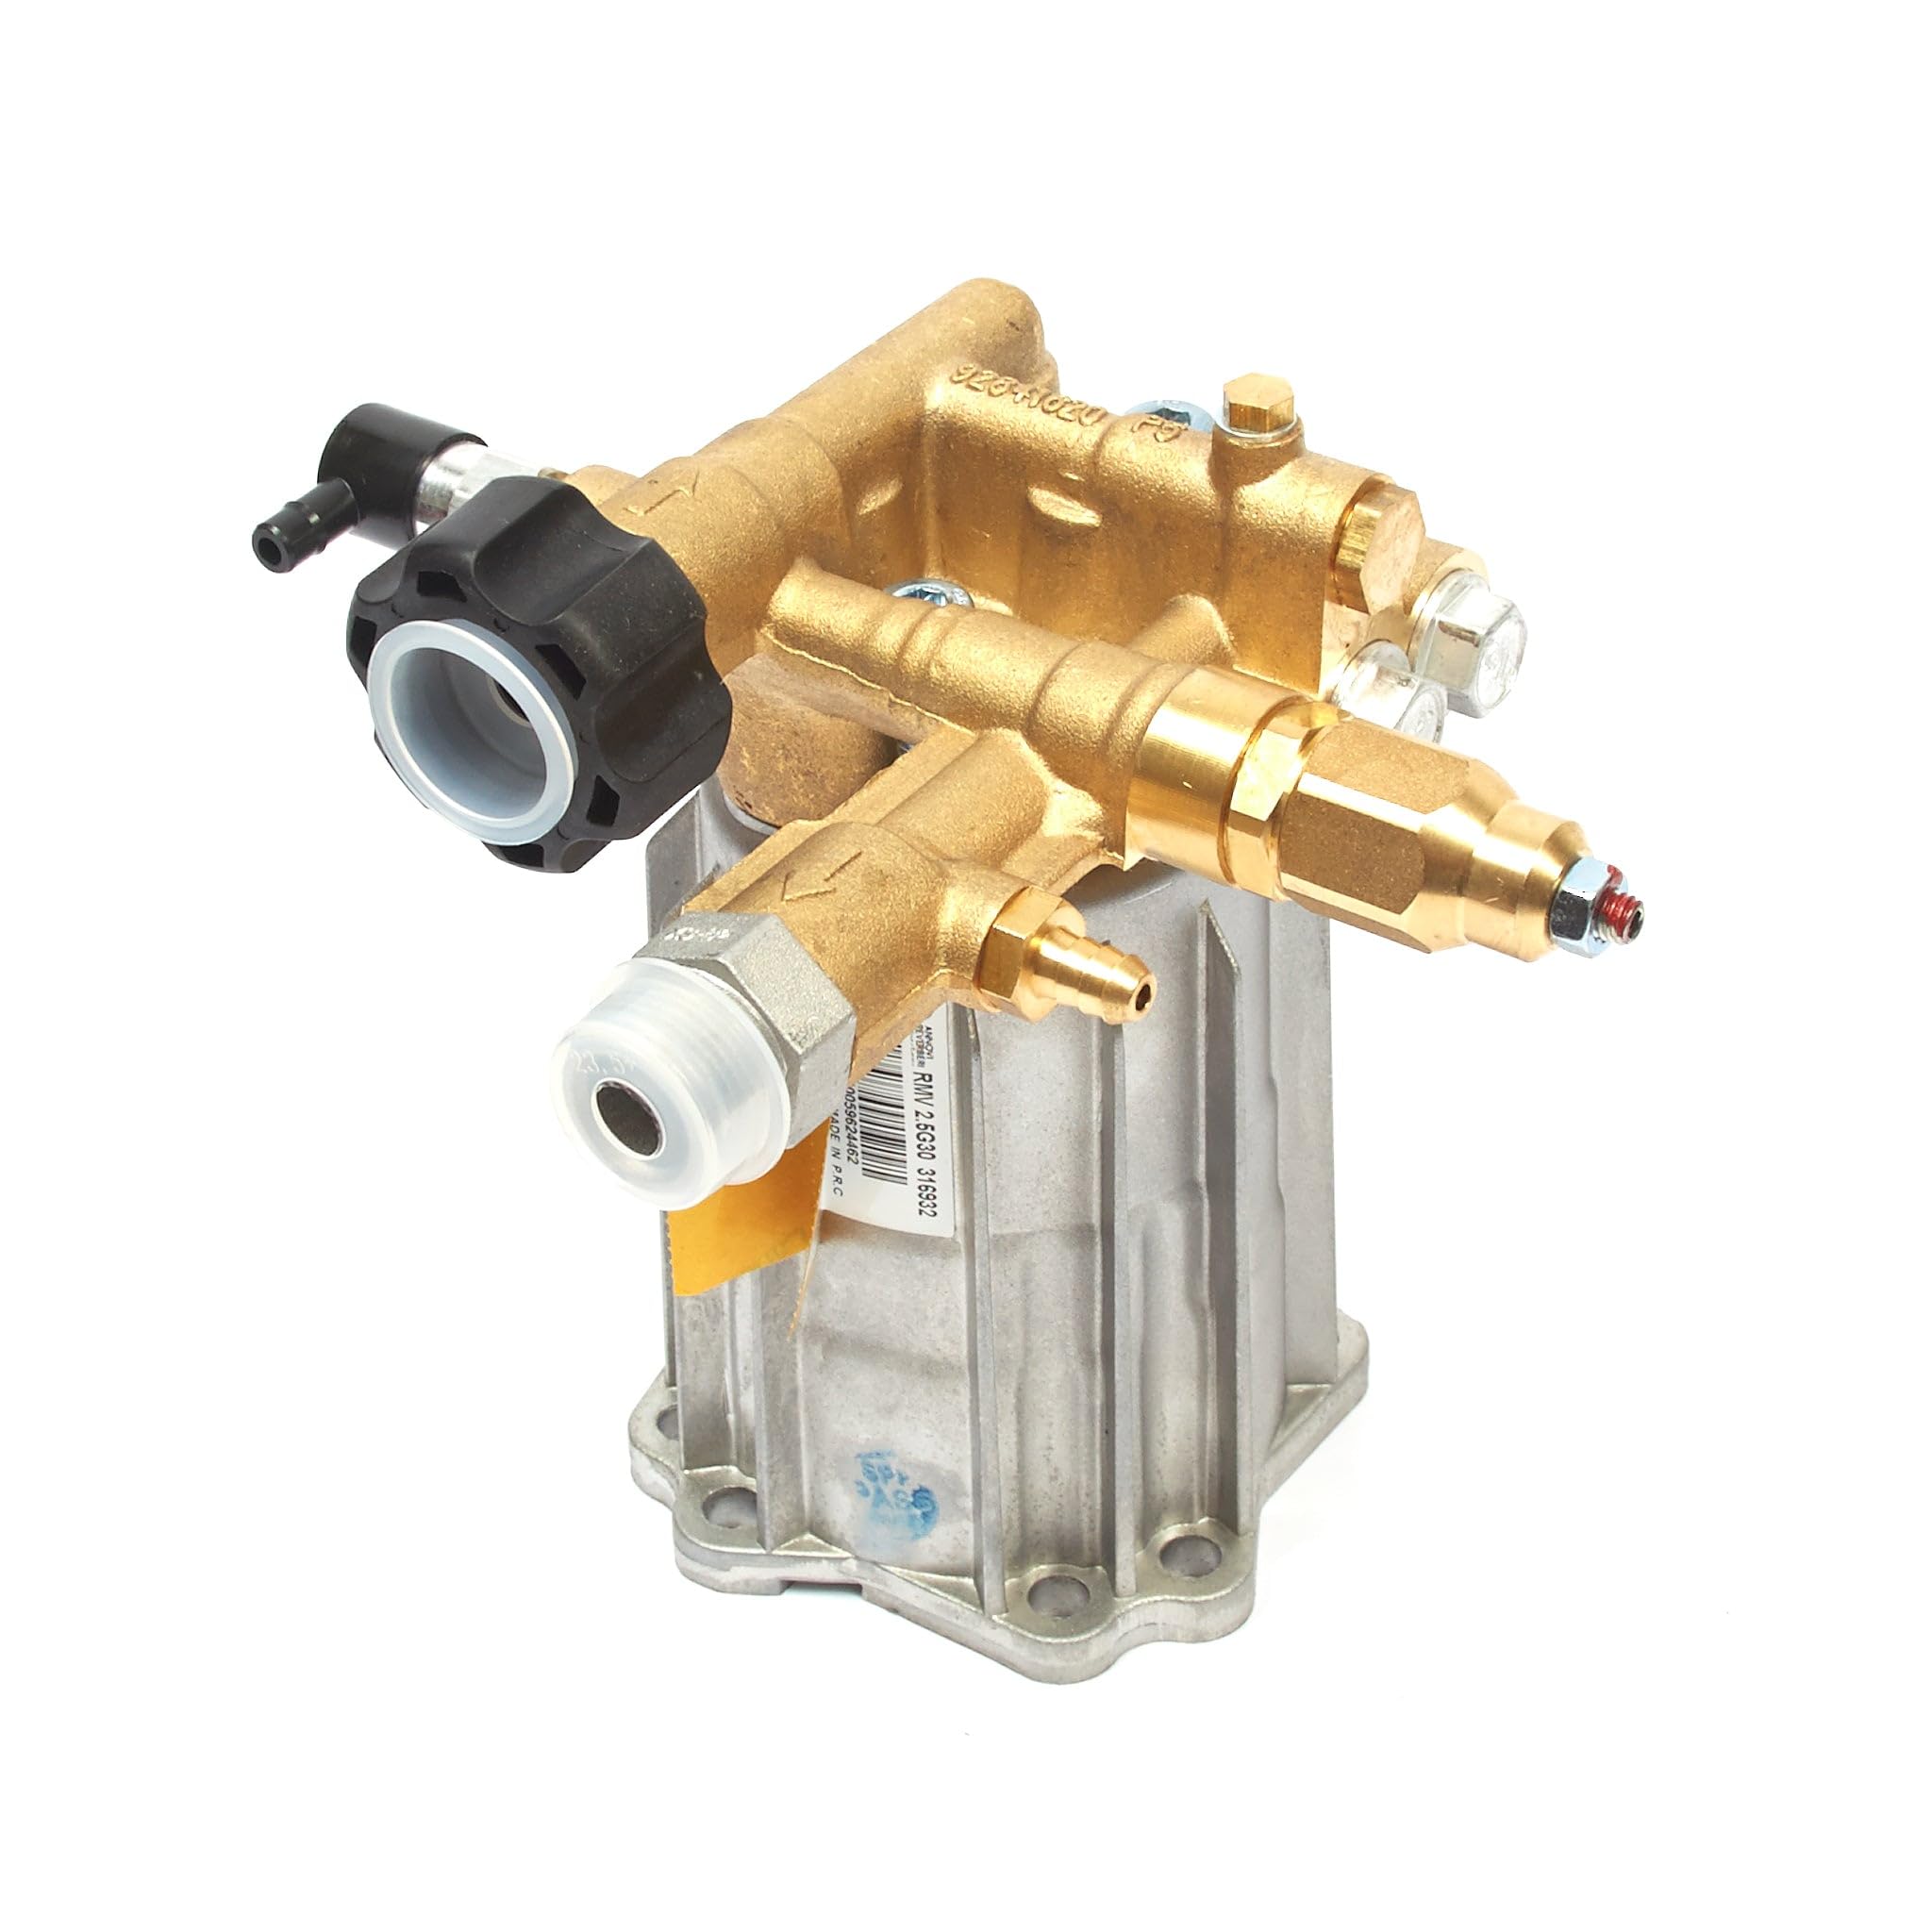
Image 1.1: Front view of the Briggs & Stratton 317054GS Pressure Washer Pump.
The 317054GS pump replaces several older Briggs & Stratton pump models, including 203901GS, 194106GS, 193486GS, 189943GS, 190765GS, A1655GS, 190151GS, 189943, 193486, and 194106.
2. Installation and Setup
Proper installation is crucial for the longevity and performance of your new pump. Always ensure the pressure washer engine is turned off and cooled down before beginning any installation or maintenance procedures. Disconnect the spark plug wire to prevent accidental starting.
2.1 Required Tools
- Wrench set
- Socket set
- Pliers
- Thread sealant tape (Teflon tape)
- Drain pan (for old oil/water)
2.2 Removing the Old Pump
- Drain any remaining water from the old pump and hoses.
- Disconnect all hoses (water inlet, high-pressure outlet, detergent siphon tube) from the old pump.
- Locate and remove the mounting bolts that secure the pump to the engine. There are typically 3 or 4 bolts.
- Carefully pull the old pump away from the engine. Be aware that some residual oil or water may drip out.
2.3 Installing the New Pump

Image 2.1: Side view of the pump, highlighting mounting points and connections.
- Ensure the engine shaft and the pump's input shaft are clean and free of debris.
- Align the new 317054GS pump with the engine shaft and the mounting holes.
- Gently slide the pump onto the engine shaft. Do not force it. If resistance is met, check alignment.
- Insert and hand-tighten the mounting bolts.
- Tighten the mounting bolts evenly with a wrench, following the manufacturer's torque specifications if available.
- Reconnect all hoses:
- Water Inlet: Connect your garden hose to the inlet port. Ensure a tight, leak-free connection.
- High-Pressure Outlet: Connect your high-pressure hose to the outlet port. Use thread sealant tape if necessary.
- Detergent Siphon Tube: If applicable, connect the detergent siphon tube.

Image 2.2: Top-down view of the pump, showing inlet, outlet, and pressure regulator.
2.4 Initial Start-up
- Reconnect the spark plug wire.
- Connect the garden hose to a water supply and turn on the water fully.
- Squeeze the pressure washer gun trigger to purge air from the pump and hoses until a steady stream of water emerges. This prevents damage from dry running.
- Start the pressure washer engine according to its operating instructions.
- Allow the engine to run for a few minutes and check for any leaks or unusual noises.
3. Operating Instructions
Once the pump is installed, operate your pressure washer according to the original equipment manufacturer's instructions. Always ensure a continuous and adequate water supply to prevent pump damage.
3.1 Water Supply
- Use a clean water source.
- Ensure the garden hose is at least 5/8 inch in diameter and no longer than 50 feet to maintain sufficient water flow.
- Never run the pump dry. Always have water flowing through the pump before starting the engine.
3.2 Pressure Adjustment
The pump features a pressure regulator (often a black knob, as seen in Image 2.2) that allows for adjustment of the output pressure. Turn clockwise to increase pressure and counter-clockwise to decrease pressure. Always test on an inconspicuous area first.
3.3 Shutting Down
- Turn off the pressure washer engine.
- Turn off the water supply.
- Squeeze the trigger on the spray gun to release any remaining pressure in the system.
- Disconnect hoses.
4. Maintenance
Regular maintenance extends the life of your pressure washer pump and ensures consistent performance.4.1 After Each Use
- Flush the Pump: Run clean water through the pump for a few minutes to remove any detergent or chemical residues.
- Inspect Hoses and Connections: Check for leaks, cuts, or damage. Replace as needed.
- Clean Inlet Filter: Inspect and clean the water inlet filter screen to prevent debris from entering the pump.
4.2 Seasonal Storage (Winterization)
If storing the pressure washer in an area where temperatures may drop below freezing, proper winterization is essential to prevent damage.
- Drain all water from the pump and hoses.
- Introduce a pump saver solution or non-toxic antifreeze into the pump according to the product's instructions. This protects internal components from freezing and corrosion.
- Store the pressure washer in a dry, protected area.
5. Troubleshooting
This section addresses common issues you might encounter with your pressure washer pump.
| Problem | Possible Cause | Solution |
|---|---|---|
| No water pressure or low pressure |
|
|
| Water leaks from pump |
|
|
| Pump pulsates or cycles |
|
|
If troubleshooting steps do not resolve the issue, contact Briggs & Stratton customer support or an authorized service center.
6. Specifications
Key specifications for the Briggs & Stratton 317054GS pump:
- Model Number: 317054GS
- Replaces Part Numbers: 203901GS, 194106GS, 193486GS, 189943GS, 190765GS, A1655GS, 190151GS, 189943, 193486, 194106
- Product Dimensions: 8.13 x 8.13 x 10.16 inches
- Item Weight: 1 pound
- Manufacturer: Magneto Power (as listed in product data, though branded Briggs & Stratton)
- ASIN: B00D6F5WEK

Image 6.1: Packaging for the 317054GS pump, showing model number.
7. Warranty Information
For detailed warranty information regarding your Briggs & Stratton 317054GS pump, please refer to the official warranty documentation provided with your purchase or visit the official Briggs & Stratton website. Warranty terms and conditions may vary.
8. Customer Support
If you require further assistance, have questions about installation, operation, or need to locate an authorized service center, please contact Briggs & Stratton customer support.
You can find more information and support resources on the official Briggs & Stratton website: www.briggsandstratton.com
For parts and accessories, visit the Briggs & Stratton store: Briggs & Stratton Store on Amazon


