Heathkit V-7a
Heathkit Vacuum Tube Voltmeter Model V-7a Instruction Manual
Comprehensive Guide for Assembly, Operation, and Maintenance
1. Introduction
This manual provides detailed instructions for the assembly, operation, and maintenance of your Heathkit Vacuum Tube Voltmeter (VTVM) Model V-7a. Designed for accuracy and reliability, the V-7a is an essential tool for electronics enthusiasts and professionals alike. Please read this manual thoroughly before beginning assembly or operation to ensure proper function and longevity of your instrument.
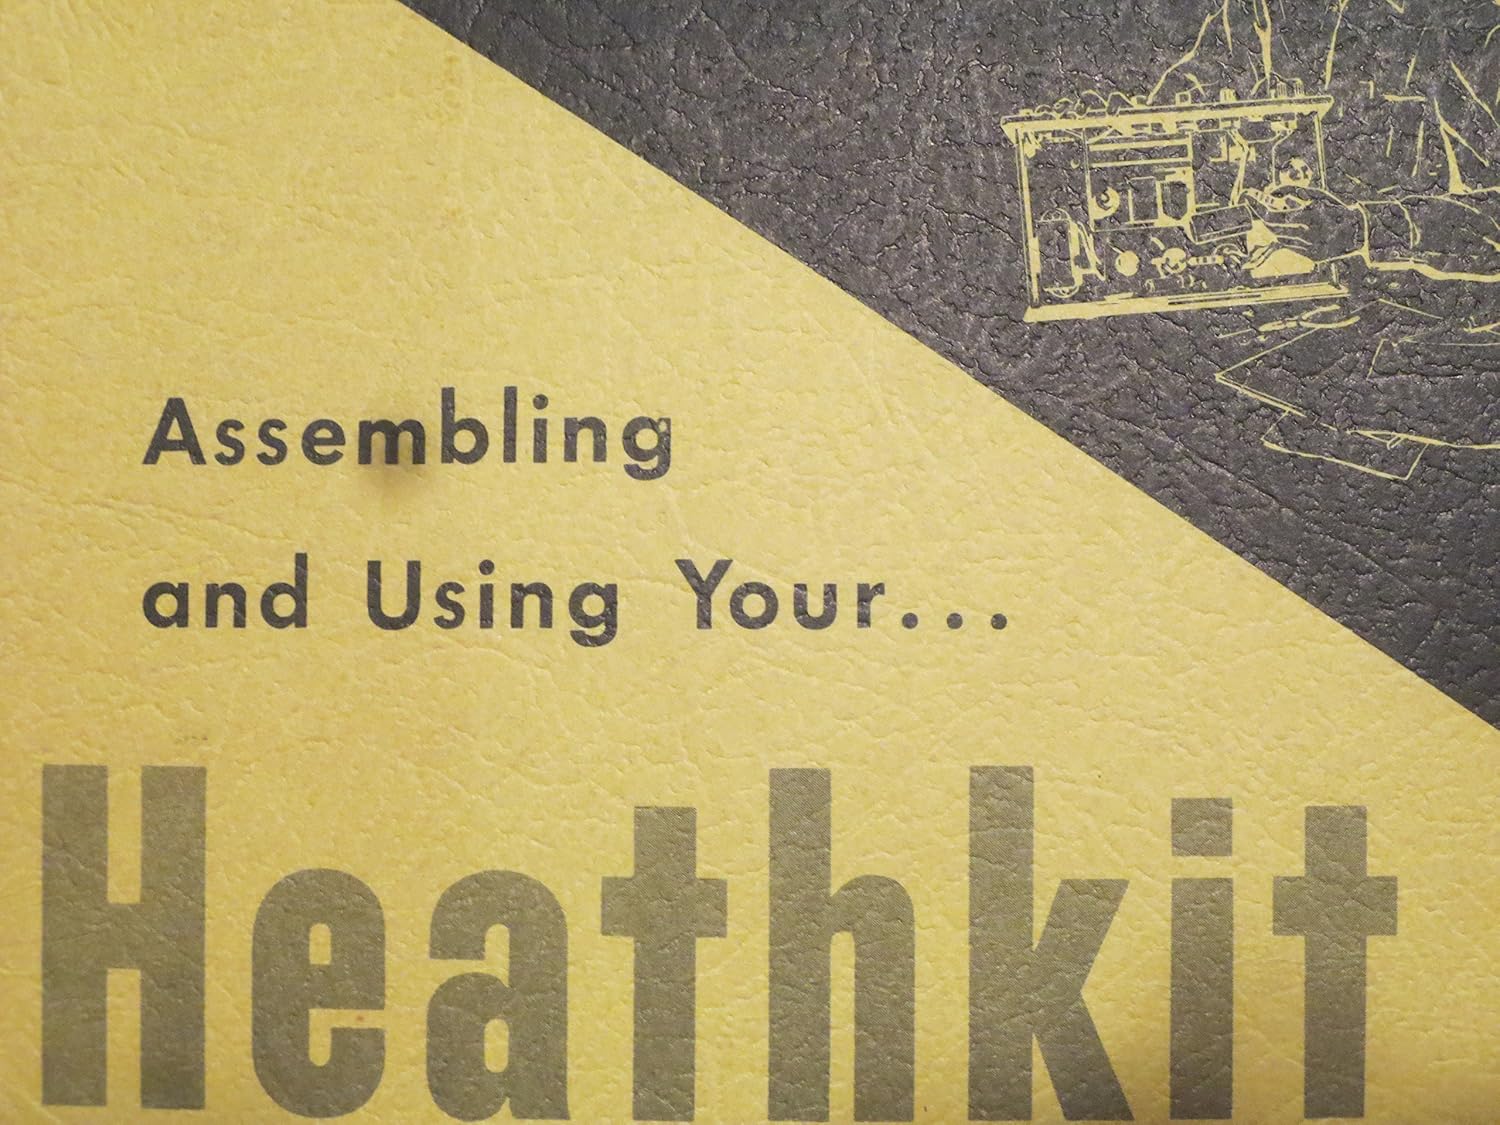
Figure 1: Front cover of the Heathkit V-7a instruction manual, illustrating the product's branding and purpose.
2. Assembly Instructions
The Heathkit V-7a is supplied as a kit requiring careful assembly. Follow these steps precisely to ensure correct operation.
2.1. Component Identification
Before starting, verify all components against the parts list provided in your kit. Organize resistors, capacitors, and other small parts by value to facilitate assembly.
2.2. Chassis Wiring
- Mount the tube sockets and transformers to the chassis as indicated in the wiring diagrams.
- Begin wiring by installing the power supply components, ensuring all connections are secure and insulated.
- Proceed with the meter circuit wiring, paying close attention to polarity for electrolytic capacitors and diodes.
- Connect all switches, potentiometers, and input/output jacks according to the schematic.
2.3. Final Assembly and Enclosure
- Carefully install the vacuum tubes into their respective sockets.
- Mount the meter movement to the front panel.
- Secure the front panel to the chassis and then attach the top and bottom covers.
- Ensure all screws are tightened, but do not overtighten.
3. Operating Instructions
Once assembled, the Heathkit V-7a is ready for operation. Always observe safety precautions when working with electrical circuits.
3.1. Initial Power-Up and Calibration
- Connect the V-7a to a standard AC power outlet.
- Allow a warm-up period of approximately 5-10 minutes for the vacuum tubes to stabilize.
- Adjust the "ZERO" control until the meter needle rests precisely on the zero mark.
- For AC voltage measurements, ensure the "AC/DC" switch is in the "AC" position. For DC, set it to "DC".
3.2. Taking Measurements
- Voltage Measurement: Select the appropriate voltage range using the range switch. Connect the test leads across the component or circuit point to be measured. Read the value directly from the meter scale.
- Resistance Measurement: Ensure the circuit is de-energized before measuring resistance. Select the desired resistance range. Calibrate the meter to zero ohms by shorting the test leads and adjusting the "OHMS ADJ" control. Connect the leads across the resistor and read the value.
- Current Measurement: The V-7a is primarily a voltage and resistance meter. For current measurements, an external shunt or current probe may be required, or a different instrument should be used.
4. Maintenance
Regular maintenance ensures the accuracy and longevity of your Heathkit V-7a.
- Cleaning: Keep the instrument clean and free of dust. Use a soft, dry cloth for external surfaces. Do not use abrasive cleaners or solvents.
- Tube Replacement: Vacuum tubes have a finite lifespan. If the meter becomes unstable, difficult to zero, or readings are inconsistent, consider replacing the tubes. Refer to the schematic for tube types.
- Calibration Check: Periodically check the calibration against a known voltage source. If significant deviation is observed, recalibration may be necessary by adjusting internal potentiometers as per the full service manual.
- Storage: Store the V-7a in a dry, cool environment away from direct sunlight and extreme temperatures.
5. Troubleshooting
This section addresses common issues you might encounter with your V-7a.
| Problem | Possible Cause | Solution |
|---|---|---|
| Meter does not power on. | No AC power; Blown fuse; Faulty power transformer. | Check power cord and outlet; Replace fuse; Inspect transformer connections. |
| Cannot zero the meter. | Faulty vacuum tube; Dirty potentiometer; Component failure in zeroing circuit. | Replace tubes; Clean potentiometer; Inspect circuit for loose connections or failed components. |
| Inaccurate readings. | Out of calibration; Worn tubes; Faulty test leads; Damaged internal components. | Recalibrate; Replace tubes; Check/replace leads; Inspect internal wiring and components. |
6. Specifications
Key technical specifications for the Heathkit Vacuum Tube Voltmeter Model V-7a.
- Measurement Functions: DC Volts, AC Volts (RMS), Ohms
- DC Voltage Ranges: 0-1.5V, 0-5V, 0-15V, 0-50V, 0-150V, 0-500V, 0-1500V
- AC Voltage Ranges: 0-1.5V, 0-5V, 0-15V, 0-50V, 0-150V, 0-500V, 0-1500V
- Resistance Ranges: Rx1, Rx10, Rx100, Rx1K, Rx10K, Rx100K, Rx1M (up to 1000 Megohms)
- Input Impedance (DC): 11 Megohms
- Accuracy: Typically ±3% full scale (DC), ±5% full scale (AC)
- Power Requirements: 105-125 VAC, 50/60 Hz
- Dimensions: Approximately 7" H x 4.5" W x 4.5" D (assembled)
- Weight: Approximately 4 lbs (assembled)
Ask a question about this manual
Ask about setup, troubleshooting, compatibility, parts, safety, or missing instructions. Manuals+ will review the question and use this page’s manual context to help answer it.