Introduction
This manual provides detailed instructions for the installation, setup, operation, and maintenance of your LockState LS-L500-SN Electronic Keypad Lever Door Lock. Please read this manual thoroughly before installation and use to ensure proper function and longevity of your lock.
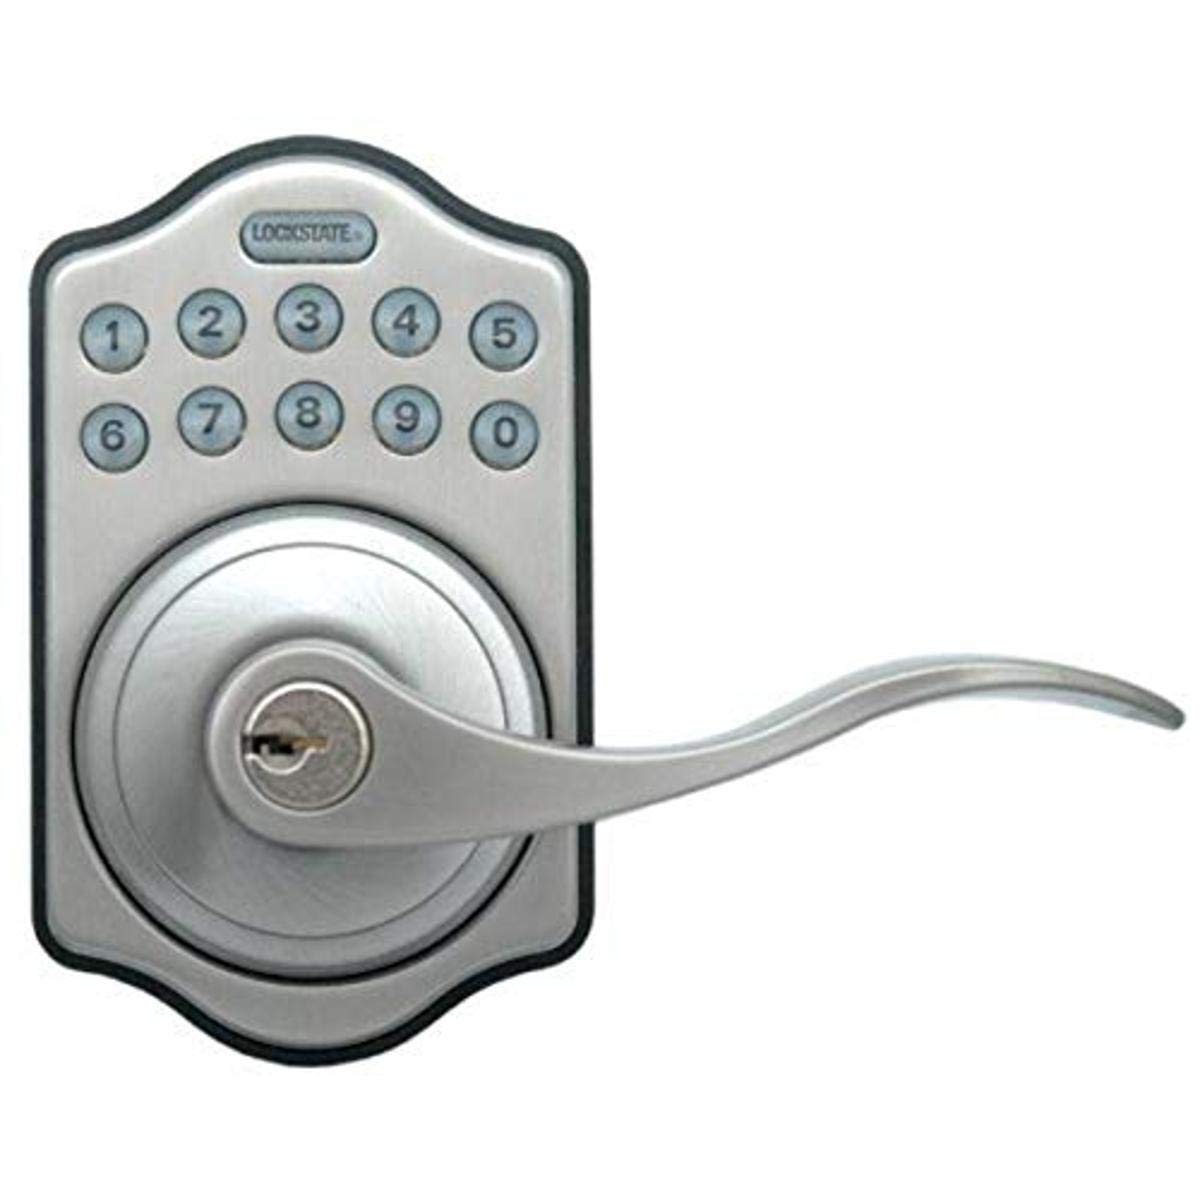
Image: Front view of the LockState LS-L500-SN Electronic Keypad Lever Door Lock. This image displays the satin nickel finish, the keypad, and the lever handle.
Product Features
- Keyless Entry: Electronic keypad for convenient access without traditional keys.
- User Codes: Supports up to 6 unique user codes, each 4-10 digits in length.
- Illuminated Keypad: Backlit keypad for visibility in low-light conditions.
- Auto-Locking Function: Optional feature to automatically relock the door after opening.
- Reversible Design: Compatible with both right-handed and left-handed doors.
- Emergency Override: Includes 2 physical keys for manual override in emergencies.
- Low Battery Indicator: Alerts when battery power is low.
Package Contents
Verify that all components are present before beginning installation:
- LockState LS-L500-SN Electronic Keypad Lever Door Lock (Interior and Exterior Assemblies)
- Installation Hardware (screws, latch, strike plate)
- 2 Emergency Override Keys
- User Manual (this document)
Installation
Proper installation is crucial for the lock's functionality and security. If you are unsure about any steps, consult a professional locksmith or installer.
- Prepare the Door: Ensure your door has the standard bore holes for a lever lock. The lock is designed to fit most standard door preparations.
- Install the Latch: Insert the latch into the edge of the door and secure it with screws. Ensure the latch bolt faces the correct direction for your door swing.
- Install Exterior Assembly: Place the exterior keypad assembly onto the door, feeding the cable through the cross bore hole.
- Install Interior Assembly: Connect the cable from the exterior assembly to the interior assembly. Position the interior assembly over the mounting plate and secure it with screws.
- Check Lever Orientation: The lock is reversible. Ensure the levers are oriented correctly for your door's handing (right or left). Adjust if necessary according to the specific instructions provided with the physical product.
- Install Batteries: Open the battery cover on the interior assembly and insert 4 AA alkaline batteries (not included), observing polarity.
- Test Operation: Before closing the door, test the mechanical operation of the latch and levers.
Note: Detailed diagrams and specific screw types are typically included in the physical installation guide. Refer to those for precise steps.
Setup and Programming
This section outlines how to program user codes and configure the auto-locking feature.
Programming User Codes
The lock supports up to 6 unique user codes, each between 4 and 10 digits long.
- Enter Programming Mode: Locate the programming button on the interior side of the lock (often under the battery cover). Press and hold this button until the keypad illuminates and you hear a beep.
- Enter Master Code: Input the default master code (refer to your product's specific documentation, often 1234 or 0000) followed by the '#' key.
- Add New User Code: Press '1' (or the designated key for adding a user code) followed by '#'. Then, enter your desired 4-10 digit user code, followed by '#'. Repeat the user code and '#' to confirm.
- Exit Programming Mode: Press the programming button again or wait for 10 seconds for the lock to exit programming mode automatically.
Enabling/Disabling Auto-Locking
The auto-locking feature automatically relocks the door a few seconds after it has been opened.
- Enter Programming Mode: Press and hold the programming button.
- Enter Master Code: Input the master code followed by '#'.
- Toggle Auto-Lock: Press '3' (or the designated key for auto-lock settings) followed by '#'. The lock will indicate whether auto-locking is enabled or disabled.
- Exit Programming Mode: Press the programming button again or wait for 10 seconds.
Always test new codes and settings before relying on them for security.
Operating Instructions
Unlocking the Door
- Using a User Code: Enter your programmed 4-10 digit user code on the keypad. The keypad will illuminate, and the lock will unlock. Turn the lever to open the door.
- Using Emergency Key: Insert one of the provided emergency override keys into the keyhole, turn it to unlock, and then turn the lever.
Locking the Door
- Manual Locking: From the exterior, press any key on the keypad. The lock will engage. From the interior, simply turn the thumb-turn or press the button (depending on model) to lock.
- Auto-Locking: If the auto-locking feature is enabled, the lock will automatically engage after a short delay once the door is closed.
Maintenance
Battery Replacement
The lock requires 4 AA alkaline batteries. When the low battery indicator activates, replace the batteries promptly to avoid loss of function.
- Locate the battery cover on the interior assembly of the lock.
- Remove the cover.
- Remove the old AA batteries.
- Insert 4 new AA alkaline batteries, ensuring correct polarity (+/-).
- Replace the battery cover.
Note: Using non-alkaline batteries may reduce battery life and affect performance.
Cleaning
Clean the lock's exterior with a soft, damp cloth. Avoid abrasive cleaners or solvents, as these can damage the finish and electronic components.
Troubleshooting
- Lock does not respond to keypad:
- Check batteries. Replace if low or dead.
- Ensure the correct user code is being entered.
- Try using the emergency override key.
- Lock does not engage/disengage properly:
- Check for obstructions in the door frame or strike plate.
- Verify that the lock is properly aligned with the strike plate.
- Ensure all installation screws are tightened.
- Low battery indicator is on:
- Replace all 4 AA batteries immediately.
- Forgotten user code:
- Use the master code to reprogram user codes. If the master code is forgotten, you may need to reset the lock to factory defaults (refer to specific product instructions for reset procedure, which often involves removing batteries and holding a button).
For further assistance, contact LockState customer support.
Specifications
| Brand | LockState |
| Model Number | LS-L500-SN |
| Lock Type | Keypad Lever Lock |
| Special Feature | Keyless Entry, Illuminated Keypad |
| User Codes | Up to 6 (4-10 digits) |
| Dimensions (L x W x H) | 2.25 x 3 x 5 inches |
| Item Weight | 3 Pounds |
| Color | Satin Nickel |
| Batteries Required | 4 AA Alkaline Batteries (not included) |
| UPC | 892721002896 |
Warranty and Support
Warranty Information
This LockState LS-L500-SN Electronic Keypad Lever Door Lock comes with a 1-year warranty against manufacturer defects from the date of purchase. This warranty covers defects in materials and workmanship under normal use. It does not cover damage resulting from misuse, accident, alteration, or unauthorized repair.
Customer Support
For technical assistance, warranty claims, or further inquiries, please contact LockState customer support. Refer to the contact information provided with your product packaging or visit the official LockState website for current support details.
Please have your model number (LS-L500-SN) and proof of purchase ready when contacting support.


