Introduction
The Hobart 00-436100 Immersion T Gasket is a critical component designed to ensure a secure and leak-free seal within specific Hobart equipment. This manual provides essential information for the proper installation, maintenance, and understanding of this replacement part.
Product Overview
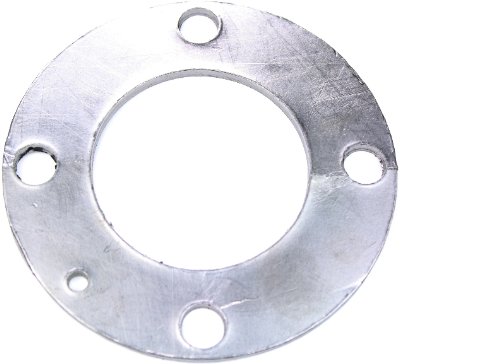
This image displays the Hobart 00-436100 Immersion T Gasket. It is a circular, metallic component, likely made of aluminum or a similar alloy, featuring a central opening and several smaller, evenly spaced holes around its perimeter for secure fastening. The surface shows a brushed or machined finish.
Setup and Installation
Follow these steps for proper installation of the gasket:
- Safety First: Ensure the equipment is powered off and disconnected from any power source before beginning installation. Allow any hot components to cool down.
- Remove Old Gasket: Carefully remove the worn or damaged gasket from its housing. Note its orientation for correct replacement.
- Clean Surfaces: Thoroughly clean both mating surfaces where the gasket will be seated. Remove any old gasket material, debris, or corrosion to ensure a proper seal.
- Position New Gasket: Place the new Hobart 00-436100 Immersion T Gasket into position, ensuring it aligns correctly with all bolt holes and the central opening.
- Secure Fasteners: Reinstall any bolts or fasteners, tightening them evenly in a cross-pattern to achieve uniform compression. Refer to your equipment's main service manual for specific torque specifications, if available.
- Inspect: Visually inspect the installed gasket to confirm it is seated properly and no edges are pinched or misaligned.
Operating (Post-Installation Check)
After installation, perform a functional check of the equipment:
- Initial Power-Up: Carefully power on the equipment.
- Leak Check: Monitor the area around the newly installed gasket for any signs of leaks (e.g., fluid drips, unusual noises, pressure loss).
- Performance Verification: Ensure the equipment operates as expected without any anomalies related to the gasket's function.
Maintenance
- Regular Inspection: Periodically inspect the gasket for signs of wear, cracking, deformation, or leakage. The frequency of inspection depends on the equipment's usage and operating conditions.
- Replacement: Replace the gasket immediately if any signs of damage or leakage are observed. Gaskets are wear items and should be replaced as part of routine maintenance or when servicing the component it seals.
- Storage: Store spare gaskets in a clean, dry environment away from direct sunlight and extreme temperatures to preserve their material integrity.
Troubleshooting
If you encounter issues after installing the gasket, consider the following:
- Leakage After Installation:
- Cause: Improper seating, uneven tightening of fasteners, damaged gasket during installation, or debris on mating surfaces.
- Solution: Disassemble, clean surfaces, inspect the gasket for damage, re-seat, and re-tighten fasteners evenly.
- Gasket Deformation:
- Cause: Overtightening, exposure to excessive heat or incompatible chemicals.
- Solution: Replace the gasket and ensure correct installation procedures are followed. Verify operating conditions are within specified limits.
Specifications
| Specification | Detail |
|---|---|
| Item Weight | 1 Pounds |
| Manufacturer | HOBART |
| ASIN | B00CY33094 |
| Date First Available | March 16, 2018 |
Warranty Information
This Hobart 00-436100 Immersion T Gasket is a replacement part. Warranty coverage for replacement parts typically aligns with the original equipment manufacturer's policy or a specific parts warranty. Please refer to the warranty documentation provided with your main Hobart equipment or contact Hobart customer service for detailed warranty information regarding this specific part.
Support Information
For further assistance, technical support, or to inquire about other genuine Hobart replacement parts, please contact Hobart customer service. You can find contact information on the official Hobart website or through your authorized Hobart dealer. When contacting support, please have your equipment model number and the part number (00-436100) readily available.


