
Introduction
Thank you for choosing the OutIn LattoGo Rechargeable Handheld Milk Frother. This professional-grade electric frother is designed to help you create barista-quality milk foam for your favorite beverages, whether at home or on the go. This manual provides essential information for safe and efficient use, including setup, operation, maintenance, and troubleshooting.
The LattoGo features an improved mesh whisk design for dense microfoam, a reach-to-bottom wand for thorough frothing, a multi-functional silicone ring for hands-free operation and hygienic storage, and independent dual buttons for precise control. It is constructed from high-quality, durable materials and supports USB-C charging for convenience.
What's Included

Figure 1: What's Included in the Box
The OutIn LattoGo package typically includes:
- Frother Body
- Whisk Shaft with Frother Head
- USB-C Charging Cable
- Smart Silicone Ring
- Travel Case
Setup
1. Initial Charging
Before first use, fully charge the frother.
- Locate the USB-C charging port on the frother body.
- Connect the provided USB-C cable to the frother and a compatible USB power adapter (not included).
- The battery indicator light will show charging status. Ensure the device is fully charged before its initial operation.

Figure 2: Dual Button Control and USB-C Charging Port
2. Attaching the Whisk Shaft
- Align the whisk shaft with the opening at the bottom of the frother body.
- Gently push and twist until the shaft is securely in place. Ensure it is firmly attached to prevent detachment during operation.

Figure 3: Frother Components and Assembly Points
Operating Instructions
1. Preparing Milk for Frothing
For best results, use cold milk. Fill your cup or pitcher with the desired amount of milk. Do not overfill, as milk volume will increase significantly during frothing.
2. Frothing Process
- Submerge the frother head into the milk, ensuring it is fully immersed but not touching the bottom of the container.
- Press the Power Button to start frothing.
- Adjust the speed using the Speed Lever: push up for fast speed (10,000 r/min) or push down for slow speed (8,000 r/min).
- Move the frother gently up and down, keeping the whisk just below the surface to incorporate air, then deeper to create a consistent texture.
- Froth until the milk reaches your desired consistency and volume. This typically takes 15-30 seconds.
- Press the Power Button again to stop the frother.

Figure 4: Frothing with Two Speed Settings
3. Using the Smart Silicone Ring
The included silicone ring can be used for hands-free frothing or as a stand.
- Hands-Free Frothing: Slide the silicone ring onto the frother body and adjust its height to rest on the rim of your cup or pitcher. This allows the frother to operate independently while you prepare other ingredients.
- Stable Stand: After use, the silicone ring can be positioned to allow the frother to rest horizontally, keeping the whisk head elevated and clean.

Figure 5: Smart Silicone Ring Functionality
Maintenance
1. Cleaning the Whisk Shaft and Head
- Immediately after each use, detach the whisk shaft from the frother body.
- Rinse the whisk shaft and frother head under running water.
- For thorough cleaning, you can briefly operate the whisk in a glass of warm, soapy water.
- Rinse again with clean water and allow to air dry completely before reattaching or storing.
- Caution: The frother body is not waterproof. Do not immerse the main body in water or other liquids.

Figure 6: Detachable Shaft for Easy Cleaning
2. Cleaning the Frother Body
Wipe the frother body with a damp cloth. Do not use abrasive cleaners or immerse in water.
3. Storage
Store the frother in its provided travel case to protect it from dust and damage, especially when traveling.
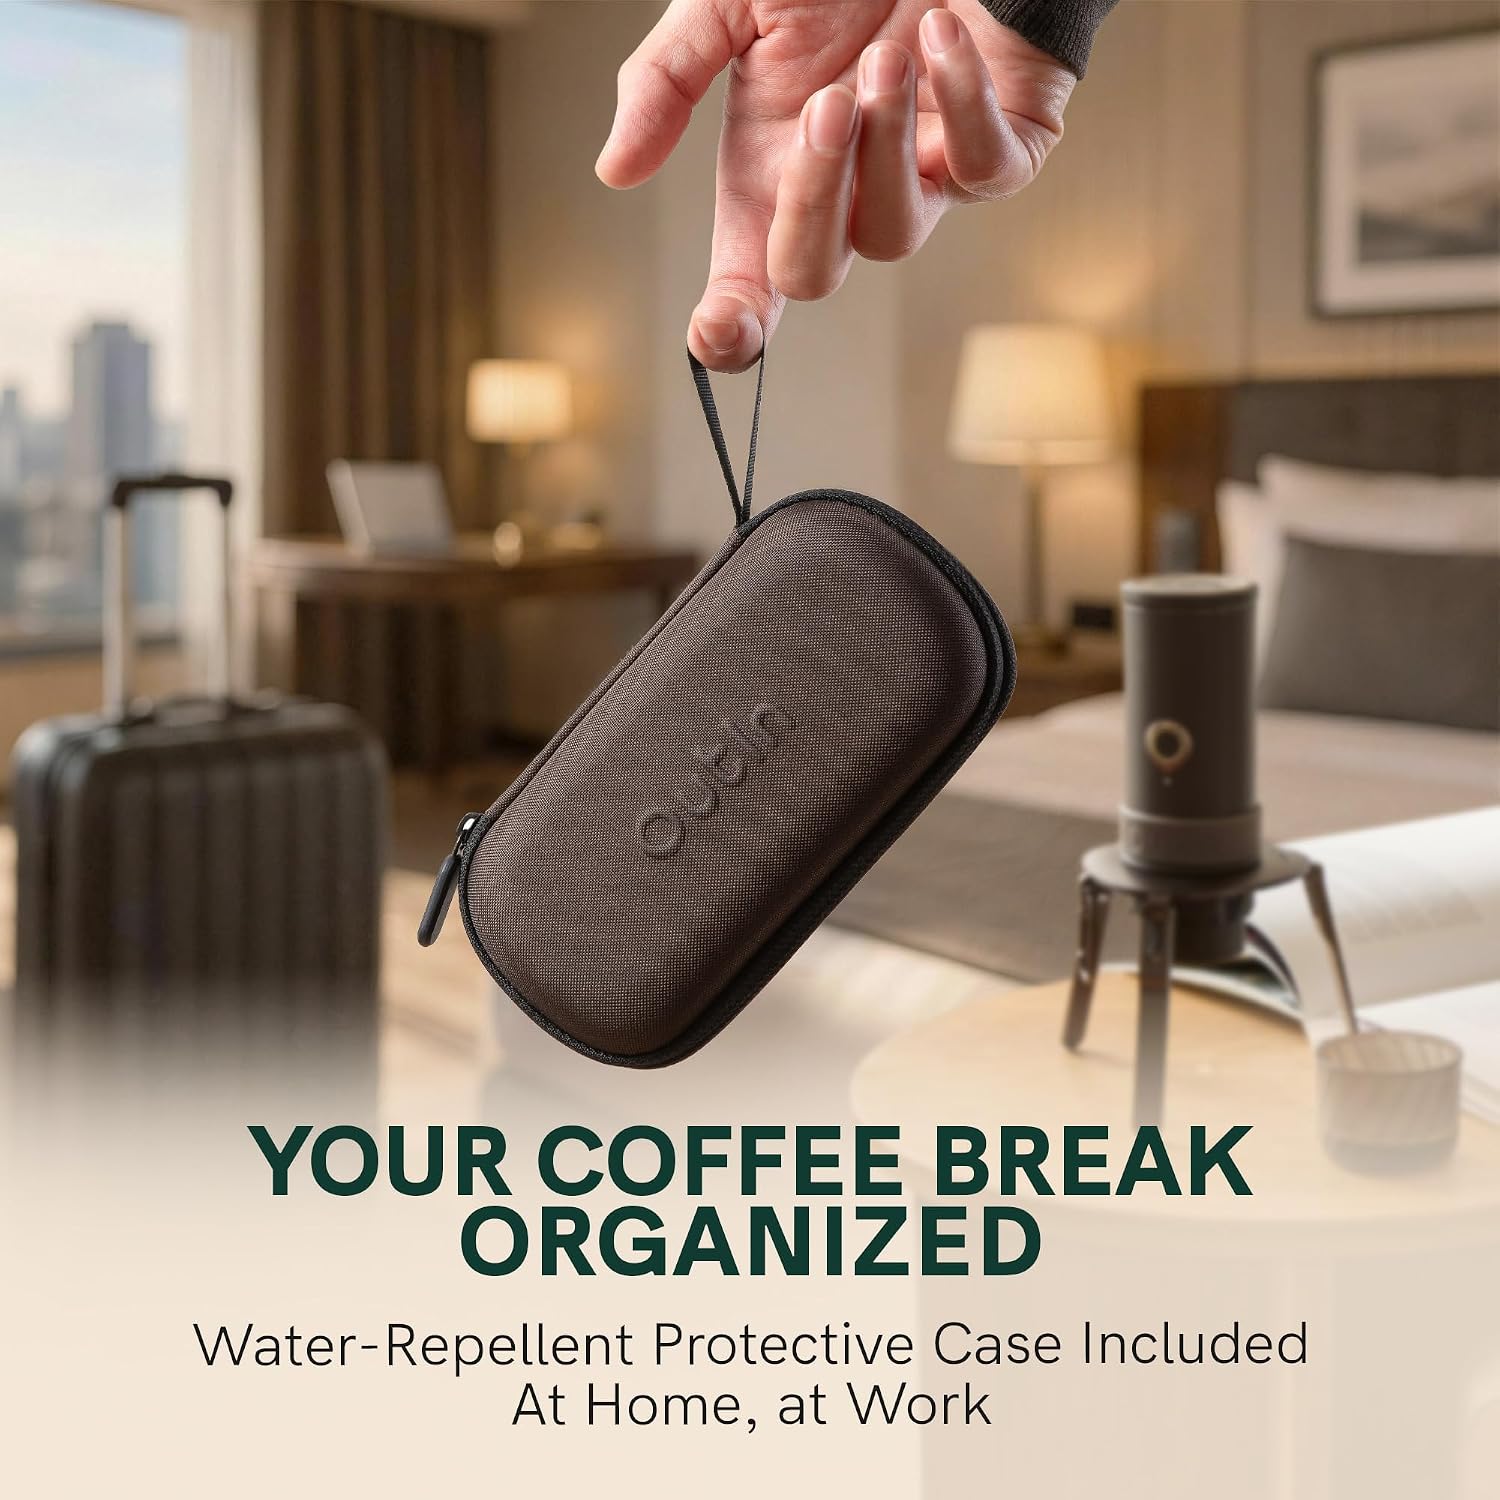
Figure 7: Travel Case for Organized Storage
Troubleshooting
| Problem | Possible Cause | Solution |
|---|---|---|
| Frother does not turn on. | Low battery. | Charge the frother using the USB-C cable. |
| Frother head spins weakly or inconsistently. | Low battery; whisk shaft not properly attached; obstruction in whisk. | Ensure frother is fully charged. Reattach the whisk shaft securely. Clean the whisk head to remove any debris. |
| Milk does not froth well. | Milk is too warm; incorrect frothing technique; type of milk. | Use cold milk. Ensure the whisk is submerged correctly and moved gently. Some milk types (e.g., skim milk) froth better than others. |
| Excessive splashing during frothing. | Whisk head too close to the surface; container too full. | Submerge the whisk head deeper into the milk. Do not overfill the container. Use the lower speed setting if necessary. |
Specifications
| Brand | OutIn |
| Model Number | OTMF-LG-01 |
| Color | Starburst Silver |
| Materials | Recyclable Aluminum Alloy body, SUS 304 Stainless Steel shaft, Food-grade Tritan frother head, Silicone ring. |
| Wattage | 5 W |
| Weight | 165 grams |
| Charging Port | USB-C |
| Care Instructions | Hand wash whisk shaft only. Wipe body with damp cloth. |
| Country of Origin | China |
Warranty and Support
For warranty information or technical support, please refer to the product packaging or contact OutIn customer service directly. Keep your purchase receipt as proof of purchase.
You can typically find contact information on the official OutIn website or through the retailer where you purchased the product.


