1. Introduction
This manual provides essential information for the proper installation, maintenance, and care of your Exmark 103-0456 Sheave. This genuine Exmark replacement part is designed to ensure optimal performance and compatibility with various Exmark Ultra Vac and Lazer Z models. Please read this manual thoroughly before installation and operation to ensure safety and prolong the life of your equipment.
2. Safety Information
- Always disconnect power to the equipment before attempting any installation, maintenance, or repair.
- Wear appropriate personal protective equipment (PPE), including safety glasses and gloves, during installation and handling.
- Ensure all fasteners are tightened to the manufacturer's specifications to prevent component failure.
- Refer to the original equipment's owner's manual for specific safety procedures related to the machine this sheave will be installed on.
- Keep children and bystanders away from the work area.
3. Product Overview
The Exmark 103-0456 Sheave is a critical component in the power transmission system of compatible Exmark lawn and garden equipment. It is designed to work with belts to transfer rotational motion and power between different parts of the machine, such as the engine and the vacuum or bagging system.
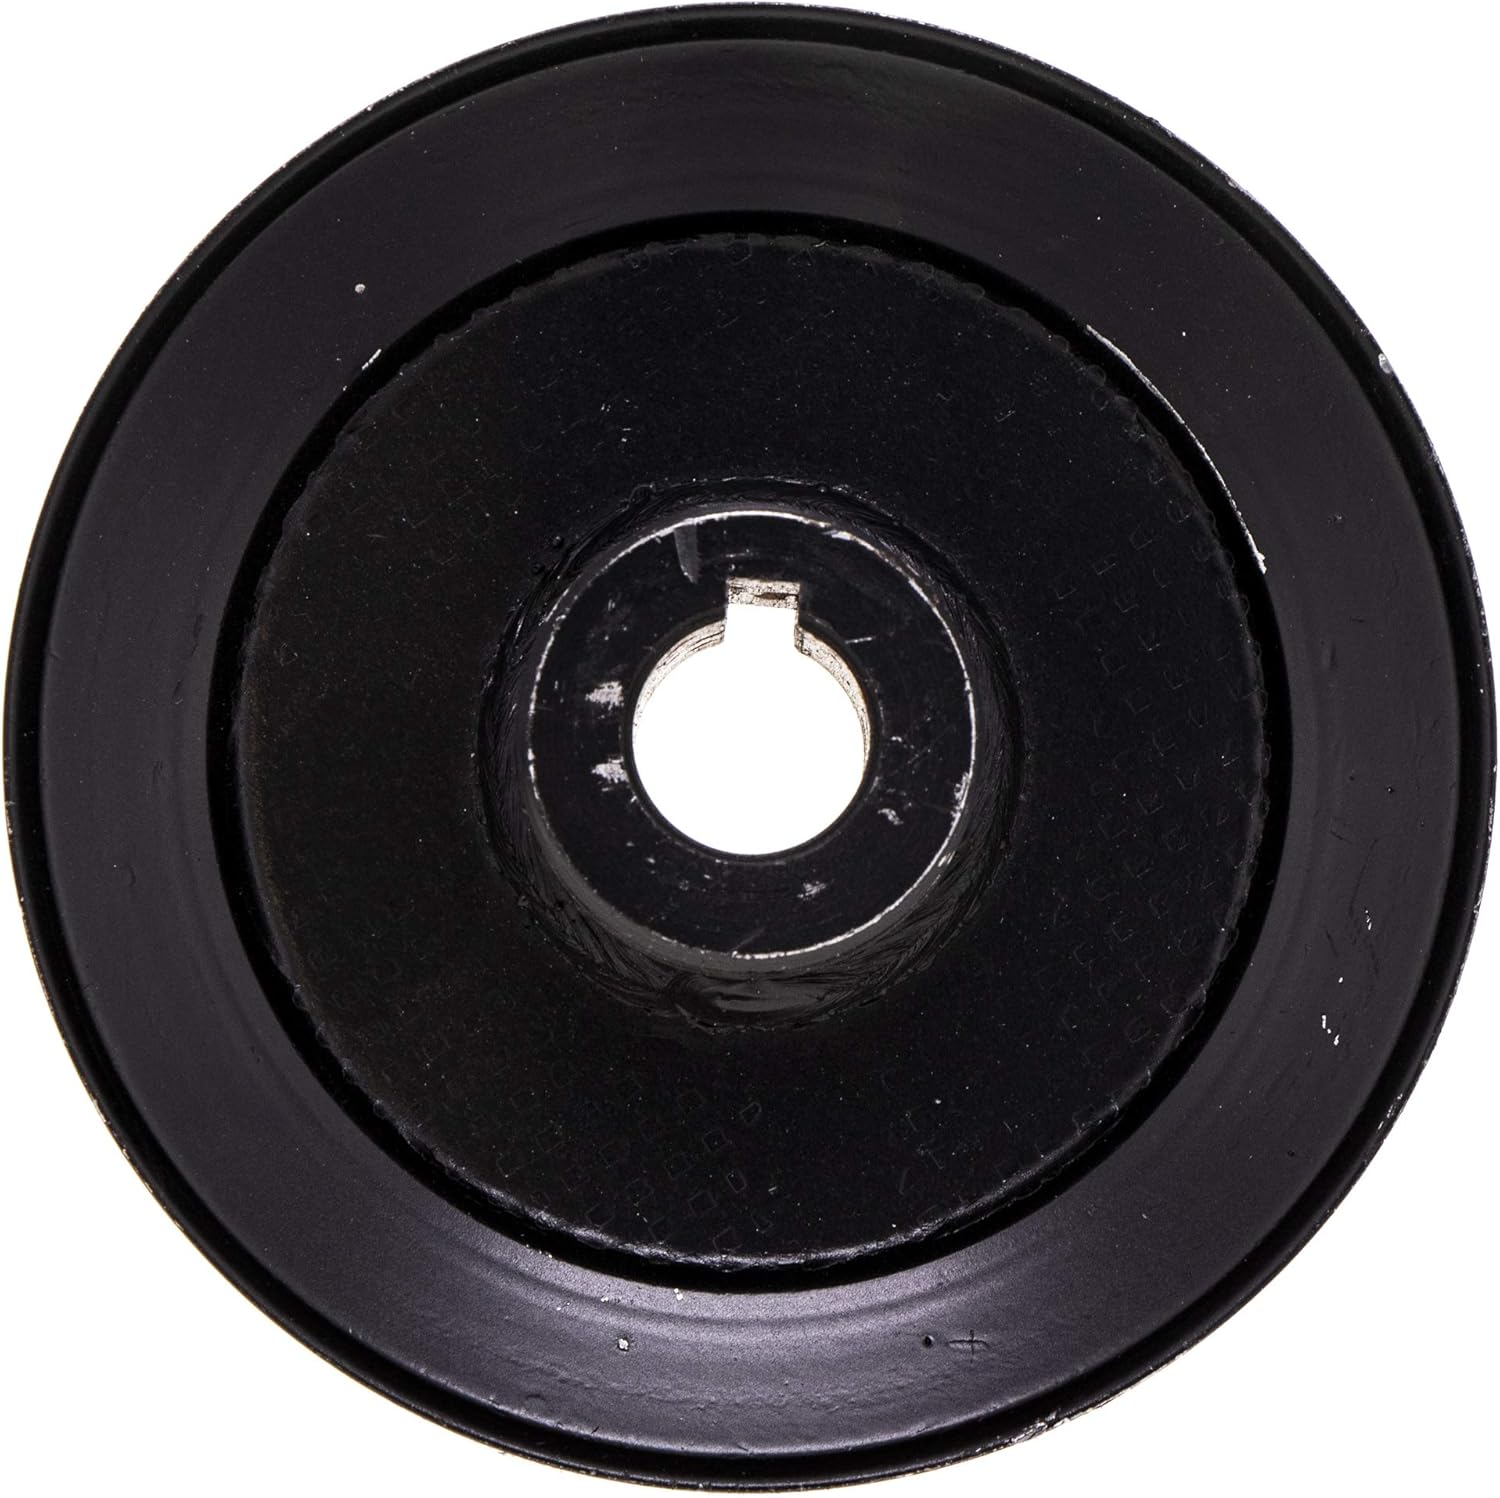
Figure 3.1: Top-down view of the Exmark 103-0456 Sheave, highlighting the central bore and keyway for shaft mounting.

Figure 3.2: Angled view of the sheave, illustrating the V-groove where the drive belt sits.

Figure 3.3: Side profile of the sheave, demonstrating its depth and construction.
This sheave is specifically compatible with the following Exmark models and systems:
- 126-8680 Lazer Z Diesel UltraVac
- Front Runner Ultra Vac QDS Bagger
- Lazer Ultra Vac QDS Bagger
- Lazer Z AS Ultra Vac Bagger
- Lazer Z AS Ultra Vac QDS Bagger
- Lazer Z Series UltraVac
- Lazer Z Ultra Vac Bagger
- Lazer Z Ultra Vac QDS Bagger
- Lazer Z Ultra Vac Triple Bagger
- Lazer Z Ultra Vac Twin Bagger
- Lazer Z XP Ultra Vac Bagger
- Lazer Z XP Ultra Vac QDS Bagger
- Lazer Z XS Ultra Vac Bagger
- Lazer Z XS Ultra Vac QDS Bagger
- Ultra Vac Bagger
- Ultra Vac QDS Bagger
Note: Fitment can vary by sub-model, serial number, and/or production date of your equipment. Always refer to your original equipment's owner's manual to verify the correct part for your machine.
4. Installation
Installation of the Exmark 103-0456 Sheave typically involves replacing an existing worn or damaged sheave. The process requires careful attention to detail to ensure proper alignment and tension of associated belts.
- Preparation: Ensure the equipment is turned off, the engine is cool, and the spark plug wire is disconnected (for gasoline models) to prevent accidental starting.
- Access: Locate the sheave assembly on your specific Exmark model. This may require removing guards, covers, or other components. Refer to your equipment's service manual for detailed access procedures.
- Remove Old Sheave: Carefully remove any belts from the sheave. Loosen and remove the retaining bolt or fastener that secures the sheave to its shaft. Note the orientation and any spacers or washers for correct reassembly.
- Inspect Components: Before installing the new sheave, inspect the shaft, keyway, and any associated bearings or bushings for wear or damage. Replace any worn components as necessary.
- Install New Sheave: Slide the new Exmark 103-0456 Sheave onto the shaft, ensuring the keyway aligns with the key on the shaft. Secure it with the retaining bolt/fastener, tightening to the torque specifications provided in your equipment's service manual.
- Reinstall Belts: Carefully re-route and install the belts onto the new sheave. Ensure proper belt tension according to your equipment's manual.
- Reassemble: Reinstall any guards, covers, or components that were removed for access.
- Final Check: Before starting the equipment, manually rotate the sheave and check for any obstructions or misalignment. Ensure all tools are removed from the work area.
5. Operating Considerations
Once installed, the sheave operates as an integral part of your Exmark equipment's drive system. Proper operation relies on the correct installation and maintenance of the sheave and its associated components.
- Belt Alignment: Ensure that all belts running on the sheave are correctly aligned and seated in the grooves. Misalignment can lead to premature belt wear and sheave damage.
- Belt Tension: Maintain correct belt tension as specified in your equipment's manual. Too loose, and the belt may slip; too tight, and it can cause excessive wear on bearings and the sheave itself.
- Smooth Operation: The sheave should rotate smoothly without wobbling or excessive noise during operation. Any unusual sounds or vibrations should be investigated immediately.
6. Maintenance
Regular inspection and maintenance of the sheave and surrounding components are crucial for extending the lifespan of your Exmark equipment.
- Visual Inspection: Periodically inspect the sheave for signs of wear, cracks, chips, or excessive rust. Check the V-grooves for smoothness and ensure they are free of debris.
- Bearing Check: If the sheave is part of an assembly with bearings, check for smooth rotation and absence of play. Lubricate bearings if required by your equipment's maintenance schedule.
- Belt Condition: Inspect the belts running on the sheave for cracks, fraying, or glazing. Replace worn belts promptly.
- Cleanliness: Keep the sheave and surrounding area clean from grass clippings, dirt, and other debris that can interfere with proper belt operation or cause wear.
For more information on genuine Exmark replacement parts and maintenance, watch the video below:
Video 6.1: An official Exmark video showcasing various genuine Exmark Lawn & Garden Replacement Parts, including fuel treatments, lubricants, blades, belts, and filters, emphasizing the importance of using authentic components for optimal performance and longevity of your equipment.
7. Troubleshooting
As a replacement part, issues with the sheave itself are typically related to incorrect installation or compatibility. If you experience problems after installing the Exmark 103-0456 Sheave, consider the following:
- Excessive Noise or Vibration:
- Check for proper sheave alignment on the shaft.
- Verify that the retaining bolt is tightened to specifications.
- Inspect the belt for wear, damage, or incorrect tension.
- Ensure no debris is caught in the sheave grooves or around the assembly.
- Belt Slippage:
- Confirm correct belt tension.
- Inspect the belt for wear or glazing.
- Check sheave grooves for wear or foreign material.
- Premature Wear:
- Ensure proper belt alignment and tension.
- Verify that the sheave is the correct part number for your specific equipment model and application.
- Check for external factors like excessive dirt or impact damage.
If problems persist, consult your equipment's original service manual or contact an authorized Exmark service technician.
8. Specifications
| Attribute | Detail |
|---|---|
| Part Number | 103-0456 |
| Brand | Exmark |
| Product Dimensions | 10 x 6 x 1 inches |
| Item Weight | 10.9 ounces |
| Manufacturer | Exmark |
| ASIN | B00CSBS11Y |
| Compatibility | Various Exmark Lazer Z and Ultra Vac models (refer to Section 3 for full list) |
9. Warranty and Support
For information regarding the warranty of your genuine Exmark 103-0456 Sheave, please refer to the warranty documentation provided with your original Exmark equipment or contact Exmark customer support directly. As a genuine replacement part, it is covered under Exmark's standard parts warranty.
For technical support, installation assistance, or to locate an authorized Exmark dealer, please visit the official Exmark website or contact their customer service department. Using genuine Exmark parts ensures continued warranty coverage and optimal performance of your machinery.
You can visit the official Exmark Store on Amazon for more products: Exmark Store


