Product Overview
The Exmark 1-633029 Spherical Ball Joint is a genuine replacement part designed for specific Exmark lawn and garden equipment. This component is crucial for the proper articulation and movement of various machine parts, ensuring smooth and efficient operation.
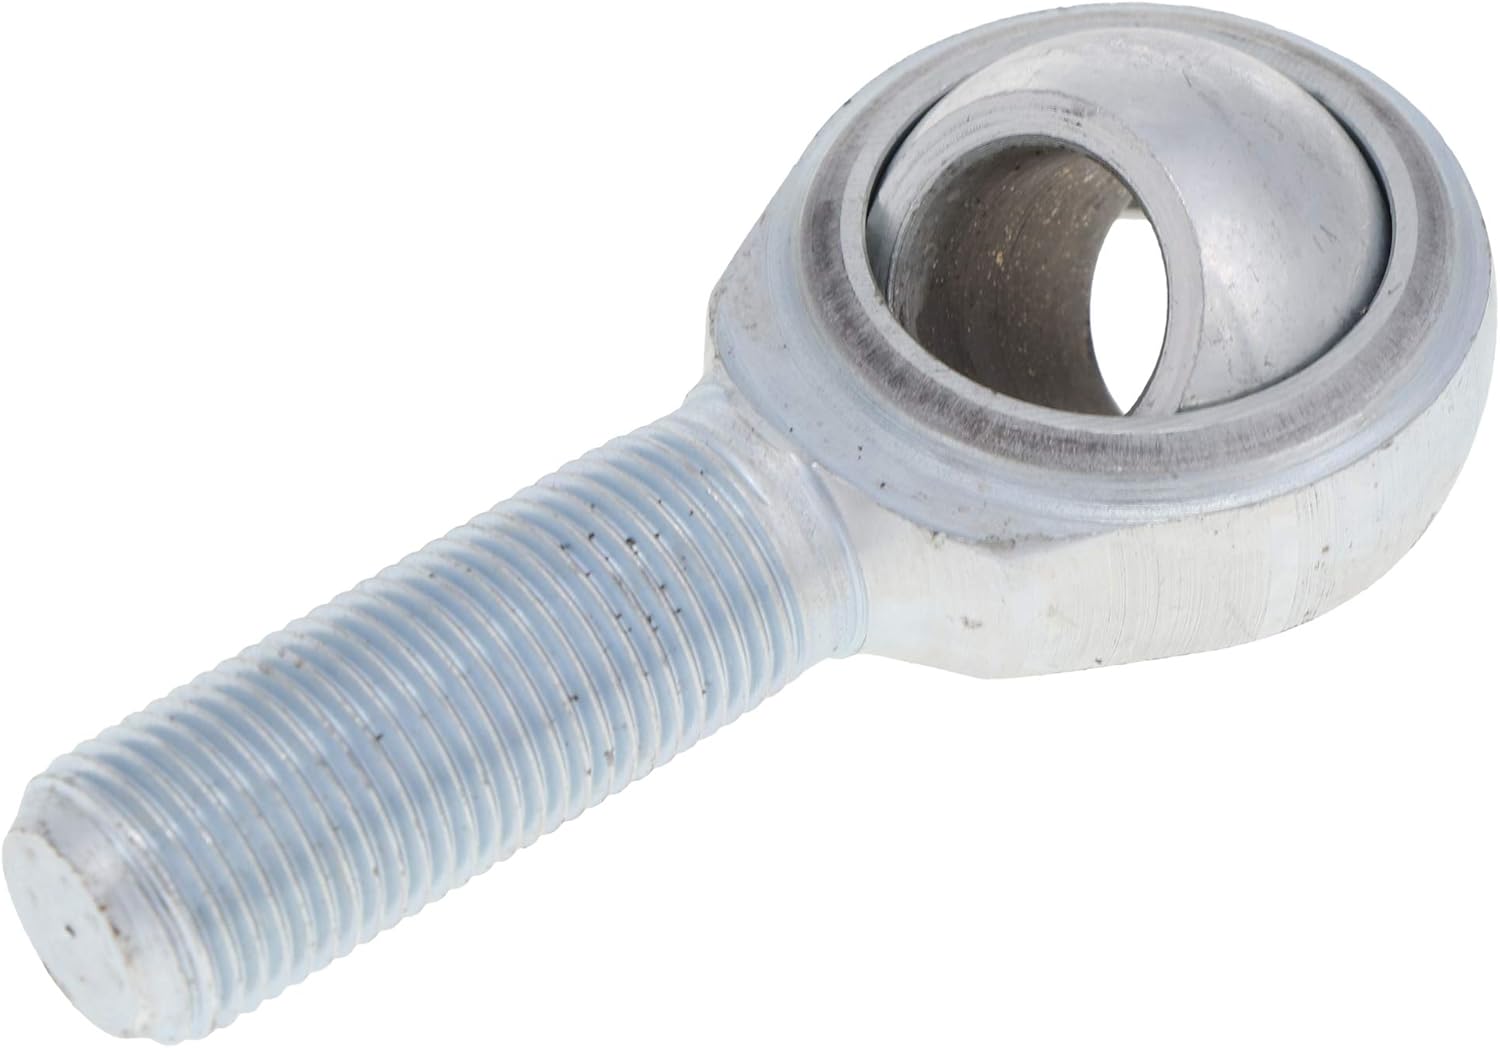
Image: Front view of the Exmark 1-633029 Spherical Ball Joint, showing the threaded shaft and the spherical bearing housing.
Key Features
- Genuine Exmark Toro Factory Part Number 1-633029.
- Designed for durability and precise fit.
- Essential component for steering and suspension systems in compatible equipment.
Compatibility
This spherical ball joint is compatible with a range of Exmark equipment models. Please verify your specific model and serial number against the list below and consult your equipment's original owner's manual for exact fitment.
- Lazer Z
- Lazer Z AC
- Lazer Z AS
- Lazer Z DS-Series
- Lazer Z HP
- Lazer Z LC
- Lazer Z XP
- Lazer Z XS
- Lazer Z XS Air Cooled
- Lazer Z XS Diesel
- Lazer Z XS Liquid Cooled
- Staris E-Series
- Vantage
- Vantage S-Series
Note: Fitment can vary by sub-model, serial number, and/or production date of your equipment. Always refer to the original owner's manual for verification.
Setup and Installation
Installation of the spherical ball joint requires mechanical aptitude and appropriate tools. Incorrect installation can lead to equipment malfunction or injury. It is highly recommended that installation be performed by a qualified service technician or in strict accordance with your equipment's service manual.
- Safety First: Ensure the equipment is turned off, cooled down, and all moving parts are secured. Disconnect the battery if working on electrical components. Use appropriate personal protective equipment (PPE) such as gloves and eye protection.
- Identify the Component: Locate the existing ball joint that needs replacement. Note its orientation and how it connects to adjacent components.
- Removal: Carefully remove any retaining clips, nuts, or bolts securing the old ball joint. A ball joint separator tool may be necessary to dislodge the tapered stud from its housing.
- Inspection: Before installing the new part, inspect the surrounding components for wear, damage, or corrosion. Clean any mating surfaces.
- Installation: Insert the new Exmark 1-633029 Spherical Ball Joint into position. Secure it with the appropriate fasteners, ensuring they are tightened to the torque specifications outlined in your equipment's service manual. Do not overtighten.
- Verification: After installation, manually check the movement of the connected components to ensure smooth, unrestricted motion without excessive play.

Image: Side view of the Exmark 1-633029 Spherical Ball Joint, highlighting the threaded end and the spherical housing.
Operation
The spherical ball joint is a passive mechanical component. Its "operation" is integral to the functionality of the larger equipment it is installed in. It allows for multi-directional movement between two connected parts, such as steering linkages or suspension components, while maintaining a secure connection. Proper functioning of the ball joint ensures precise control and smooth articulation of the equipment's moving parts.
Maintenance
Regular inspection and maintenance of the spherical ball joint can extend its lifespan and ensure the safe operation of your equipment.
- Visual Inspection: Periodically inspect the ball joint for signs of wear, such as cracks in the boot (if present), corrosion, or excessive looseness. Check for any visible damage to the housing or threaded shaft.
- Check for Play: With the equipment safely supported, attempt to move the components connected by the ball joint. There should be minimal to no perceptible play. Excessive play indicates wear and necessitates replacement.
- Cleaning: Keep the area around the ball joint clean from dirt, debris, and corrosive materials.
- Lubrication: This specific ball joint typically does not require external lubrication as it is a sealed unit. Refer to your equipment's service manual for any specific lubrication requirements for the assembly it is part of.

Image: Angled view of the Exmark 1-633029 Spherical Ball Joint, showing the overall construction and finish.
Troubleshooting
If you experience issues related to the movement or stability of components connected by a ball joint, consider the following:
- Excessive Play/Looseness: This is the most common sign of a worn ball joint. If the joint can be moved significantly by hand when disconnected from the machine, or if there is noticeable rattling or clunking during operation, replacement is likely required.
- Stiffness or Binding: While less common for a spherical ball joint, if the connected components are difficult to move or bind, inspect the ball joint for corrosion, damage, or improper installation.
- Noise: Squeaking, grinding, or clunking noises from the area of the ball joint during movement can indicate wear or lack of lubrication (if applicable).
Always ensure the equipment is safely supported and turned off before performing any inspection or troubleshooting. If you are unsure about diagnosing or repairing the issue, consult a professional service technician.
Specifications
| Attribute | Value |
|---|---|
| Product Dimensions | 10 x 6 x 1 inches |
| Item Weight | 5.8 ounces |
| Manufacturer | Exmark |
| ASIN | B00CSBP89W |
| Item Model Number | 1-633029 |
| Is Discontinued By Manufacturer | No |
Warranty Information
For specific warranty details regarding the Exmark 1-633029 Spherical Ball Joint, please refer to the official Exmark warranty policy provided with your original equipment or visit the official Exmark website. Warranty terms typically cover manufacturing defects under normal use conditions.
Customer Support
If you have questions about the Exmark 1-633029 Spherical Ball Joint, its compatibility, or require technical assistance, please contact Exmark customer support or an authorized Exmark dealer.
- Exmark Official Website: www.exmark.com (Please note: this is a generic link, actual support links may vary)
- Find a Dealer: Visit the Exmark website to locate an authorized dealer near you for parts and service.
Note: Always provide your equipment's model and serial number when contacting support for accurate assistance.