Introduction
This user manual provides essential information for the installation, operation, and maintenance of your REV ritter 003003101 Intercom System. This system is designed for single-family homes, offering reliable audio communication between the indoor handset and the outdoor call station, along with an integrated door opener function. Please read this manual thoroughly before installation and use to ensure proper functionality and safety.

Figure 1: Overview of the REV ritter 003003101 Intercom System components.
Setup and Installation
Proper installation is crucial for the optimal performance of your intercom system. It is recommended that installation be performed by a qualified electrician.
1. Package Contents
- Indoor Handset Unit
- Outdoor Call Station
- Power supply and connection cable
- Mounting hardware (screws, wall plugs)
2. Choosing Installation Locations
- Indoor Unit: Select a convenient location inside your home, typically near the entrance, where the handset can be easily accessed. Ensure it is within reach of a power outlet if applicable.
- Outdoor Call Station: Mount the outdoor unit in a protected area, such as under an overhang or porch, to shield it from direct weather exposure. The ideal height is typically at eye level for visitors.

Figure 2: Example of indoor unit placement in a home hallway.

Figure 3: Example of outdoor unit placement next to a door.
3. Wiring Connections
The system uses a wired connection between the indoor and outdoor units. Refer to the wiring terminals on the back of both units for correct connections. Ensure all power is disconnected before performing any wiring.

Figure 4: Rear view of indoor and outdoor units with wiring terminals.
- Connect the power supply to the designated terminals on the indoor unit.
- Connect the communication wires between the indoor and outdoor units according to the diagram provided in the product packaging (not shown here, but typically included).
- If using the door opener function, connect the door strike/lock wires to the appropriate terminals on the indoor unit.
4. Mounting the Units
- Securely mount the indoor unit to the wall using the provided screws and wall plugs.
- Mount the outdoor call station to the exterior wall, ensuring it is level and firmly attached.
Operating Instructions
Once installed and powered, your REV ritter intercom system is ready for use.
1. Receiving a Call
- When a visitor presses the call button on the outdoor unit, the indoor unit will ring.
- Lift the handset on the indoor unit to answer the call.

Figure 5: Outdoor unit with call button.
2. Two-Way Communication
- After lifting the handset, you can speak into it to communicate with the visitor at the outdoor unit.
- The visitor will speak into the outdoor unit.
- Important Note: The speech and listening function typically activates only after the outdoor unit's call button has been pressed.
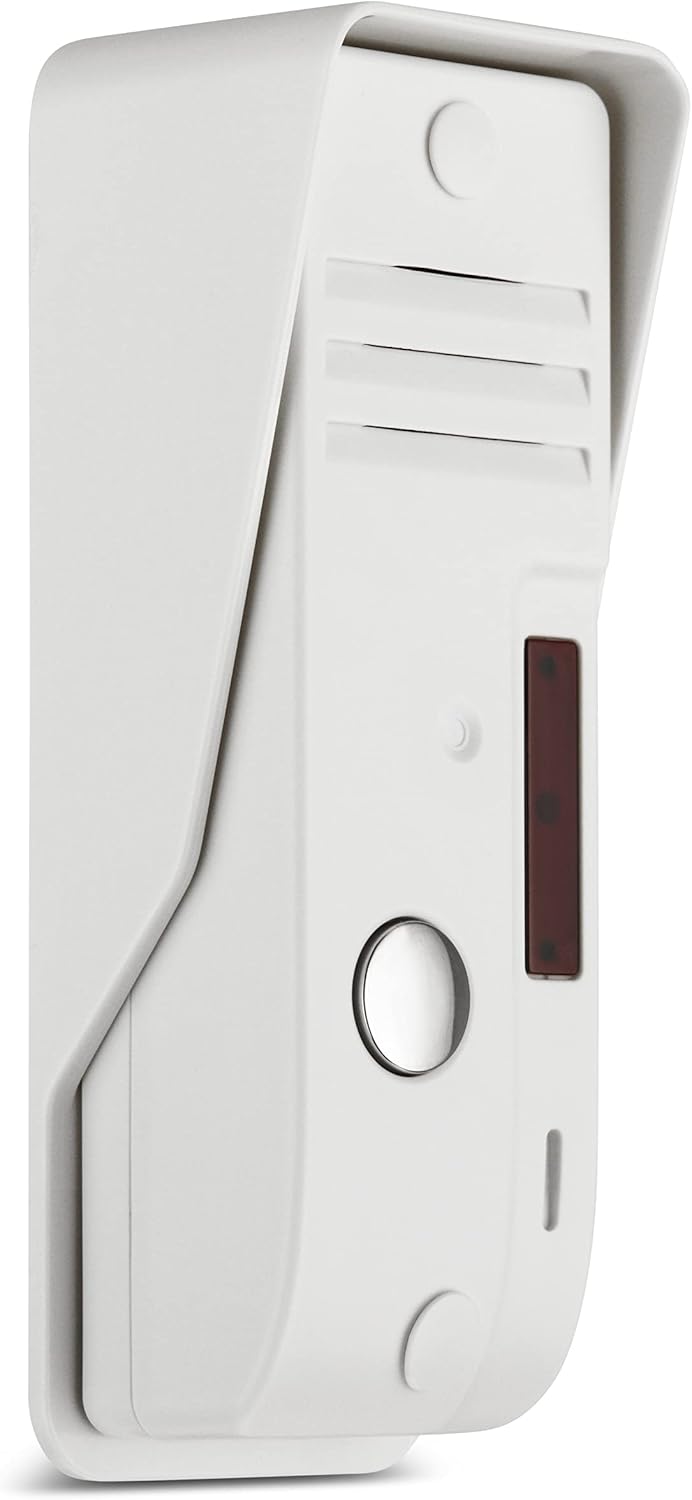
Figure 6: Outdoor unit speaker and microphone area.
3. Door Opening Function
- To open the door for your visitor, press the designated door opener button on the indoor handset unit. This button is typically marked with a key symbol.

Figure 7: Indoor unit with communication and door release buttons.
Maintenance
Regular maintenance ensures the longevity and reliable operation of your intercom system.
- Cleaning: Wipe both the indoor and outdoor units with a soft, dry cloth. For stubborn dirt, a slightly damp cloth can be used, followed by drying. Avoid using abrasive cleaners, solvents, or strong chemicals, as these can damage the surface.
- Outdoor Unit: Periodically check the outdoor unit for any debris, spiderwebs, or obstructions around the speaker, microphone, and call button. Keep the area clear to ensure clear audio and proper button function.
- Cables: Ensure all cables are securely connected and not damaged. Avoid pulling on the handset cord excessively.
Troubleshooting
If you encounter issues with your intercom system, refer to the following common problems and solutions:
| Problem | Possible Cause | Solution |
|---|---|---|
| Indoor unit does not ring when outdoor button is pressed. | No power; loose wiring connection; faulty outdoor unit button. | Check power supply. Verify all wiring connections are secure. Inspect outdoor unit button for damage. |
| No sound or distorted sound during communication. | Loose wiring; microphone/speaker obstruction; communication not initiated correctly. | Check all wiring connections. Ensure no obstructions on outdoor unit. Confirm the outdoor call button was pressed to initiate communication. |
| Door opener function does not work. | Incorrect wiring to door strike; faulty door strike; insufficient power. | Verify door opener wiring. Test the door strike independently if possible. Ensure the system has adequate power. |
| Communication only works after ringing. | This is normal operation for this model. | No action required. The system is designed to activate communication upon a visitor's call. |
If problems persist after attempting these solutions, please contact customer support.
Specifications
| Feature | Detail |
|---|---|
| Manufacturer | REV Ritter |
| Model Number | 003003101 |
| Indoor Unit Dimensions (L x W x H) | 22.5 x 15 x 5.4 cm |
| Outdoor Unit Dimensions (L x W x H) | 4.8 x 3.7 x 12.7 cm (approximate, based on diagram) |
| Product Weight | 553 grams |
| Power Supply | Included (integrated with connection cable) |
| System Type | Wired Intercom for 1 Family |

Figure 8: Dimensions of the intercom units.
Warranty and Support
For specific warranty details, please refer to the documentation included with your purchase or contact the manufacturer directly. General return policies may allow for returns within 30 days of purchase, subject to retailer terms.
For technical assistance or further inquiries, please contact REV Ritter customer support. Contact information can typically be found on the manufacturer's official website or on the product packaging.


