1. Introduction
This manual provides detailed instructions for the installation, operation, and maintenance of your BOSS Audio Systems CER3600D Chaos Erupt Monoblock Class D Amplifier. Please read this manual thoroughly before attempting installation or operation to ensure proper use and to prevent damage to the unit or connected components.
The CER3600D is a high-performance monoblock amplifier designed to deliver powerful and clear audio output for your vehicle's subwoofer system. It features Class D topology, a MOSFET power supply, variable crossover, and a remote subwoofer level control for optimal sound customization.
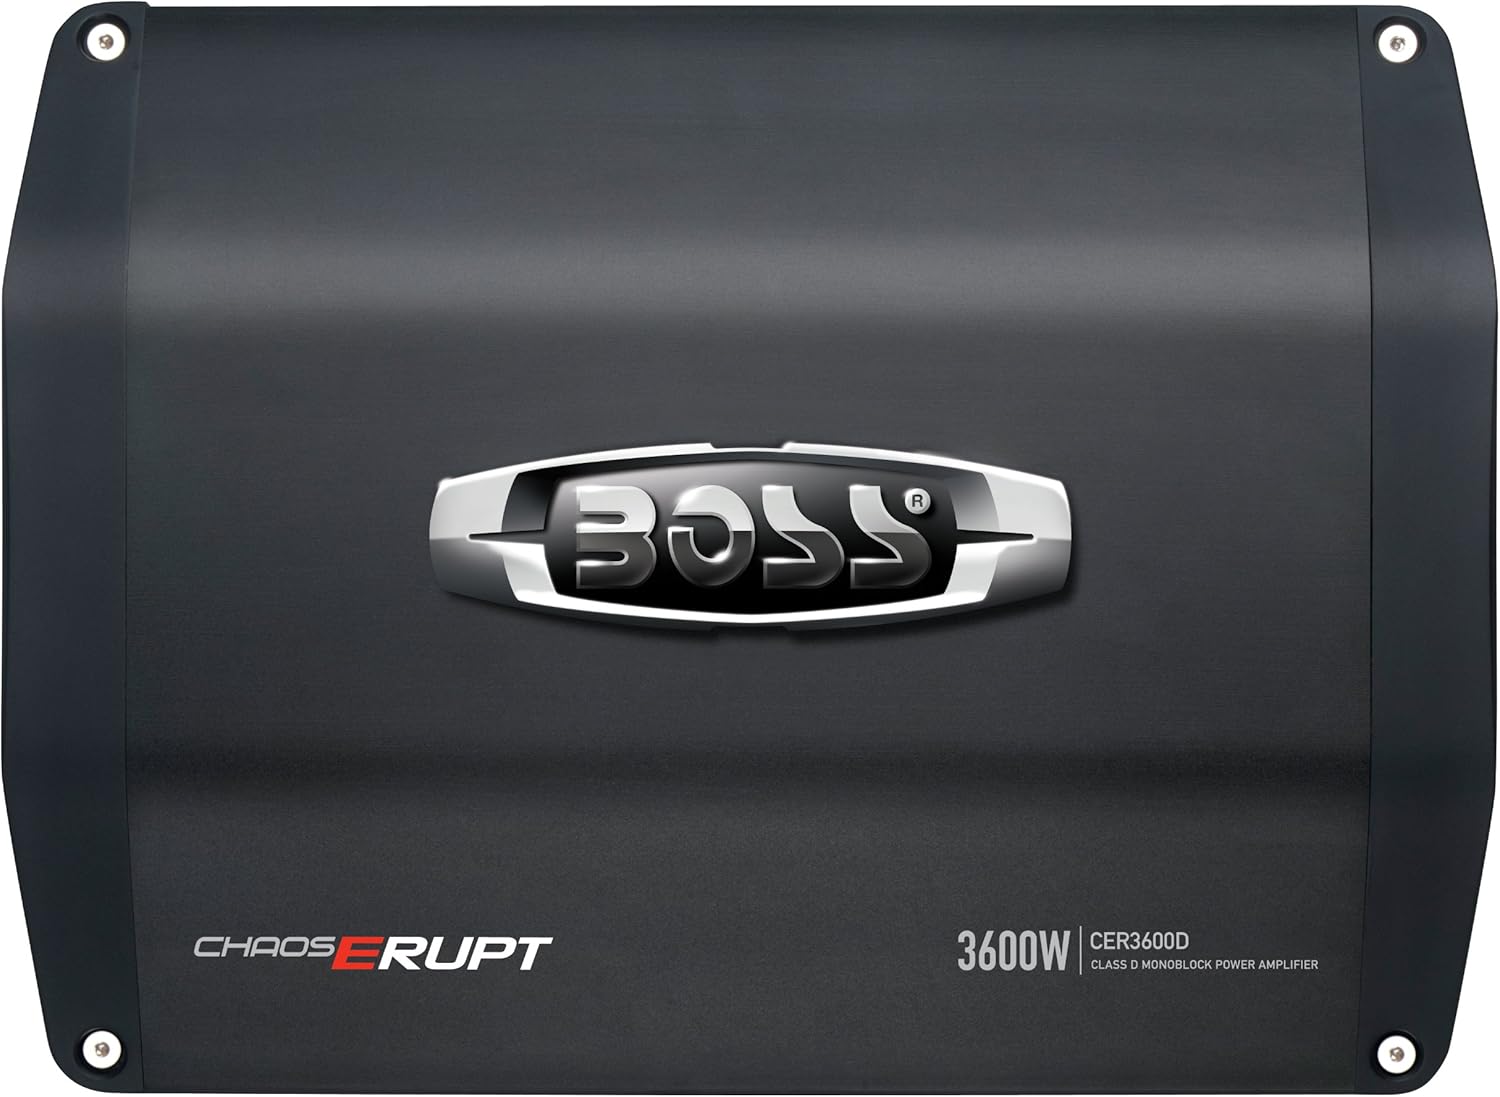
Image 1.1: Top view of the BOSS Audio Systems CER3600D amplifier, showcasing the sleek black design and BOSS logo.
2. Safety Information
WARNING: This product contains chemicals known to the State of California to cause cancer and birth defects or other reproductive harm. For more information, visit www.P65Warnings.ca.gov.
- Always disconnect the vehicle's battery negative terminal before starting any electrical work.
- Ensure all wiring is properly routed and secured to prevent damage from sharp edges or moving parts.
- Use appropriate gauge wiring for power and ground connections to prevent overheating and potential fire hazards.
- Install the amplifier in a location that allows for adequate ventilation to prevent overheating.
- Consult a professional car audio installer if you are unsure about any aspect of the installation process.
3. Setup and Installation
3.1 Unpacking
Carefully remove the amplifier from its packaging. Inspect the unit for any signs of damage. Retain the packaging materials for future use or shipping.
3.2 Mounting Location
Choose a mounting location that is dry, well-ventilated, and protected from direct sunlight or excessive heat. Ensure the location provides sufficient space for wiring connections and air circulation around the amplifier's heatsink. Avoid mounting the amplifier directly on carpet or in enclosed spaces without airflow.
3.3 Wiring Connections
Proper wiring is critical for the performance and safety of your amplifier. Refer to the diagram below for connection details.

Image 3.1: Rear view of the BOSS Audio Systems CER3600D amplifier, showing the various input and output terminals for power, ground, remote, RCA inputs, and speaker outputs.
- Power Connection (+12V): Connect a heavy-gauge wire (minimum 4 AWG recommended) from the amplifier's +12V terminal directly to the positive terminal of the vehicle's battery. Install an appropriate fuse (not supplied) within 18 inches of the battery.
- Ground Connection (GND): Connect a heavy-gauge wire (minimum 4 AWG recommended) from the amplifier's GND terminal to a clean, unpainted metal surface on the vehicle's chassis. Ensure a good electrical connection.
- Remote Turn-On (REM): Connect a 18 AWG wire from the amplifier's REM terminal to the remote turn-on output of your head unit. This wire turns the amplifier on and off with your stereo.
- Low-Level Inputs (RCA): Connect RCA cables from the head unit's subwoofer pre-out to the amplifier's "LOW LEVEL INPUTS".
- Speaker Output: Connect your subwoofer speaker(s) to the amplifier's speaker terminals. The CER3600D is a monoblock amplifier designed for a single channel output. Ensure the total impedance of your subwoofer(s) is within the amplifier's stable operating range (1 Ohm stable).
3.4 Bridging Two Amplifiers (Optional)
The CER3600D supports bridging with another identical amplifier (CER3600D) for increased power output. When bridging two CER3600D amplifiers, the minimum speaker impedance is 2 Ohms.

Image 3.2: Detailed wiring diagram illustrating how to bridge two BOSS CER3600D amplifiers for a single subwoofer, including connections for power, ground, remote, and speaker outputs, with master/slave switch settings.
Follow the diagram carefully, ensuring one amplifier is set to "MASTER" and the other to "SLAVE" using the switch on the rear panel. A datalink cable connects the two amplifiers.
4. Operating Instructions
Once the amplifier is properly installed and wired, you can adjust its settings for optimal audio performance.
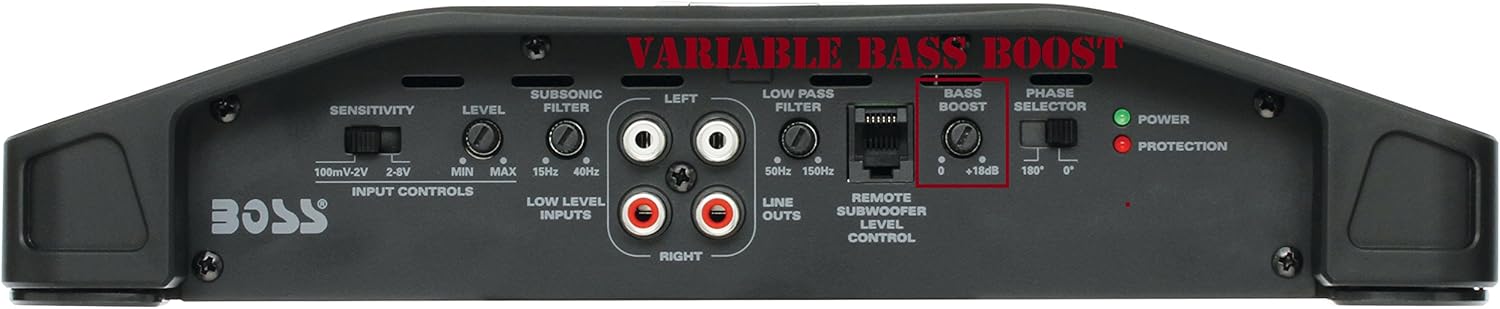
Image 4.1: Close-up view of the BOSS Audio Systems CER3600D amplifier's control panel, highlighting the input controls (sensitivity), subsonic filter, low pass filter, bass boost, and phase selector.
4.1 Input Controls (Sensitivity)
- SENSITIVITY (GAIN): This control matches the amplifier's input sensitivity to the output level of your head unit. Start with the gain control at minimum. Turn up the head unit volume to about 75% of its maximum. Slowly increase the amplifier's gain control until you hear slight distortion, then back it off slightly.
4.2 Crossover and Filter Settings
- SUBSONIC FILTER: This filter removes extremely low frequencies that are inaudible and can waste amplifier power. Adjust this control to filter out frequencies below your subwoofer's effective range (e.g., 15Hz-40Hz).
- LOW PASS FILTER (LPF): This filter allows only frequencies below the set point to pass through to the subwoofer. Adjust the LPF to match your subwoofer's frequency response and blend with your main speakers (e.g., 50Hz-150Hz).
4.3 Bass Boost and Phase
- BASS BOOST: This control provides an adjustable bass boost at a specific frequency. Use sparingly to enhance bass response. Excessive boost can lead to distortion and potential speaker damage.
- PHASE SELECTOR: This switch (0°/180°) helps to align the phase of the subwoofer output with the rest of your audio system. Experiment with both settings to find the one that provides the most cohesive and impactful bass.
4.4 Remote Subwoofer Level Control
Connect the included remote level control to the "REMOTE SUBWOOFER LEVEL CONTROL" port on the amplifier. This allows for convenient adjustment of the subwoofer output level from the driver's seat.
5. Maintenance
The BOSS Audio Systems CER3600D amplifier requires minimal maintenance to ensure long-lasting performance.
- Cleaning: Periodically wipe the amplifier's exterior with a soft, dry cloth. Avoid using harsh chemicals or abrasive cleaners.
- Ventilation: Ensure that the amplifier's heatsink fins are free from dust and debris to maintain proper cooling.
- Connections: Periodically check all wiring connections to ensure they are secure and free from corrosion.
6. Troubleshooting
If you experience problems with your amplifier, refer to the following troubleshooting guide before contacting technical support.
| Problem | Possible Cause | Solution |
|---|---|---|
| No Power / Amplifier does not turn on |
|
|
| No Sound Output |
|
|
| Distorted Sound |
|
|
| Amplifier Overheating |
|
|
7. Specifications
| Feature | Specification |
|---|---|
| Model | CER3600D |
| Amplifier Class | Class D |
| Number of Channels | 1 (Monoblock) |
| Output Power | 3600 Watts (Peak) |
| Stable Impedance | 1 Ohm |
| Power Supply | MOSFET |
| Low Level Inputs | Yes, with Pre-Amp Outputs |
| Variable Crossover | Yes |
| Subsonic Filter | Yes |
| Bass Boost | Variable |
| Remote Subwoofer Level Control | Included |
| Product Dimensions (L x W x H) | 14 x 11 x 2 inches |
| Item Weight | 9.5 pounds |
8. Warranty and Support
BOSS Audio Systems products are designed for reliability and performance. This product is covered by a manufacturer's warranty against defects in materials and workmanship. Specific warranty terms and conditions may vary by region and purchase date. Please refer to the warranty card included with your product or visit the official BOSS Audio Systems website for detailed information.
For technical assistance, troubleshooting beyond this manual, or warranty claims, please contact BOSS Audio Systems customer support. Have your product model number (CER3600D) and purchase information ready when contacting support.
BOSS Audio Systems Contact Information:
Please visit the official BOSS Audio Systems website for the most current contact details, including phone numbers, email, and support portals.


