
Introduction
This manual provides essential information for the proper installation, operation, and maintenance of your MTX Audio 5512-44 5500 Series Subwoofer. The 5512-44 is a 12-inch dual voice coil subwoofer designed to deliver high SPL (Sound Pressure Level) and powerful bass. It features a 400 Watt RMS power handling and a 4 Ohm impedance, making it suitable for various car audio applications. Please read this manual thoroughly before installation and use to ensure optimal performance and longevity of your subwoofer.
Product Overview

Figure 1: Front View of the 5512-44 Subwoofer. This image displays the front of the subwoofer, highlighting the durable cone, the red stitching around the surround, and the dual terminal connections for wiring.

Figure 2: Rear View of the 5512-44 Subwoofer. This view shows the robust magnet assembly and the radial ribbed t-yoke designed for heat dissipation and reduced distortion.
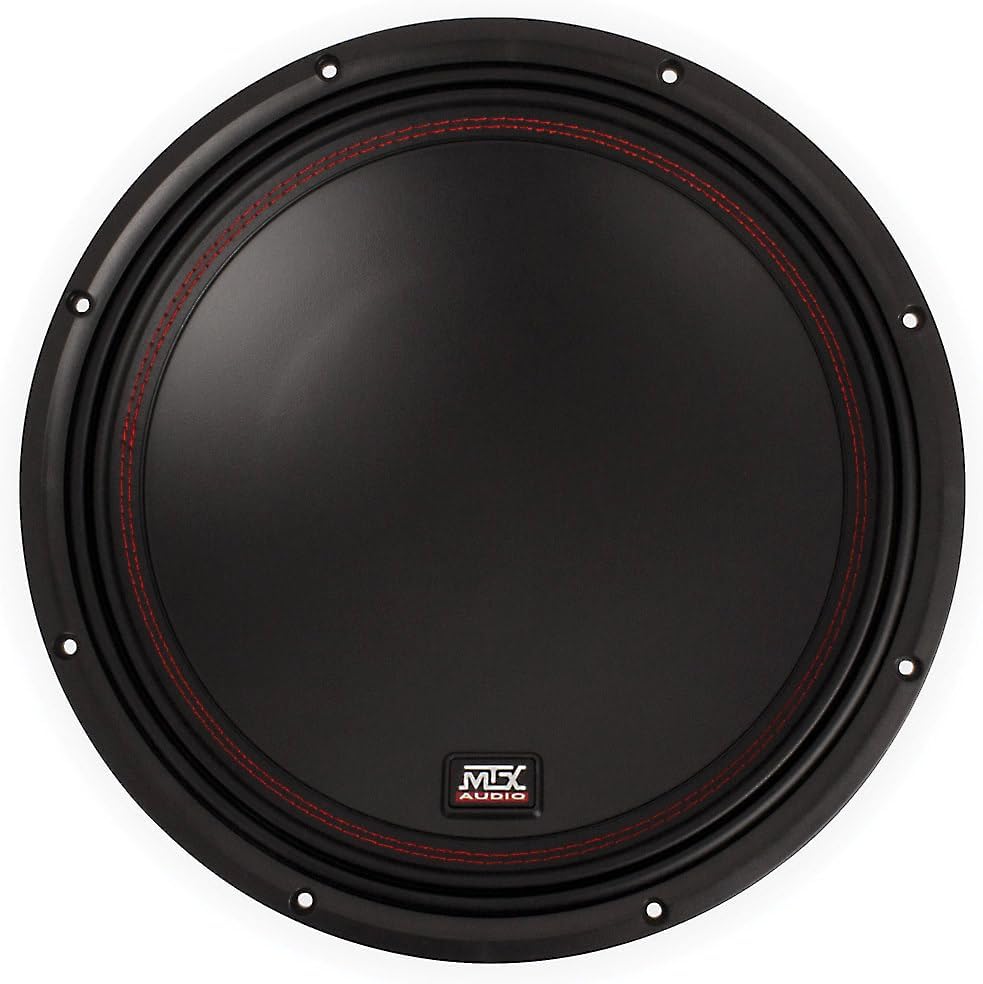
Figure 3: Top View of the 5512-44 Subwoofer Cone. This image emphasizes the expanded surface area of the cone and the inverted Apex surround, crucial for increased volume displacement and controlled excursion.
Key Components:
- Cone: The primary radiating surface that moves air to produce sound.
- Surround: The flexible ring connecting the cone to the basket, allowing for cone movement. The 5512-44 features an Inverted Apex surround.
- Voice Coil: The coil of wire attached to the cone, which interacts with the magnetic field to move the cone. This model uses 2.0" high-temperature voice coils.
- Magnet Structure: Provides the magnetic field for the voice coil to operate within.
- Basket (Frame): The rigid structure that holds all the components together.
- Terminals: Connection points for amplifier wiring. The 5512-44 has dual 4 Ohm voice coils, requiring specific wiring configurations.
Setup and Installation
Proper installation is crucial for the performance and longevity of your subwoofer. It is recommended that installation be performed by a qualified professional.
1. Enclosure Recommendations:
The MTX 5512-44 subwoofer is designed to perform optimally in a properly constructed enclosure. Common enclosure types include sealed and ported (vented) enclosures. Consult the MTX Audio website or a car audio specialist for specific enclosure volume and port tuning recommendations for your vehicle and desired sound characteristics.
2. Wiring Configurations:
The 5512-44 features dual 4 Ohm voice coils. This allows for flexible wiring options to match your amplifier's impedance requirements. Below are common configurations:
- 1 Ohm Load (Parallel Wiring): Connect the positive terminals of both voice coils together, and the negative terminals of both voice coils together. Then connect these combined terminals to the amplifier. This configuration results in a 1 Ohm load, suitable for amplifiers stable at 1 Ohm.
- 8 Ohm Load (Series Wiring): Connect the positive terminal of one voice coil to the negative terminal of the other voice coil. Then connect the remaining positive and negative terminals to the amplifier. This configuration results in an 8 Ohm load.
Important: Always ensure your amplifier is stable at the impedance load you choose. Incorrect wiring can damage your amplifier or subwoofer. Refer to your amplifier's manual for its impedance capabilities.
3. Mounting:
- Ensure the mounting surface is flat and free of obstructions.
- Use the provided mounting screws and ensure they are tightened securely but do not overtighten.
- Verify that there is adequate clearance behind the subwoofer for proper excursion and cooling.
Operating Instructions
Initial Power-Up and Break-In:
After installation, it is recommended to allow a break-in period for your new subwoofer. During the first 20-30 hours of use, operate the subwoofer at moderate volume levels. This allows the suspension components (surround and spider) to loosen up and reach their optimal compliance, improving long-term performance and reliability.
Audio System Tuning:
- Gain Setting: Set the amplifier gain correctly to match the output voltage of your head unit. An improperly set gain can lead to distortion and potential damage.
- Low-Pass Filter (LPF): Use the low-pass filter on your amplifier or head unit to ensure only low frequencies are sent to the subwoofer. A typical LPF setting for subwoofers is between 80Hz and 120Hz, but this can be adjusted based on your system's overall sound.
- Subsonic Filter: If your amplifier has a subsonic filter, enable it and set it slightly below the tuning frequency of your ported enclosure (if applicable) to protect the subwoofer from over-excursion at very low frequencies.
- Phase Control: Experiment with the phase switch (0° or 180°) on your amplifier to achieve the best blend with your front speakers and maximize bass impact.
Caution: Avoid prolonged operation at high distortion levels, as this can cause permanent damage to the subwoofer. If you hear distortion, reduce the volume immediately.
Maintenance
The MTX 5512-44 subwoofer requires minimal maintenance to ensure its longevity and performance.
- Cleaning: Use a soft, dry cloth to wipe down the cone and surround. Avoid using harsh chemicals or abrasive cleaners.
- Inspection: Periodically inspect the subwoofer for any signs of damage, such as tears in the surround or cone, loose connections, or unusual noises during operation.
- Environment: Ensure the subwoofer is installed in a dry environment, protected from extreme temperatures and direct sunlight.
Troubleshooting
If you experience issues with your MTX 5512-44 subwoofer, refer to the table below for common problems and their solutions.
| Problem | Possible Cause | Solution |
|---|---|---|
| No Sound from Subwoofer |
|
|
| Distorted Sound |
|
|
| Weak or Muffled Bass |
|
|
If the problem persists after attempting these solutions, please contact MTX Audio customer support or a qualified car audio technician.
Specifications
| Feature | Detail |
|---|---|
| Model Name | 5512-44 |
| Speaker Type | Subwoofer |
| Subwoofer Driver Diameter | 12 Inches (30.5 cm) |
| RMS Power Handling | 400 Watts |
| Peak Power Handling | 800 Watts |
| Impedance | Dual 4 Ohm Voice Coils |
| Frequency Response | 26 - 130 Hz |
| Sensitivity | 85.7 dB |
| Voice Coil Diameter | 2.0 inches (5.08 cm) |
| Peak Excursion (Xmax) | 1.52 cm |
| Product Dimensions (D x W x H) | 6.19" x 11.09" x 12.34" |
| Item Weight | 10.7 Pounds |
| Included Components | Subwoofer |
| Manufacturer | MTX Audio |
Warranty Information
The MTX Audio 5512-44 Subwoofer comes with a Limited Warranty. This warranty covers defects in materials and workmanship under normal use. The duration and specific terms of the warranty may vary. For complete and up-to-date warranty details, including coverage, exclusions, and how to make a claim, please refer to the official MTX Audio website or contact their customer support directly. Retain your proof of purchase for warranty service.
Support
For additional support, technical assistance, or frequently asked questions, please visit the official MTX Audio website:
You may also contact MTX Audio customer service through the contact information provided on their website.