
1. Introduction
This manual provides essential information for the safe and efficient use of your celexon Professional Plus Projection Screen. Please read these instructions carefully before installation and operation. Keep this manual for future reference.
The celexon Professional Plus series offers a high-quality projection surface with a 16:9 aspect ratio, ideal for home cinema and professional presentations. This model features a 'Slow Return' mechanism for smooth retraction and is suitable for both wall and ceiling mounting.
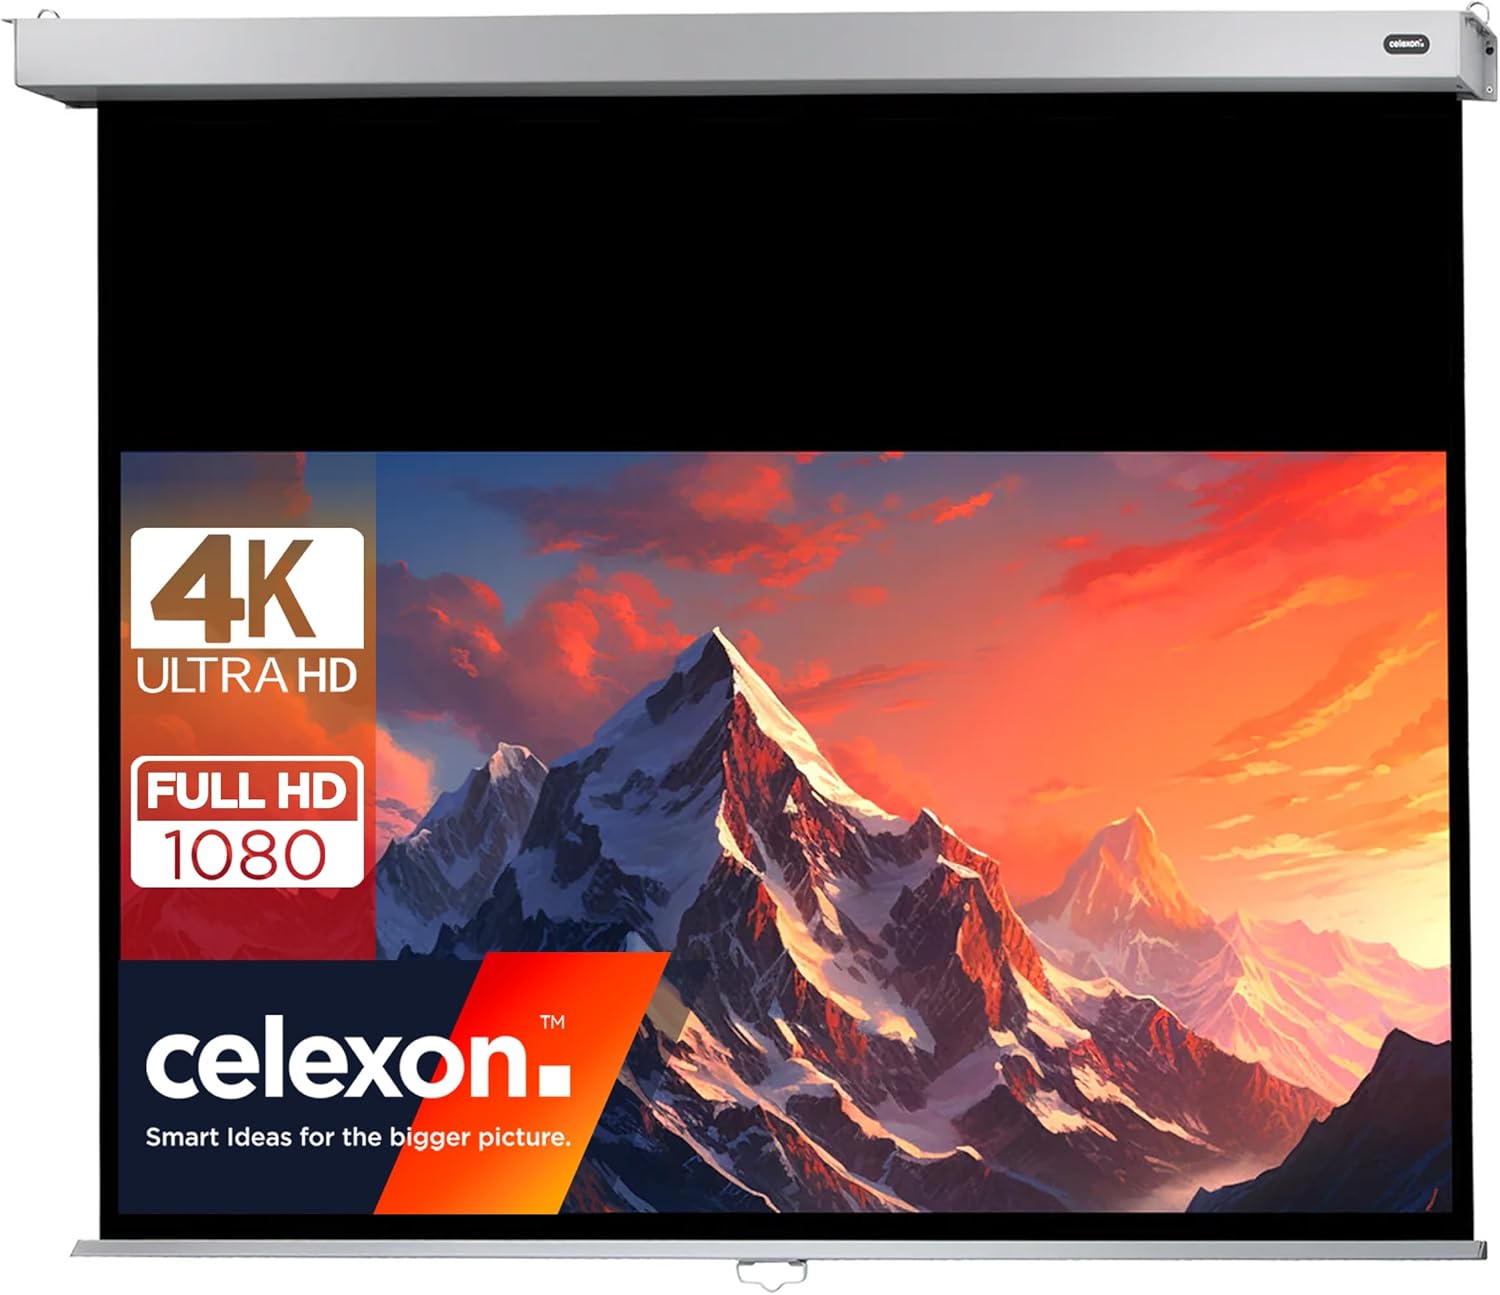
Image 1.1: The celexon Professional Plus Projection Screen in use, highlighting its compatibility with 4K Ultra HD and Full HD 1080 content.
2. Safety Information
- Always ensure the screen is securely mounted to a sturdy wall or ceiling structure. Consult a professional if unsure about mounting surfaces.
- Do not attempt to disassemble or modify the screen mechanism. This may cause damage and void the warranty.
- Keep the screen away from direct heat sources, open flames, and excessive moisture.
- Ensure hands are clear of the screen housing and retraction mechanism during operation to prevent injury.
- This product is designed for indoor use only.
- The screen material is fire-resistant (B1 certified).
3. Package Contents
Verify that all components are present before beginning installation:
- celexon Professional Plus Projection Screen (200 x 113 cm)
- Mounting hardware (screws, anchors)
- User Manual
4. Setup and Installation
4.1 Dimensions and Measurements
The screen has a viewing area of 200 cm (width) x 113 cm (height), with an overall housing length of approximately 218 cm. The black drop at the top is 45 cm, and the black border on the sides is 4 cm.

Image 4.1: Key dimensions of the celexon Professional Plus Projection Screen.

Image 4.2: Detailed housing and screen border dimensions.
4.2 Mounting Options
The screen can be mounted on a wall or ceiling. Ensure the mounting surface is capable of supporting the screen's weight (approximately 9.7 kg).
4.3 Installation Steps
- Select Location: Choose a suitable location on a wall or ceiling, ensuring it is level and free from obstructions.
- Mark Drilling Points: Hold the screen housing against the desired mounting surface and mark the positions for the mounting brackets. Use a level to ensure accuracy.
- Drill Holes: Drill pilot holes at the marked positions. Insert appropriate wall anchors if necessary.
- Attach Brackets: Securely fasten the mounting brackets to the wall or ceiling using the provided screws.
- Mount Screen: Carefully lift the screen and attach it to the installed mounting brackets. Ensure it is firmly seated and locked into place.
5. Operating Instructions
5.1 Extending the Screen
To extend the screen, gently pull down on the handle located at the bottom center of the screen. Pull the screen down to the desired viewing height. The screen will lock into position automatically at various intervals.
5.2 Retracting the Screen (Slow Return Mechanism)
To retract the screen, gently pull down on the handle again, then release it slowly. The integrated 'Slow Return' mechanism will ensure the screen glides smoothly and quietly back into its housing without abrupt snapping or slamming.
5.3 Screen Features
- Aspect Ratio: 16:9, optimized for widescreen content.
- Gain Factor: 1.2, providing a bright and clear image suitable for various viewing environments.
- Viewing Angle: 150 degrees, ensuring a wide viewing area without significant loss of image quality.
- Compatibility: Suitable for 4K UHD, Full HD 1080, 3D, DLP, LCD, laser, and LED projectors.
- Surface: Matte white, providing excellent color reproduction and contrast.

Image 5.1: Visual representation of the screen's key features.
6. Maintenance
6.1 Cleaning the Screen Surface
To clean the matte white screen surface, use a soft, lint-free cloth lightly dampened with water. Gently wipe the screen from top to bottom. Avoid using harsh chemicals, abrasive cleaners, or excessive pressure, as these can damage the screen material.
6.2 General Care
- Regularly inspect the mounting hardware to ensure it remains secure.
- Keep the screen retracted when not in use to protect the surface from dust and damage.
- Do not hang objects on the screen housing or mechanism.
7. Troubleshooting
- Screen does not retract smoothly: Ensure the screen is pulled down slightly and then released gently. Avoid forcing the mechanism. If the issue persists, check for any obstructions in the housing.
- Image appears distorted or uneven: Verify that the screen is installed perfectly level. Uneven tension can cause slight distortions.
- Screen is difficult to pull down: Ensure there are no obstructions. If the screen has been stored retracted for a long period, it might require a gentle, firm pull to initiate movement.
8. Specifications
| Feature | Specification |
|---|---|
| Brand | celexon |
| Model Number | 1090787 |
| Screen Dimensions (Viewing Area) | 200 x 113 cm (Width x Height) |
| Aspect Ratio | 16:9 |
| Overall Product Dimensions | 9 x 218 x 8 cm (Height x Width x Depth) |
| Weight | 9.7 kg |
| Gain Factor | 1.2 |
| Viewing Angle | 150 degrees |
| Screen Surface Material | Canvas (Matte White) |
| Mounting Type | Wall or Ceiling Mount |
| Special Features | Slow Return Mechanism, B1 Fire Protection, 4K UHD Compatible |
9. Warranty and Support
9.1 Warranty Information
This celexon product is covered by a manufacturer's warranty. Please refer to the warranty card included with your purchase or visit the official celexon website for detailed warranty terms and conditions.
9.2 Customer Support
For technical assistance, troubleshooting, or spare parts, please contact celexon customer support. Contact details can typically be found on the official celexon website or in your purchase documentation.


