1. Introduction
This user manual provides comprehensive instructions for the installation, operation, and maintenance of your D-Link DHP-W310AV Powerline Network Adapter. The DHP-W310AV extends your home network by utilizing your existing electrical wiring to transmit network data, offering both wired Ethernet and wireless 802.11n connectivity. Please read this manual carefully to ensure proper setup and optimal performance of your device.
2. Package Contents
Verify that your package contains the following items:
- D-Link DHP-W310AV Powerline Network Adapter
- Ethernet Cable
- Quick Installation Guide
If any of the above items are missing or damaged, please contact your local D-Link reseller for assistance.
3. Product Overview
The DHP-W310AV is designed for ease of use and compact integration into your home. Below are descriptions of its physical features and indicators.
3.1 Front Panel and LED Indicators

Figure 1: Front view of the D-Link DHP-W310AV, showing the D-Link logo, model number, and four LED indicators on the left side. These indicators provide status information for power, Powerline connection, Ethernet activity, and Wi-Fi status.
- Power LED: Indicates the device's power status.
- Powerline LED: Indicates the status of the Powerline connection to other adapters.
- Ethernet LED: Indicates activity on the Ethernet port.
- Wi-Fi LED: Indicates the status of the wireless network.
3.2 Rear Panel (Power Plug)
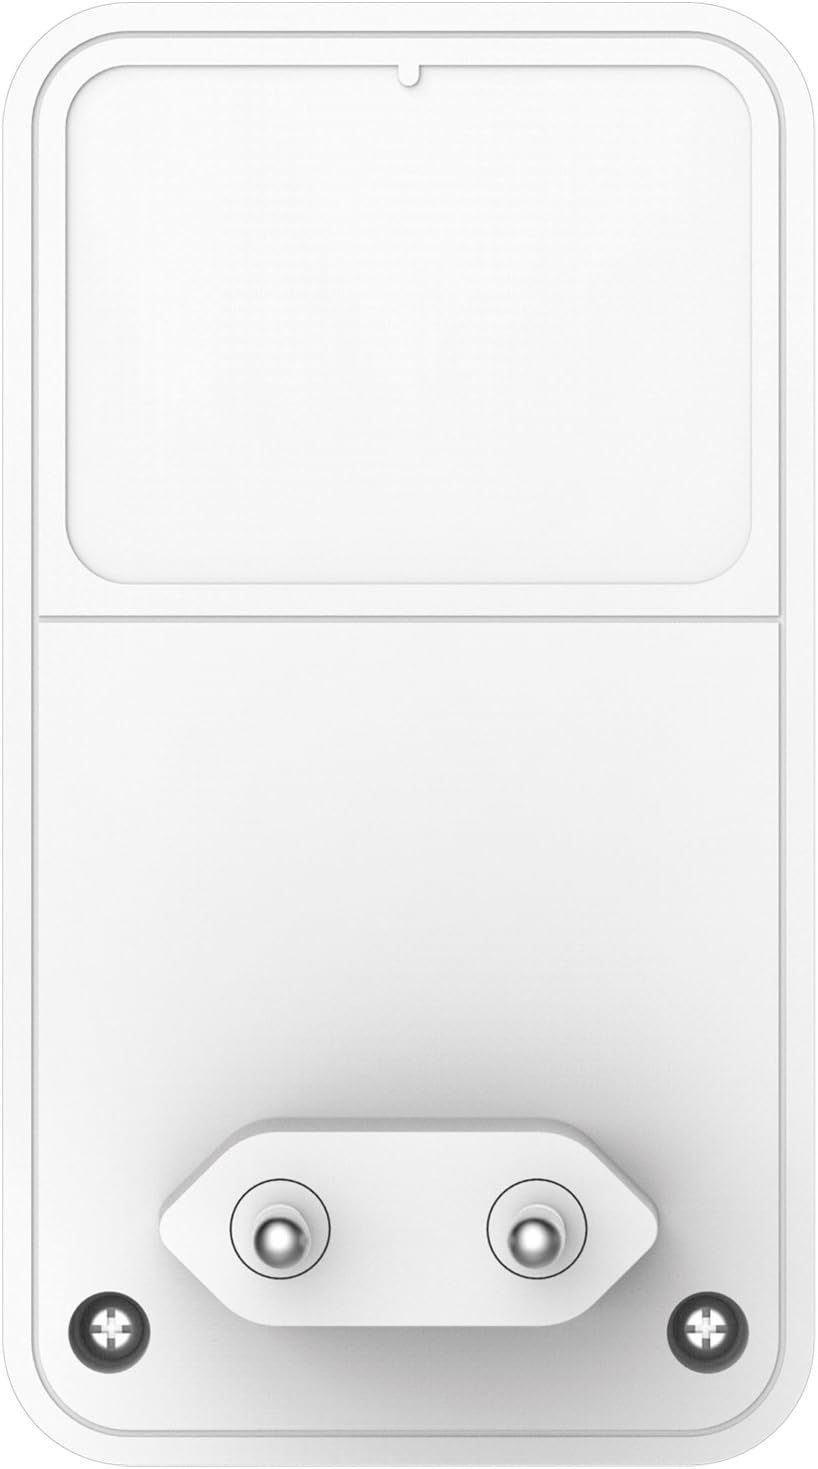
Figure 2: Rear view of the D-Link DHP-W310AV, displaying the integrated power plug designed for direct insertion into a wall outlet. This design ensures a compact form factor and direct power supply.
3.3 Side Panel (LAN Port and Reset Button)

Figure 3: Side view of the D-Link DHP-W310AV, highlighting the LAN (Ethernet) port for wired connections and the recessed Reset button. The Reset button is used to restore the device to factory default settings.
- LAN Port: An RJ-45 Ethernet port for connecting wired devices such as computers, gaming consoles, or smart TVs.
- Reset Button: Used to restore the device to its factory default settings. Press and hold for approximately 10 seconds while the device is powered on.
4. Setup
Follow these steps to set up your D-Link DHP-W310AV Powerline Network Adapter. This device requires at least one other Powerline adapter (e.g., D-Link DHP-308AV, DHP-P308AV, or similar) connected to your router to function.
4.1 Initial Placement
- Plug in the Main Powerline Adapter: Connect your primary Powerline adapter (not included with DHP-W310AV) to an electrical outlet near your internet router. Use an Ethernet cable to connect this adapter to your router.
- Plug in the DHP-W310AV: Plug the DHP-W310AV into an electrical outlet in the room where you want to extend your network coverage. Ensure it is plugged directly into a wall outlet, not a power strip or surge protector, for optimal performance.
- Wait for Powerline LED: Wait for the Powerline LED on the DHP-W310AV to turn solid green, indicating a successful connection to your existing Powerline network. This may take a few moments.
4.2 Securing the Powerline Network (Pairing)
For security, it is recommended to pair your Powerline adapters to create a private, encrypted network.
- Press Security Button on Existing Adapter: On your existing Powerline adapter (connected to the router), press the Simple Connect or Security button. Refer to that adapter's manual for exact button location and timing.
- Press Security Button on DHP-W310AV: Within two minutes, press the Simple Connect or Security button on the DHP-W310AV. This button is typically located on the side or bottom of the device.
- Verify Pairing: The Powerline LED on both adapters should turn solid green, indicating a successful and secure connection.
4.3 Wireless Setup
The DHP-W310AV broadcasts a Wi-Fi network. The default Wi-Fi network name (SSID) and password (WPA/WPA2 key) are usually printed on a label on the bottom or back of the device.
- Connect to Wi-Fi: On your wireless device (laptop, smartphone, tablet), search for available Wi-Fi networks and select the SSID corresponding to your DHP-W310AV.
- Enter Password: Enter the Wi-Fi password (WPA/WPA2 key) when prompted.
- Access Internet: Once connected, your device should have internet access through the Powerline network.
For advanced Wi-Fi settings, such as changing the SSID or password, you may need to access the device's web-based configuration utility. Refer to the full D-Link DHP-W310AV manual for detailed instructions on accessing and configuring these settings.
5. Operating Instructions
5.1 Wired Connection
To connect a wired device to your Powerline network:
- Ensure the DHP-W310AV is powered on and the Powerline LED is solid green.
- Connect one end of an Ethernet cable to the LAN port on the DHP-W310AV.
- Connect the other end of the Ethernet cable to the Ethernet port on your wired device (e.g., computer, game console).
- The Ethernet LED on the DHP-W310AV should illuminate, indicating an active connection.
5.2 Wireless Connection
To connect a wireless device to your Powerline network via Wi-Fi:
- Ensure the DHP-W310AV is powered on and the Wi-Fi LED is illuminated.
- On your wireless device, open the Wi-Fi settings and select the network name (SSID) of the DHP-W310AV.
- Enter the Wi-Fi password (WPA/WPA2 key) when prompted.
- Once connected, your device will have wireless internet access.
6. Maintenance
To ensure the longevity and optimal performance of your DHP-W310AV:
- Cleaning: Gently wipe the device with a soft, dry cloth. Do not use liquid or aerosol cleaners.
- Placement: Avoid placing the device in direct sunlight, near heat sources, or in areas with high humidity. Ensure adequate ventilation around the device.
- Firmware Updates: Periodically check the D-Link support website for firmware updates. Updating firmware can improve performance, add new features, and fix bugs.
- Power Cycle: If you experience intermittent issues, try unplugging the device from the power outlet for 10 seconds and then plugging it back in.
7. Troubleshooting
This section provides solutions to common issues you might encounter with your DHP-W310AV.
7.1 No Power LED
- Ensure the DHP-W310AV is securely plugged into a working electrical outlet.
- Try plugging another device into the same outlet to confirm the outlet is functional.
7.2 Powerline LED is Off or Blinking
- Ensure all Powerline adapters are plugged directly into wall outlets, not power strips or surge protectors.
- Verify that all Powerline adapters are on the same electrical circuit. Powerline technology works best within the same electrical phase.
- Ensure the main Powerline adapter is connected to your router and powered on.
- Try re-pairing the adapters as described in Section 4.2.
7.3 No Internet Access via Wired or Wireless Connection
- Check the Powerline LED status. If it's off or blinking, refer to the previous troubleshooting steps.
- Verify that your main router has an active internet connection.
- For wired connections, ensure the Ethernet cable is securely connected to both the DHP-W310AV and your device.
- For wireless connections, ensure you are connected to the correct Wi-Fi network (SSID) and have entered the correct password.
- Try restarting your router, all Powerline adapters, and the connected devices.
7.4 Slow Network Speed
- Powerline performance can be affected by electrical interference. Avoid plugging adapters into outlets shared with high-power appliances (e.g., washing machines, refrigerators).
- Ensure adapters are plugged directly into wall outlets.
- The quality of your home's electrical wiring can impact performance.
- Ensure your main internet connection speed is adequate.
8. Specifications
| Feature | Description |
|---|---|
| Model Number | DHP-W310AV |
| Wireless Type | 802.11n |
| Data Transfer Rate | Up to 500 Mbps (Powerline), 300 Mbps (Wireless) |
| Data Link Protocol | Ethernet, HomePlug AV |
| Hardware Interface | 1 x 10/100 Ethernet Port (RJ-45) |
| Compatible Devices | Desktop computers, Laptops, Gaming Consoles, Smart TVs, etc. |
| Dimensions (LxWxH) | 2.4 x 1.67 x 2.68 inches (6.1 x 4.24 x 6.81 cm) |
| Item Weight | 4.4 ounces (125.6 grams) |
| Power Input | 100-240V AC, 50/60Hz |
9. Warranty and Support
For detailed warranty information and technical support, please refer to the warranty card included with your product or visit the official D-Link support website. You can find drivers, firmware updates, and additional documentation there.
D-Link Support Website: www.dlink.com/support


