This manual provides detailed instructions for the installation, operation, and maintenance of your Rademacher 36500512 Built-in Timer. Please read this manual thoroughly before installation and use to ensure safe and efficient operation of the device. Keep this manual for future reference.
Product Features
The Rademacher 36500512 Built-in Timer offers advanced functionality for automated control of electrical devices. Key features include:
Daily and Weekly Programming: Set specific on/off times for each day of the week.
Daylight-Dependent Program (Astro Function): Automatically adjusts switching times based on sunrise and sunset.
Dawn/Dusk Sensor Compatibility: Connect an external sensor for enhanced light-dependent control.
Automatic Summer/Winter Time Change: The timer automatically adjusts for daylight saving time.
Backup Battery: Retains settings and time during power outages.
Important Safety Instructions
WARNING: Electrical installation should only be performed by a qualified electrician in accordance with local wiring regulations and standards. Failure to follow these instructions may result in electric shock, fire, or serious injury.
Always disconnect power at the main circuit breaker before installing or servicing the device.
Do not install in wet or damp locations.
Ensure all connections are secure and properly insulated.
Do not exceed the maximum load rating of the timer.
Keep the device away from children.
Package Contents
Please check that all items are present in the package:
Rademacher 36500512 Built-in Timer Unit
Instruction Manual
Mounting Screws (if applicable)
Installation and Initial Setup
The Rademacher 36500512 is designed for flush-mounted installation. It is recommended that installation be carried out by a qualified electrician.
1. Mounting the Timer
Power Disconnection: Before starting, ensure the main power supply to the installation area is switched off at the circuit breaker.
Prepare the Wall Box: The timer is designed to fit into a standard flush-mounted wall box.
Wiring: Connect the electrical wires to the terminals on the back of the timer according to the wiring diagram provided in the separate wiring instructions (not part of this manual). Ensure correct phase, neutral, and load connections.
Secure the Unit: Carefully place the timer into the wall box and secure it using the provided mounting screws.
Attach Front Panel: Snap the front panel with the display and buttons onto the mounted unit.
Image 1: Front view of the Rademacher 36500512 Built-in Timer with its unlit display and control buttons. This shows the overall aesthetic and button layout before power-up.
2. Initial Power-Up and Basic Settings
Restore Power: Once installation is complete and secure, restore power at the main circuit breaker.
First Use: The display will illuminate. You may need to set the current time and date.
Setting Time and Date: Use the M (Menu) button to navigate and the Up/Down arrows to adjust values. Confirm with OK. Refer to the "Operating Instructions" section for detailed navigation.
Operating Instructions
The Rademacher 36500512 timer is controlled via its integrated display and buttons. Familiarize yourself with the controls:
M Button: Accesses the main menu and navigates through options.
Up/Down Arrows: Adjust values, scroll through menu items, or manually control the connected device (e.g., blinds).
OK Button: Confirms selections and saves settings.
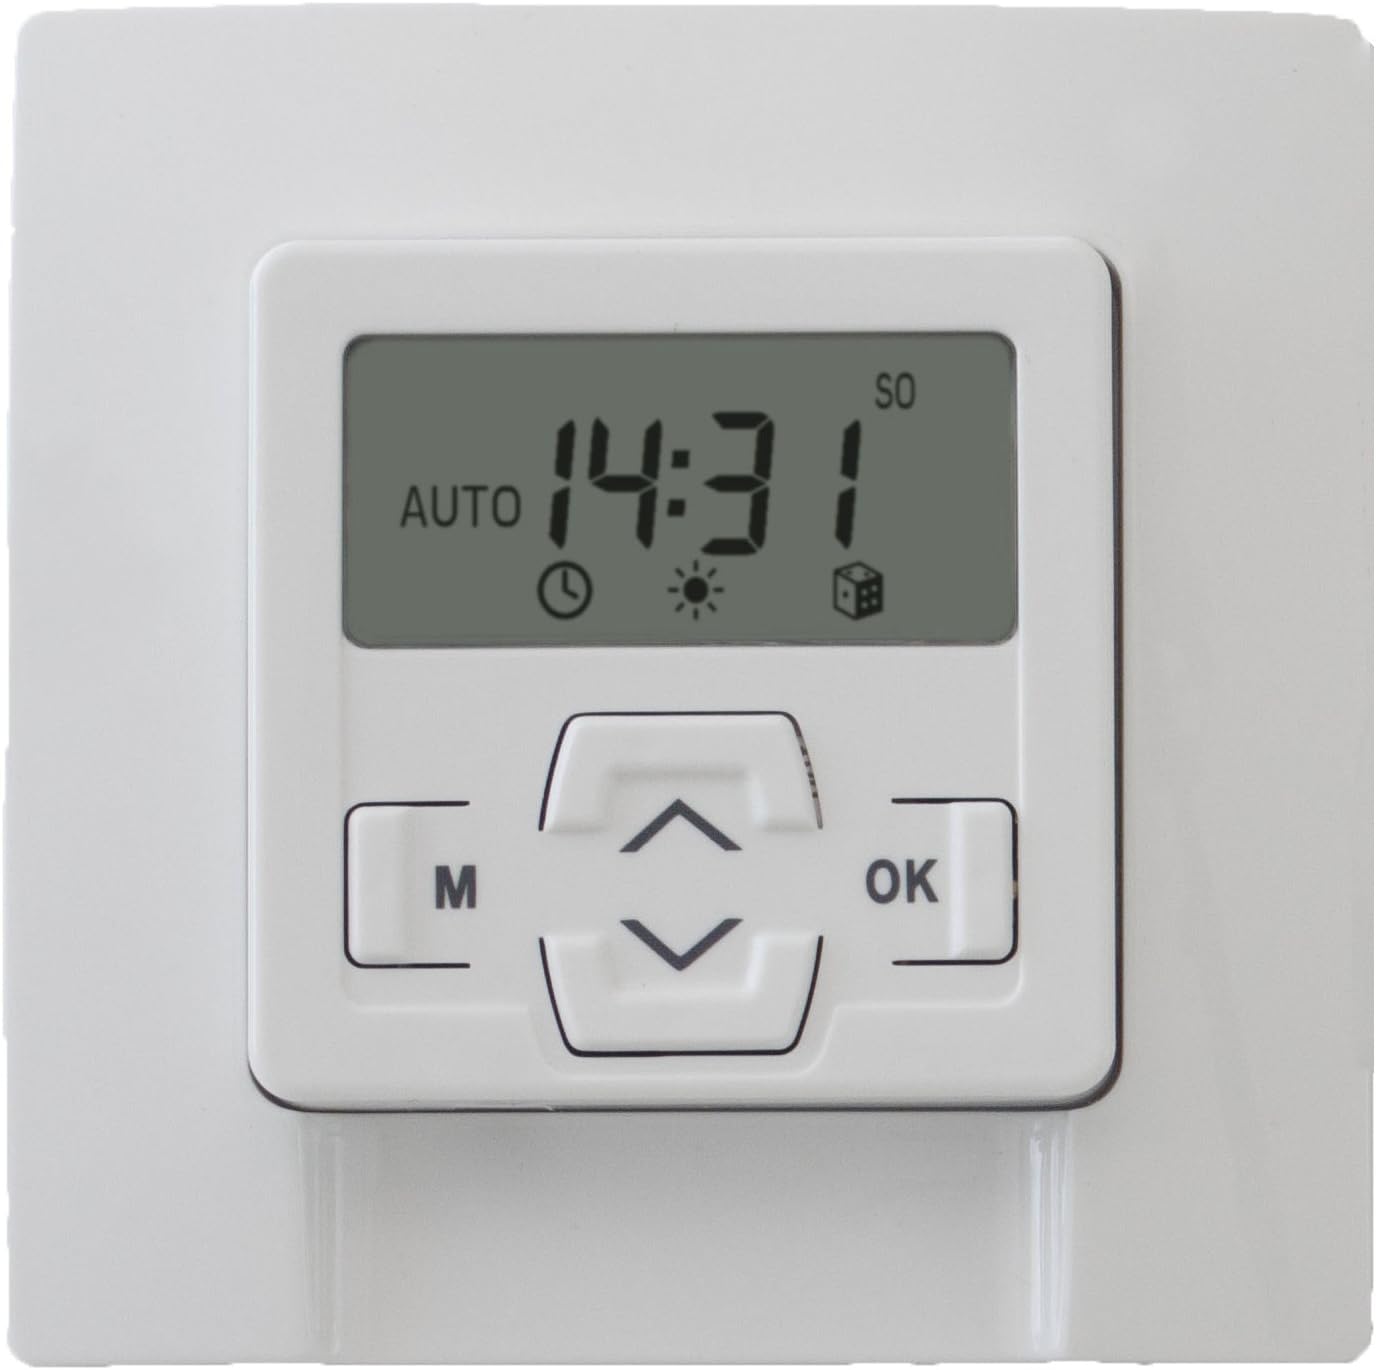
Image 2: Front view of the Rademacher 36500512 Built-in Timer with its display illuminated, showing the current time (14:31) and indicating 'AUTO' mode, along with various status icons.
1. Setting Current Time and Date
Press M to enter the main menu.
Navigate using Up/Down arrows to find "Time/Date" or similar option. Press OK.
Adjust hours, minutes, day, month, and year using Up/Down arrows and confirm each with OK.
Exit the menu by pressing M repeatedly or waiting for timeout.
2. Programming Daily/Weekly Schedules
Press M to enter the main menu.
Select "Program" or "Schedule" and press OK.
Choose between "Daily Program" or "Weekly Program".
For each desired switching time (e.g., open, close), set the specific time and day(s) of the week. Use Up/Down to adjust and OK to confirm.
Save all settings before exiting the programming menu.
3. Astro Function (Daylight-Dependent Control)
The Astro function automatically adjusts switching times based on sunrise and sunset, which are calculated based on your geographical location (if configured) or a default setting. This provides a natural control rhythm.
Access the main menu with M.
Select "Astro" or "Daylight Program" and press OK.
Activate the function and configure any offset times (e.g., close 15 minutes after sunset) if available.
Ensure your location settings are accurate for optimal performance.
4. Manual Override
You can temporarily override the programmed schedule at any time:
Press the Up or Down arrow buttons to manually activate or deactivate the connected device.
The timer will return to its programmed schedule after the manual action is completed or after a set period, depending on the specific model's configuration.
Maintenance
The Rademacher 36500512 Built-in Timer requires minimal maintenance.
Cleaning: Wipe the surface of the timer with a soft, dry cloth. Do not use abrasive cleaners or solvents.
Backup Battery: The internal backup battery ensures settings are retained during power outages. This battery is typically long-lasting and not user-replaceable. If the timer consistently loses settings after power interruptions, professional service may be required.
Troubleshooting
Problem
Possible Cause
Solution
Timer display is blank.
No power supply.
Check circuit breaker and wiring connections. Ensure power is restored.
Timer does not switch at programmed times.
Incorrect programming; Manual override active; Astro function interfering.
Review programmed schedules. Deactivate manual override. Check Astro settings. Ensure the timer is in automatic mode.
Time/Date is incorrect after power outage.
Backup battery depleted or faulty.
Reset time and date. If issue persists, contact customer support for service.
Buttons are unresponsive.
Temporary software glitch; Physical damage.
Try cycling power to the unit (turn off at breaker, wait 30 seconds, turn on). If issue persists, contact customer support.
Specifications
Brand
Rademacher
Model Number
36500512
Voltage
230 Volts
Material
Plastic
Product Dimensions (L x W x H)
4.8 x 8 x 8 cm
Item Weight
159 g
Color
Ultra-white
Warranty and Customer Support
Your Rademacher 36500512 Built-in Timer is covered by a manufacturer's warranty. Please refer to the warranty card included with your purchase for specific terms and conditions.
For technical assistance, troubleshooting not covered in this manual, or warranty claims, please contact Rademacher customer support through their official website or the retailer where the product was purchased.
Related Documents - 36500512
RADEMACHER Radio Code Switch Instruction Manual Instruction manual for the RADEMACHER Radio code switch (Item No. 8000 00 02), covering general view, installation, battery replacement, programming codes, operating instructions, and EU declaration of conformity.
RADEMACHER DuoFern Sun Sensor Installation and Operating Manual Installation and operating manual for the RADEMACHER DuoFern Sun Sensor (Type 9478-1). This device controls DuoFern devices based on brightness and detects vibrations for functions like glass breakage detection. Includes safety instructions, installation guide, configuration steps, technical specifications, and EU declaration of conformity.
RolloTube S-line Sun DuoFern Tubular Motors: Quick Start Guide This guide provides essential information for the installation and initial commissioning of Rademacher RolloTube S-line Sun DuoFern tubular motors. It covers crucial safety warnings, preparation steps, electrical connection details, and self-learning commissioning procedures. Model numbers SLDSS and SLDSM are supported.
Troll Comfort / Troll Comfort 3D: Guía de conexión y puesta en marcha Manual de instrucciones detallado para la conexión eléctrica y la puesta en marcha de los dispositivos Rademacher Troll Comfort y Troll Comfort 3D. Incluye información sobre seguridad, uso, componentes y configuración.