1. Product Overview
The SALORA CR612 is a compact digital alarm clock radio designed for bedside use. It features a large LED display, dual alarm functionality, AM/FM radio tuning, and convenient snooze and sleep timer functions. This manual provides detailed instructions for its operation.

Image: Angled view of the SALORA CR612 Digital Alarm Clock Radio, showing the green LED display and top control buttons.
Controls and Display
Familiarize yourself with the main controls and display elements:
- Large LED Display: Shows time, alarm status, and radio frequency.
- Power Button: Turns the unit on/off.
- Snooze Button: Temporarily silences the alarm.
- Time Set Button: Used to set the current time.
- Alarm 1/Alarm 2 Buttons: Used to set and activate individual alarms.
- Tuning/Volume Knobs: Adjust radio frequency and sound volume.
- Band Button: Switches between AM and FM radio bands.
- Memory/Preset Buttons: Save and recall radio stations.
2. Setup
2.1 Power Connection
The SALORA CR612 operates primarily on AC power with a battery backup feature to retain time and alarm settings during power outages.
- Connect AC Power: Plug the AC power cord into a standard wall outlet.
- Install Battery Backup: Open the battery compartment located at the bottom or rear of the unit. Insert 2 x AAA batteries (not included) according to the polarity markings. These batteries are for backup only and will not power the display or radio functions continuously.

Image: Rear view of the SALORA CR612, highlighting the power cable connection and the battery compartment for backup.
2.2 Antenna Setup
For optimal FM radio reception, extend the built-in wire antenna fully. For AM reception, the unit has a built-in ferrite bar antenna; try rotating the unit for better signal.
3. Operating Instructions
3.1 Setting the Time
- Press and hold the TIME SET button. The hour digits will begin to flash.
- Use the TUNING/VOLUME knob (or +/- buttons if present) to adjust the hour. Pay attention to AM/PM indicators if applicable.
- Press the TIME SET button again. The minute digits will flash.
- Use the TUNING/VOLUME knob to adjust the minutes.
- Press the TIME SET button once more to confirm and exit time setting mode.
3.2 Setting Alarms (Dual Alarm)
The CR612 features two independent alarms (Alarm 1 and Alarm 2).
- To Set Alarm 1: Press and hold the ALARM 1 button. The alarm hour digits will flash.
- Use the TUNING/VOLUME knob to set the desired alarm hour.
- Press the ALARM 1 button again. The alarm minute digits will flash.
- Use the TUNING/VOLUME knob to set the desired alarm minutes.
- Press the ALARM 1 button again to select the alarm source (Buzzer or Radio). The corresponding indicator will light up.
- Press the ALARM 1 button once more to confirm and activate Alarm 1. An alarm indicator (e.g., a bell icon or 'A1') will appear on the display.
- Repeat the process using the ALARM 2 button to set Alarm 2.
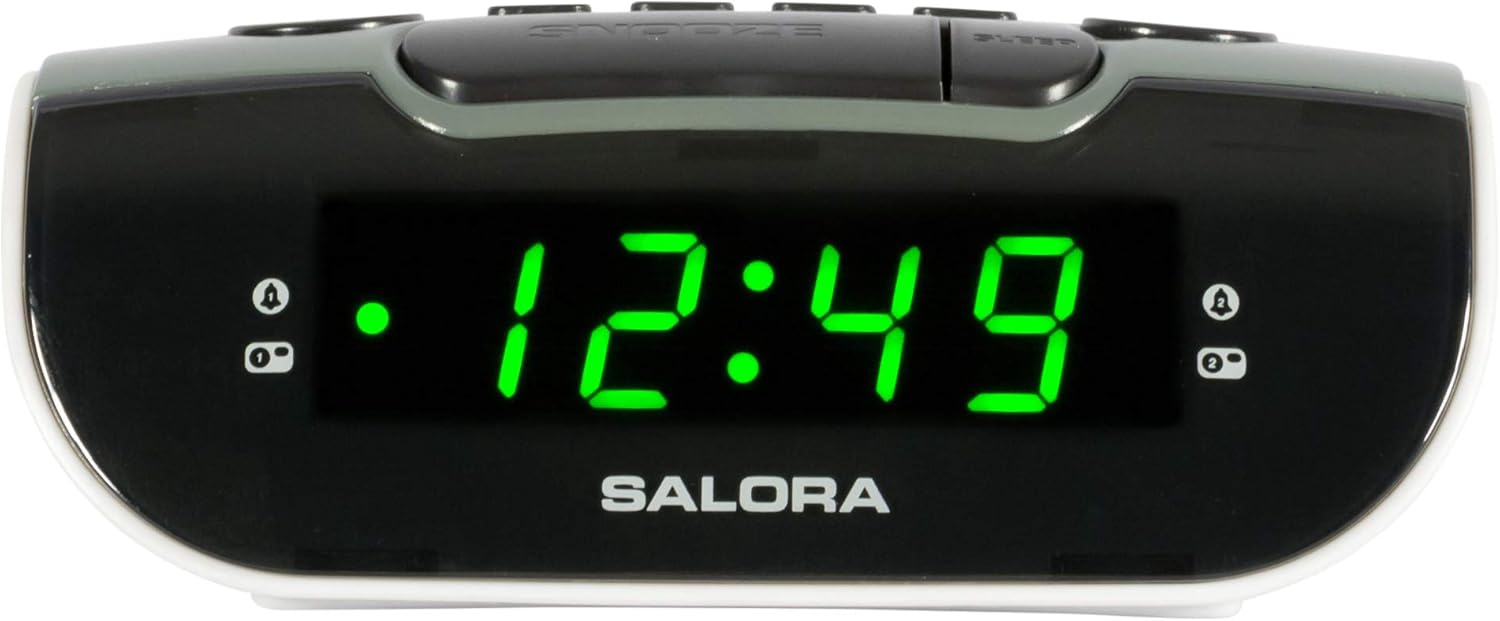
Image: Close-up of the SALORA CR612 display, showing the time '12:49' and active alarm indicators.
3.3 Snooze Function
When an alarm sounds, press the SNOOZE button to temporarily silence it. The alarm will sound again after approximately 9 minutes. To cancel the snooze and turn off the alarm completely, press the POWER button.
3.4 Radio Operation
- Turn On Radio: Press the POWER button to turn on the unit.
- Select Band: Press the BAND button to switch between AM and FM frequencies.
- Tune Station: Use the TUNING knob to manually tune to your desired radio station.
- Adjust Volume: Use the VOLUME knob to adjust the sound level.
- Save Presets: To save a station, tune to it, then press and hold the MEMORY button until the display flashes. Use the PRESET buttons (or tuning knob) to select a preset number, then press MEMORY again to confirm.
- Recall Presets: Briefly press the PRESET buttons to cycle through saved stations.
3.5 Sleep Timer
The sleep timer allows the radio to play for a set duration before automatically turning off.
- While the radio is playing, press the SLEEP button repeatedly to cycle through available sleep times (e.g., 10, 30, 60, 90 minutes, or OFF).
- The radio will automatically turn off after the selected time.
4. Maintenance
4.1 Cleaning
To clean the unit, wipe it with a soft, dry cloth. Do not use abrasive cleaners, waxes, or solvents as these can damage the finish. Ensure the unit is unplugged before cleaning.
4.2 Battery Replacement
Replace the backup batteries (2 x AAA) annually or if the time and alarm settings are lost after a power interruption. Ensure correct polarity when inserting new batteries.
5. Troubleshooting
- No Power/Display Off:
- Ensure the AC power cord is securely plugged into a working outlet.
- Check if the power button has been pressed.
- Alarm Not Sounding:
- Verify that the alarm is set and activated (check for the alarm indicator on the display).
- Ensure the alarm volume is not set to minimum if using radio alarm.
- Confirm the alarm time is correctly set (AM/PM).
- Poor Radio Reception:
- Fully extend the FM wire antenna.
- For AM, rotate the unit to find the best signal.
- Move the unit away from other electronic devices that may cause interference.
- Time/Settings Lost After Power Outage:
- Check and replace the backup batteries if necessary.
- Ensure batteries are inserted with correct polarity.
6. Specifications
| Feature | Detail |
|---|---|
| Brand | SALORA |
| Model Number | CR612 |
| Product Dimensions | 11.5 x 13 x 4.8 cm |
| Weight | 320 grams |
| Power Source | AC Power (with 2x AAA battery backup) |
| Display Type | Digital LED |
| Radio Bands | AM/FM PLL Tuner |
| Special Features | Dual Alarm, Snooze, Sleep Timer |
| Room Type | Bedroom |
| Color | Grey (with black and white accents) |
7. Warranty and Support
7.1 Warranty Information
This product is covered by a standard manufacturer's warranty. For specific details regarding warranty duration and terms, please refer to the warranty card included with your purchase or contact your retailer. If you wish to return a product within 30 days of receipt because you have changed your mind, please consult the retailer's return policy. If you have received a defective or damaged product, please consult the retailer's help page on returns and refunds.
7.2 Customer Support
For further assistance, technical support, or inquiries not covered in this manual, please contact SALORA customer service through their official website or the retailer where the product was purchased. Please have your model number (CR612) and purchase information ready when contacting support.


