
Introduction
The Techno Line WT 529 is a radio-controlled projection alarm clock designed to provide accurate time, date, and temperature information. It features a projection function to display time and temperature on a wall or ceiling, an alarm with snooze, and displays both indoor and outdoor temperatures.
Key Features:
- DCF77 radio-controlled clock with manual setting option.
- Projection alarm function.
- Date and day of the week display (available in 5 languages).
- Adjustable projection direction for time and temperature.
- Indoor temperature indicator.
- Alarm with snooze function.
- Backlight.
- Low battery indicator.
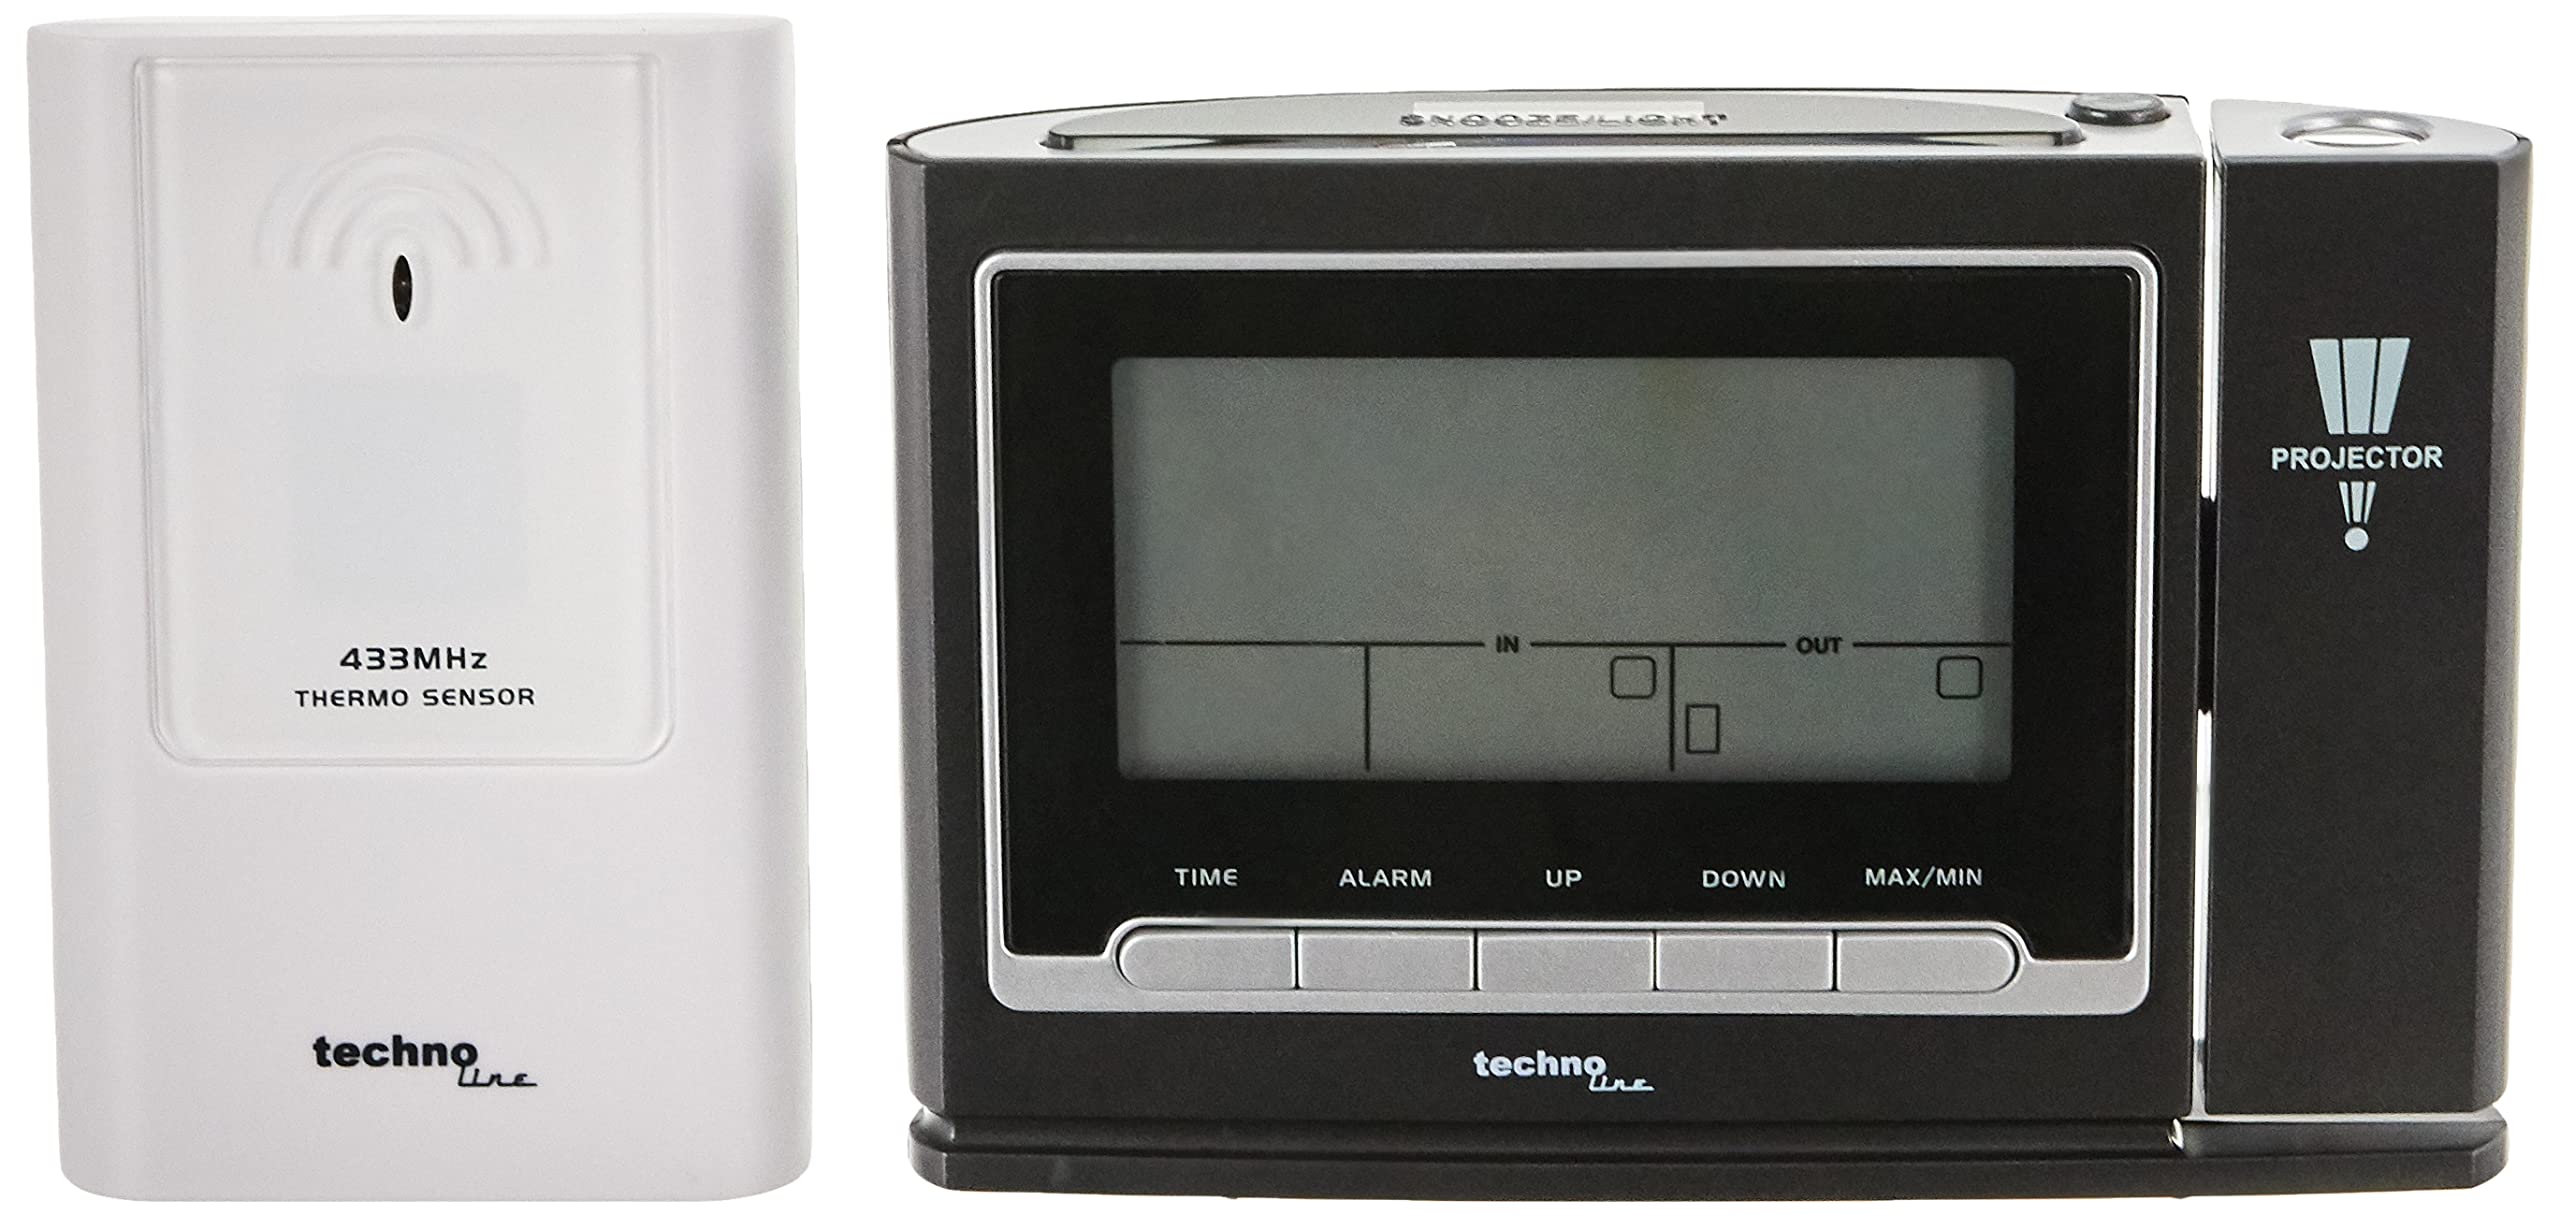
Figure 1: Front view of the Techno Line WT 529 Projection Alarm Clock, displaying time, date, and temperature, with the projection lens visible on the right side.
Setup
1. Powering the Device
The WT 529 can be powered by batteries or an AC adapter (if included, check packaging). For continuous projection, an AC adapter is recommended.
- Battery Installation: Open the battery compartment cover on the back of the unit. Insert the required batteries (e.g., 3 x AAA, not included) according to the polarity markings (+/-). Close the cover securely.
- AC Adapter Connection: If using an AC adapter, plug it into the DC input jack on the back of the clock and then into a standard wall outlet.
2. External Sensor Setup (for Outdoor Temperature)
The WT 529 includes an external wireless sensor for outdoor temperature readings.
- Open the battery compartment of the external sensor. Insert the required batteries (e.g., 2 x AAA, not included) according to the polarity markings. Close the cover.
- Place the sensor in a sheltered outdoor location, away from direct sunlight and rain, to ensure accurate temperature readings. Ensure it is within range of the main unit.
- The main unit will automatically attempt to connect with the sensor. This may take a few minutes. Once connected, the outdoor temperature will appear on the display.

Figure 2: Rear view of the WT 529 main unit showing battery compartment and ports, alongside the external wireless temperature sensor.
3. Initial Time Synchronization (DCF77)
Upon initial power-up, the clock will automatically attempt to synchronize with the DCF77 radio signal. This signal transmits the precise time from Frankfurt, Germany.
- Place the clock near a window, away from electronic interference, for optimal signal reception.
- A signal icon (e.g., an antenna symbol) will flash on the display during synchronization.
- Once synchronized, the icon will become solid, and the correct time will be displayed. This process can take several minutes or even hours depending on location and interference.
4. Manual Time Setting (if DCF77 signal is unavailable or for different time zones)
If the DCF77 signal is not received or if you are in a different time zone, you can set the time manually.
- Press and hold the TIME button (refer to Figure 3 for button location) for a few seconds until the time display starts flashing.
- Use the UP or DOWN buttons to adjust the hour.
- Press TIME again to confirm the hour and move to minutes. Adjust minutes using UP or DOWN.
- Continue pressing TIME to cycle through and set year, month, date, and day of the week language. Use UP or DOWN to adjust each setting.
- Press TIME one last time to exit manual setting mode.
Operating Instructions
1. Control Buttons Overview

Figure 3: Side view of the WT 529, illustrating the location of control buttons such as TIME, ALARM, UP, DOWN, and MAX/MIN.
Familiarize yourself with the main control buttons located on the front and top of the unit for easy operation.
2. Display Overview

Figure 4: Close-up view of the WT 529 display, showing time, day, date, indoor temperature ('IN'), and outdoor temperature ('OUT') indicators.
The main display shows the current time, day of the week, date, indoor temperature, and outdoor temperature. The time can be displayed in 12-hour (AM/PM) or 24-hour format.
3. Setting the Alarm
- Press and hold the ALARM button until the alarm time starts flashing.
- Use the UP or DOWN buttons to set the desired alarm hour.
- Press ALARM again to confirm the hour and set the minutes. Adjust minutes using UP or DOWN.
- Press ALARM one last time to activate the alarm and exit setting mode. An alarm icon will appear on the display.
4. Using the Snooze Function
When the alarm sounds, press the SNOOZE/LIGHT button (located on top of the unit) to temporarily silence the alarm. The alarm will sound again after approximately 5-10 minutes (duration may vary by model).
5. Activating and Adjusting Projection
The projector can display the time and temperature on a surface.

Figure 5: The WT 529 projecting the current time and temperature onto a surface, demonstrating the projection feature.
- Activate Projection: Press the PROJECTOR button (usually on the side or top, near the projection lens) to turn the projection on or off. If powered by batteries, projection may only be momentary. With an AC adapter, continuous projection is possible.
- Adjust Projection Angle: Rotate the projection lens barrel to adjust the angle of the projected image.
- Adjust Focus: Use the focus wheel (often located near the projection lens) to sharpen the projected image.
- Flip Projection: Some models allow flipping the projected image 180 degrees. Refer to the specific button (e.g., a small rotate icon button) or sequence of presses for this function.
6. Backlight
Press the SNOOZE/LIGHT button to activate the display backlight for a few seconds. If powered by an AC adapter, the backlight may have adjustable brightness levels or remain on continuously.
7. MAX/MIN Temperature Display
Press the MAX/MIN button to view the maximum and minimum recorded indoor and outdoor temperatures since the last reset. Press again to cycle through current, maximum, and minimum values. Hold the button to reset the MAX/MIN records.
Maintenance
1. Cleaning
Wipe the clock and sensor with a soft, dry cloth. Do not use abrasive cleaners or solvents, as these can damage the casing and display. Keep the projection lens clean for clear projection.
2. Battery Replacement
When the low battery indicator appears on the display, replace the batteries in both the main unit and the external sensor promptly to ensure continued operation and data accuracy. Dispose of old batteries responsibly.
Troubleshooting
| Problem | Possible Cause | Solution |
|---|---|---|
| No display or dim display | Low or dead batteries; AC adapter not connected/faulty. | Replace batteries or ensure AC adapter is securely connected and functional. |
| Time is incorrect or not setting automatically | Poor DCF77 signal reception; manual setting error. | Move the clock to a location with better signal reception (e.g., near a window). Avoid electronic interference. Manually set the time if automatic synchronization fails. |
| Outdoor temperature not displayed | External sensor out of range; sensor batteries low/dead; interference. | Ensure sensor is within range (typically up to 30 meters). Replace sensor batteries. Re-establish connection by removing and reinserting batteries in both units. |
| Projection is blurry or unclear | Focus not adjusted; projection lens dirty. | Adjust the focus wheel. Clean the projection lens with a soft cloth. |
| Alarm not sounding | Alarm not activated; alarm volume too low (if adjustable). | Ensure the alarm icon is visible on the display. Check if there's a volume setting (though typically fixed on this model). |
Specifications
- Model: WT 529
- Brand: Techno Line
- Dimensions: 13.8 x 4 x 9 cm (Main Unit)
- Display Type: Digital
- Time Format: 12/24 hour selectable
- Date Display: Day, Month, Year
- Day of Week Languages: 5 languages
- Temperature Range (Indoor): Typically 0°C to +50°C (32°F to 122°F)
- Temperature Range (Outdoor): Typically -20°C to +60°C (-4°F to 140°F)
- Power Source: Battery (e.g., AAA) and/or AC Adapter (check specific product for details)
- Material: Acrylonitrile Butadiene Styrene (ABS) Plastic
- Special Features: DCF77 Radio Control, Projection, Alarm with Snooze, Indoor/Outdoor Temperature Display, Backlight, Low Battery Indicator.

Figure 6: Size comparison of the WT 529 main unit and external sensor, illustrating their compact dimensions.
Warranty and Support
For warranty information and technical support, please refer to the documentation included with your purchase or visit the official Techno Line website. Keep your proof of purchase for warranty claims.
Manufacturer: Macau
Website: www.technoline.de


