
Black Box KVT419A-8UV-R2
Black Box Servtray Complete 19" 8-Port KVM Switching Module User Manual
Model: KVT419A-8UV-R2
Introduction
This manual provides detailed instructions for the installation, operation, and maintenance of the Black Box Servtray Complete 19" 8-Port KVM Switching Module. This device integrates a 19-inch LCD monitor, keyboard, and touchpad into a single 1U rack-mountable unit, designed for efficient control of multiple computers from a single console. It supports both USB and PS/2 connections for versatile compatibility.
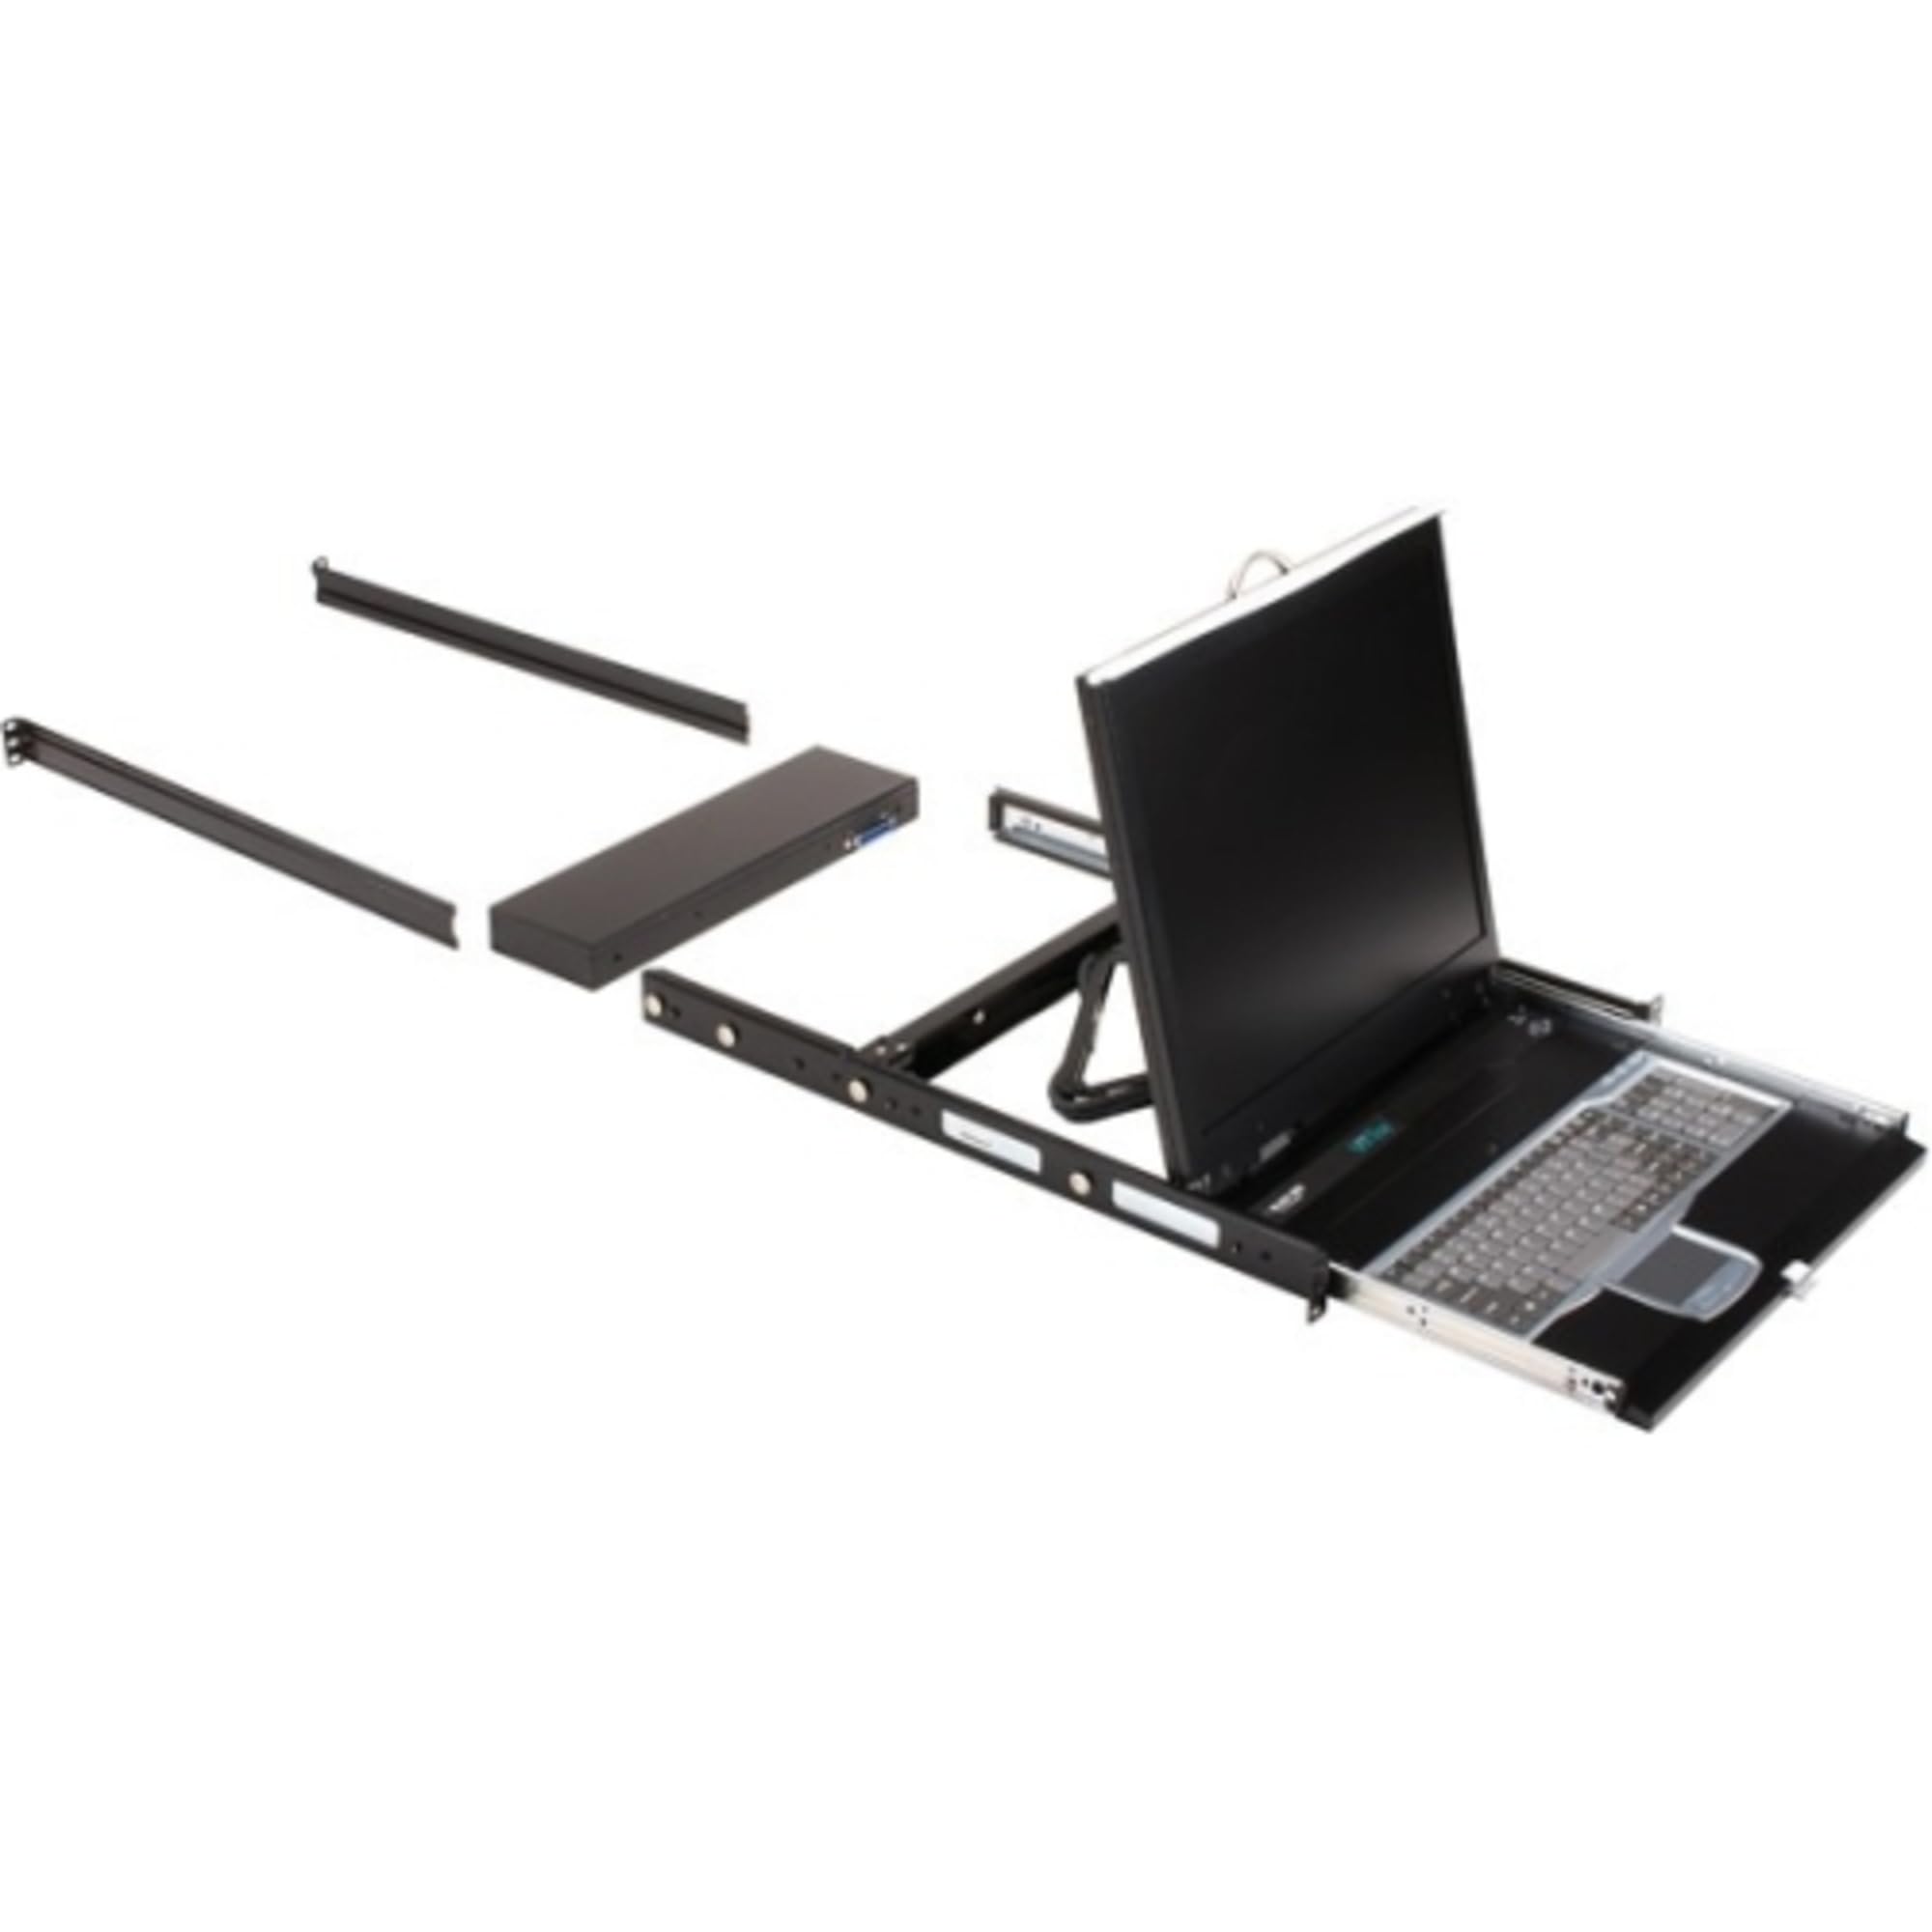
Figure 1: Black Box Servtray Complete 19" 8-Port KVM Switching Module components.
The image displays the Black Box Servtray Complete unit, which includes a pull-out tray with an integrated 19-inch LCD monitor, a keyboard, and a touchpad. To the left, two rackmount rails are visible, along with a separate KVM switch module. This setup illustrates the complete system ready for rack installation and connection to multiple servers.
Safety Information
Please read all safety instructions carefully before installation and operation. Failure to follow these guidelines may result in damage to the equipment or personal injury.
- Ensure proper grounding for all connected equipment.
- Do not expose the device to moisture or extreme temperatures.
- Use only the power adapter supplied with the unit.
- Avoid blocking ventilation openings to prevent overheating.
- Disconnect power before cleaning or servicing the unit.
Setup and Installation
Package Contents
Verify that all items are present in the package:
- Black Box Servtray Complete KVM Console
- 8-Port KVM Switching Module
- Rackmount Rails (2)
- Power Adapter
- KVM Cables (USB and PS/2 compatible)
- User Manual (this document)
Rack Mounting
- Attach the rackmount rails to the sides of the Servtray unit using the provided screws.
- Slide the assembled unit into a standard 19-inch server rack.
- Secure the front of the unit to the rack posts using appropriate rack screws.
Connecting Computers
The KVM switching module supports up to 8 computers with USB and PS/2 interfaces.
- Connect the KVM cables from the KVM switching module to the respective USB/PS/2 keyboard, mouse, and VGA ports on each computer.
- Connect the KVM switching module to the Servtray console using the dedicated KVM cable.
- Plug the power adapter into the Servtray console and then into a power outlet.
- Power on the Servtray console.
Operating Instructions
Powering On/Off
- To power on, ensure the power adapter is connected and press the power button on the front panel.
- To power off, press the power button again. It is recommended to shut down connected computers before powering off the KVM.
Switching Between Computers
The KVM module allows switching between connected computers using several methods:
- Front Panel Buttons: Press the numbered buttons on the KVM module's front panel corresponding to the desired computer port.
- Hotkeys: Use keyboard hotkey combinations (e.g., Scroll Lock + Scroll Lock + [Port Number]) to switch. Refer to the KVM module's specific documentation for exact hotkey sequences.
- OSD (On-Screen Display): Access the OSD menu by pressing a specific hotkey (e.g., Print Screen) and navigate using the arrow keys to select the desired computer.
LCD Display Adjustment
Use the OSD buttons located on the LCD panel to adjust display settings such as brightness, contrast, and resolution. The 19-inch LCD supports a maximum resolution of 1280 x 1024.
Maintenance
Regular maintenance ensures optimal performance and longevity of your Servtray KVM unit.
- Cleaning: Use a soft, dry cloth to clean the exterior surfaces. For the LCD screen, use a specialized screen cleaner and a microfiber cloth. Do not use abrasive cleaners or solvents.
- Ventilation: Ensure that the ventilation openings are clear of dust and debris to prevent overheating. Periodically clean vents with compressed air.
- Cable Management: Keep cables organized and free from kinks or excessive bending to prevent damage and ensure reliable connections.
- Firmware Updates: Check the Black Box website periodically for any available firmware updates for the KVM switching module. Follow the provided instructions for any update procedures.
Troubleshooting
This section addresses common issues you might encounter with the Servtray KVM unit.
| Problem | Possible Cause | Solution |
|---|---|---|
| No video on LCD | Loose VGA cable connection; KVM not powered; Incorrect port selected. | Check all VGA cable connections; Ensure KVM and console are powered on; Switch to the correct computer port. |
| Keyboard/Mouse not responding | Loose USB/PS/2 cable connection; KVM not powered; Incorrect port selected. | Verify USB/PS/2 cable connections; Ensure KVM and console are powered on; Switch to the correct computer port; Try a different USB/PS/2 port on the KVM. |
| Cannot switch between computers | Incorrect hotkey sequence; KVM module unresponsive. | Review the hotkey combinations in the KVM module's documentation; Power cycle the KVM module. |
| Unit overheating | Blocked ventilation; Excessive ambient temperature. | Ensure ventilation openings are clear; Operate in a well-ventilated environment. |
If the problem persists after attempting these solutions, please contact Black Box technical support.
Specifications
| Feature | Detail |
|---|---|
| Model Number | KVT419A-8UV-R2 |
| Brand | Black Box |
| Display Size | 19 inches |
| Max Resolution | 1280 x 1024 |
| KVM Ports | 8 (USB and PS/2 compatible) |
| Connector Type | USB, VGA |
| Item Dimensions (LxWxH) | 19.02 x 19.09 x 1.73 inches |
| Item Weight | 24.9 pounds |
| International Protection Rating | IP54 |
| Control Method | Touch (OSD), Hotkeys, Front Panel Buttons |
| Material | Copper, Gold (for contacts) |
| Color | Black |
Warranty Information
Black Box products typically come with a standard manufacturer's warranty. For specific warranty terms and conditions, please refer to the documentation included with your purchase or visit the official Black Box website. Keep your proof of purchase for warranty claims.
Protection plans are also available for extended coverage:
- 3-Year Protection Plan
- 4-Year Protection Plan
Support and Contact
For technical assistance, product inquiries, or support, please contact Black Box customer service:
- Manufacturer: BLACK BOX NETWORK SERVICES
- Website: www.blackbox.com (Note: This is a placeholder URL, please refer to official documentation for the correct support website.)
- Phone: Refer to the Black Box website for regional contact numbers.
When contacting support, please have your model number (KVT419A-8UV-R2) and serial number ready.
Ask a question about this manual
Ask about setup, troubleshooting, compatibility, parts, safety, or missing instructions. Manuals+ will review the question and use this page’s manual context to help answer it.