
Introduction
This manual provides essential information for the proper installation and use of the Phonocar 4/717 ISO Car Radio Connection Cable. Please read these instructions carefully before proceeding with installation to ensure correct functionality and safety.
Product Overview
The Phonocar 4/717 is an ISO standard adapter cable designed to connect an aftermarket car radio to the existing wiring harness of various vehicle models. This cable simplifies the installation process by providing a direct plug-and-play solution, eliminating the need for cutting or splicing original vehicle wiring.

Image 1: Phonocar 4/717 ISO Car Radio Connection Cable in its retail packaging. This image shows the cable with its multi-colored wires and ISO connectors, indicating its purpose as an adapter for car audio systems.
Vehicle Compatibility
This ISO cable is compatible with the following vehicle models and years:
- Fiat: Sedici (from 2006 onwards)
- Honda: Accord (up to 1992), Civic (2000-2006), CR-V (1997-2006), HR-V, Logo (from 1999 onwards), Jazz (2002-2008)
- Nissan: Pixo
- Opel: Agila (from 2008 onwards)
- Suzuki: Alto (from 2009 onwards), Gran Vitara (from 2005 onwards), Ignis, Jimmy, Liana, Swift, Wagon, Splash, SX4
Note: Vehicle compatibility may vary. Always verify the existing wiring harness in your vehicle matches the ISO connectors on this cable before installation.
Setup and Installation
Safety Precaution: Before beginning any installation, disconnect the vehicle's negative battery terminal to prevent electrical shorts and damage to the vehicle's electrical system or the car radio.
- Remove Existing Radio: Carefully remove the factory car radio from its mounting location. Refer to your vehicle's specific service manual for instructions on how to safely remove the radio.
- Identify Vehicle Harness: Locate the vehicle's original wiring harness connector.
- Connect ISO Cable:
- Connect the vehicle-specific end of the Phonocar 4/717 cable to the vehicle's wiring harness.
- Connect the ISO end of the Phonocar 4/717 cable to the ISO connector on your new aftermarket car radio.
- Verify Connections: Ensure all connections are secure and properly seated. Refer to the connection diagram below for correct wiring.
- Test Functionality: Before fully reassembling, reconnect the vehicle's negative battery terminal. Turn on the car radio and test basic functions such as power, audio output (all speakers), and antenna reception.
- Secure Radio: If all functions are working correctly, carefully mount the new car radio back into its position and secure it.
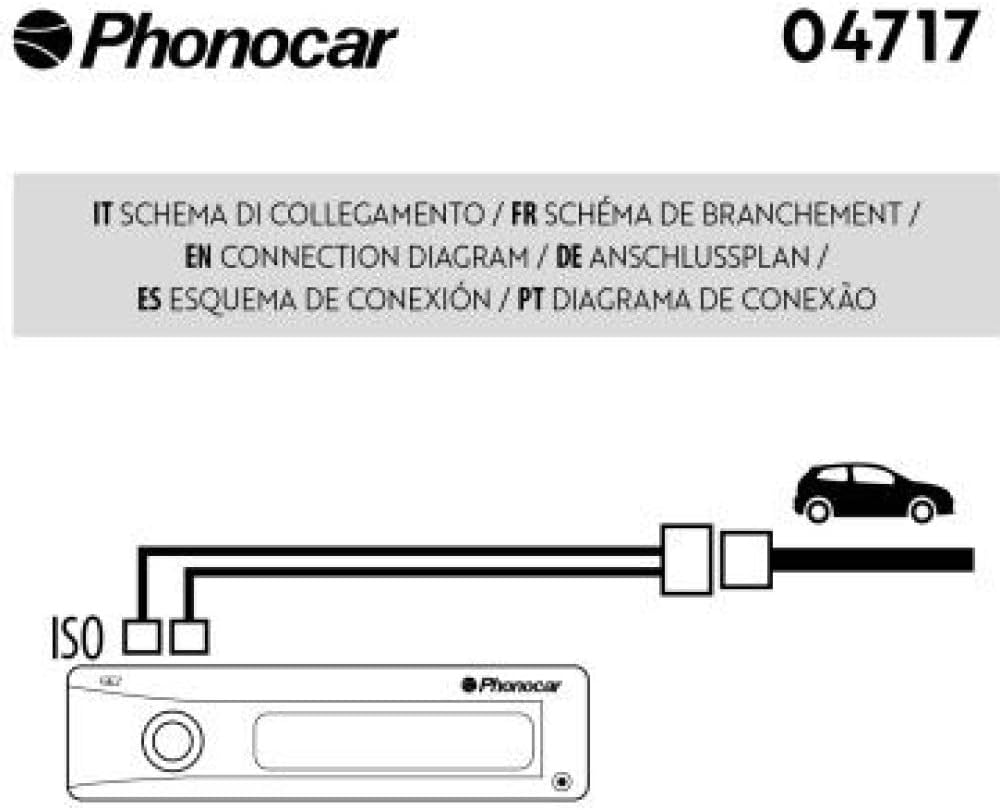
Image 2: Connection Diagram for Phonocar 4/717 ISO Cable. This diagram illustrates how the ISO cable connects between the car's wiring harness and the aftermarket car radio, showing the standard ISO block connections.
Operating Instructions
Once the Phonocar 4/717 ISO cable is correctly installed, the operation of your car radio will follow the instructions provided with your specific aftermarket car radio unit. This cable acts as an adapter and does not alter the operational features of the car radio itself.
Maintenance
The Phonocar 4/717 ISO cable requires minimal maintenance. Ensure that all connections remain secure and free from moisture or excessive vibration. Periodically check for any signs of wear or damage to the cable insulation, especially if the radio is frequently removed or reinstalled.
Troubleshooting
If you encounter issues after installation, consider the following:
- No Power to Radio:
- Check the vehicle's fuse box for any blown fuses related to the car radio or accessory power.
- Ensure the ISO cable is fully seated into both the vehicle harness and the car radio.
- Verify the car radio itself is functioning by testing it with a known good power source if possible.
- No Sound:
- Confirm speaker wires are correctly connected and not shorted.
- Check the car radio's audio settings (e.g., volume, mute, fader/balance).
- Incorrect Wiring (e.g., radio loses memory):
- This often indicates that the permanent 12V (yellow wire) and switched 12V (red wire) connections are reversed. Consult the car radio's manual and the ISO wiring diagram to ensure correct connections.
If problems persist, consult a professional car audio installer.
Specifications
| Brand | Phonocar |
| Model Number | 04717 |
| Product Type | ISO Car Radio Connection Cable |
| Connector Type | ISO |
| Material | Copper |
| Dimensions (L x W x H) | 30 x 20 x 10 cm (approximately) |
| Weight | 60 grams (approximately) |
Warranty Information
This Phonocar 4/717 ISO Car Radio Connection Cable comes with a manufacturer's warranty of 1 year. Please retain your proof of purchase for any warranty claims. The warranty covers defects in materials and workmanship under normal use. It does not cover damage resulting from improper installation, misuse, or unauthorized modifications.
Support
For further assistance or if you have questions not covered in this manual, please contact Phonocar customer support or consult a qualified car audio installation professional. Always prioritize safety and professional advice when dealing with vehicle electrical systems.