1. Introduction
This instruction manual provides essential information for the safe and effective operation, setup, and maintenance of your FERM BGM1020 Bench Grinder. Please read this manual thoroughly before using the machine and keep it for future reference. The FERM BGM1020 is designed for both fine and coarse grinding tasks, making it suitable for sharpening tools, deburring metal, and other general grinding applications.

Figure 1: Overview of the FERM BGM1020 Bench Grinder. This image displays the complete bench grinder unit, featuring two grinding wheels, protective shields, and the power switch.
2. Safety Instructions
Always observe basic safety precautions to reduce the risk of fire, electric shock, and personal injury. Failure to follow these instructions may result in serious injury.
General Safety
- Work Area Safety: Keep the work area clean and well-lit. Cluttered or dark areas invite accidents. Do not operate power tools in explosive atmospheres, such as in the presence of flammable liquids, gases, or dust.
- Electrical Safety: Power tool plugs must match the outlet. Never modify the plug in any way. Do not use any adapter plugs with earthed (grounded) power tools. Avoid body contact with earthed or grounded surfaces.
- Personal Safety: Always wear eye protection (safety glasses or a face shield) and hearing protection. Use a dust mask if grinding operations create dust. Do not overreach. Keep proper footing and balance at all times.
- Tool Use and Care: Do not force the power tool. Use the correct power tool for your application. Disconnect the plug from the power source before making any adjustments, changing accessories, or storing power tools.
- Maintenance: Maintain power tools. Check for misalignment or binding of moving parts, breakage of parts, and any other condition that may affect the power tool’s operation.
Specific Bench Grinder Safety
- Ensure the bench grinder is securely mounted to a workbench before operation to prevent movement and vibration.
- Always use grinding wheels that are rated for the grinder's maximum RPM.
- Adjust work rests to within 1/16 inch (1.5 mm) of the grinding wheel.
- Adjust spark arresters (eye shields) to provide maximum protection.
- Never grind on the side of the wheel unless the wheel is specifically designed for side grinding.
- Allow the grinder to reach full speed before applying the workpiece.
- Do not wear loose clothing, ties, or jewelry that could get caught in moving parts.
3. Components Overview
Familiarize yourself with the main components of your FERM BGM1020 Bench Grinder:
- Grinding Wheels: The unit includes a coarse (P36) and a fine (P80) grinding wheel.
- Work Rests: Adjustable supports for steadying the workpiece during grinding.
- Spark Arresters/Eye Shields: Transparent shields to protect the operator from sparks and debris.
- Power Switch: Dust-proof switch for turning the grinder on and off.
- Mounting Base: Designed for secure attachment to a workbench.

Figure 2: Front view of the bench grinder, highlighting both grinding wheels, work rests, and spark arresters.
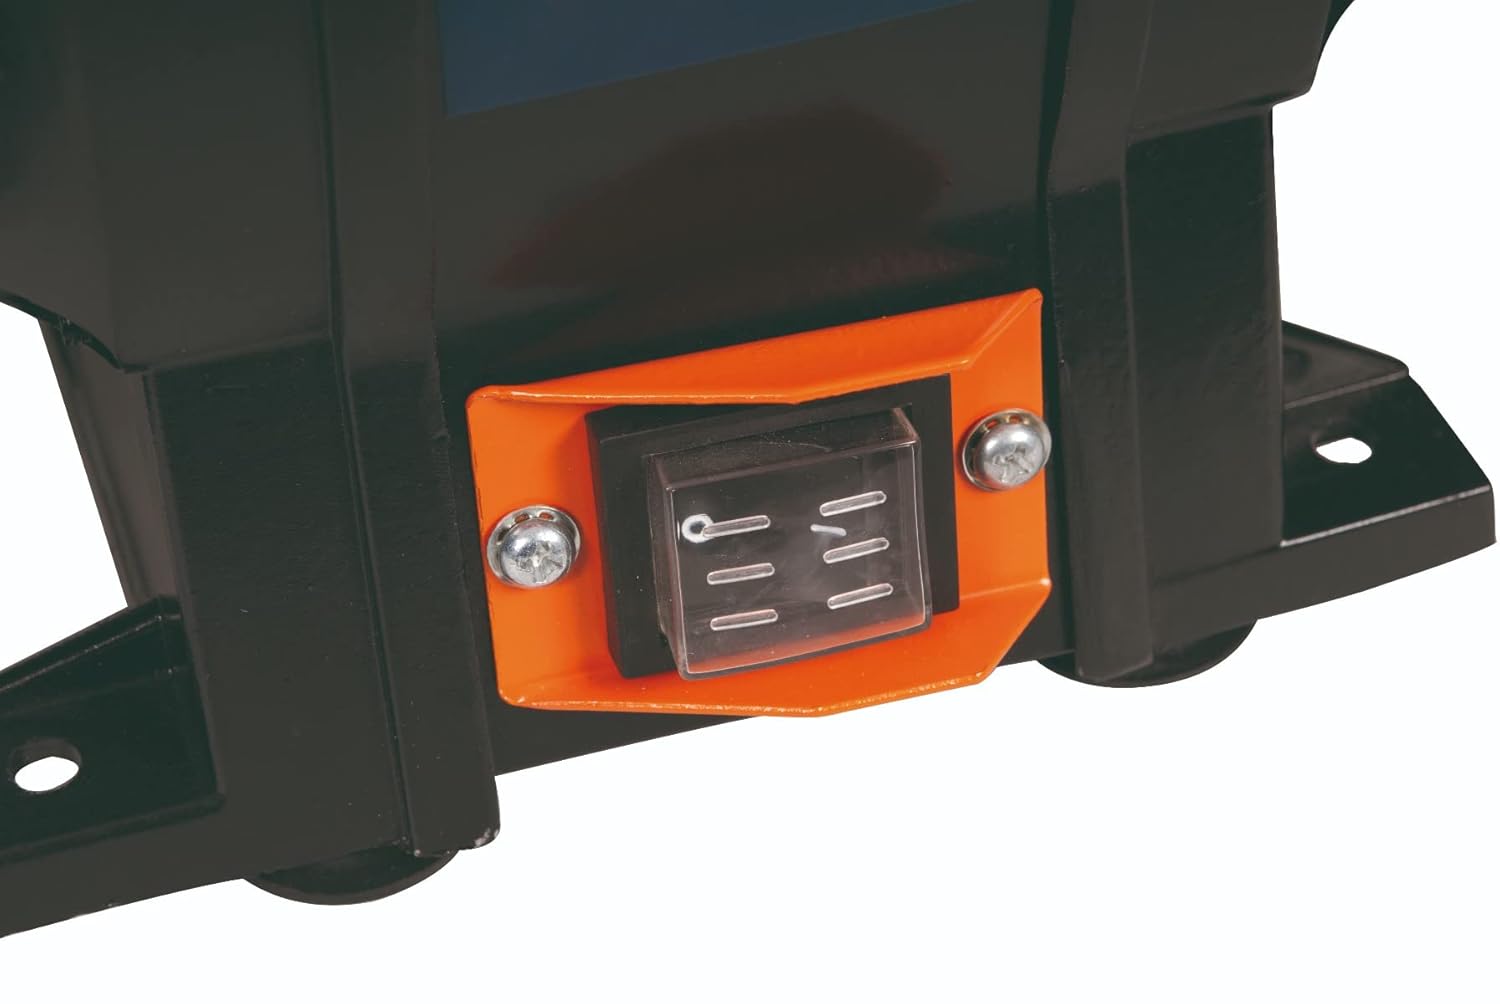
Figure 3: Close-up of the dust-proof power switch, designed for extended lifespan and protection from debris.
4. Setup
Proper setup ensures safe and efficient operation of your bench grinder.
4.1 Mounting to a Workbench
- Position the bench grinder on a stable, level workbench.
- Mark the locations for the mounting bolts through the holes in the grinder's base.
- Drill appropriate holes in the workbench.
- Secure the grinder to the workbench using bolts, washers, and nuts. Ensure it is firmly attached to prevent movement during operation.

Figure 4: Detail of the mounting feet at the base of the grinder, showing the holes for securing the unit to a workbench.
4.2 Adjusting Work Rests and Spark Arresters
- Work Rests: Loosen the adjustment knob for each work rest. Position the rest so that it is approximately 1/16 inch (1.5 mm) from the grinding wheel surface. This gap prevents workpieces from being wedged between the rest and the wheel. Tighten the knob securely.
- Spark Arresters (Eye Shields): Adjust the transparent spark arresters to provide maximum visibility of the grinding area while offering optimal protection from sparks and debris. Ensure they are securely fastened.

Figure 5: Close-up of a work rest, showing its adjustable nature for precise positioning relative to the grinding wheel.

Figure 6: Detail of the transparent spark arrester, which protects the user's eyes from flying debris during operation.
5. Operating Instructions
Follow these steps for safe and effective grinding.
5.1 General Grinding Procedure
- Ensure all safety precautions are in place, including eye and hearing protection.
- Plug the grinder into a suitable power outlet.
- Turn on the grinder using the dust-proof power switch. Allow the wheels to reach full operating speed before beginning work.
- Hold the workpiece firmly against the work rest. Slowly and gently bring the workpiece into contact with the grinding wheel.
- Apply light, even pressure. Avoid excessive force, which can damage the wheel or workpiece and cause overheating.
- Move the workpiece across the face of the wheel to ensure even wear and a consistent grind.
- Periodically check the temperature of the workpiece to prevent overheating, especially with heat-sensitive materials.
- When finished, turn off the grinder and wait for the wheels to come to a complete stop before leaving the machine unattended.
5.2 Coarse Grinding (P36 Wheel)
The coarse grinding wheel (P36 grit) is located on the left side of the grinder. It is suitable for:
- Rapid material removal.
- Sharpening dull tools like chisels and paint scrapers.
- Deburring metal parts.
- Grinding materials in the form of tubes and strips.
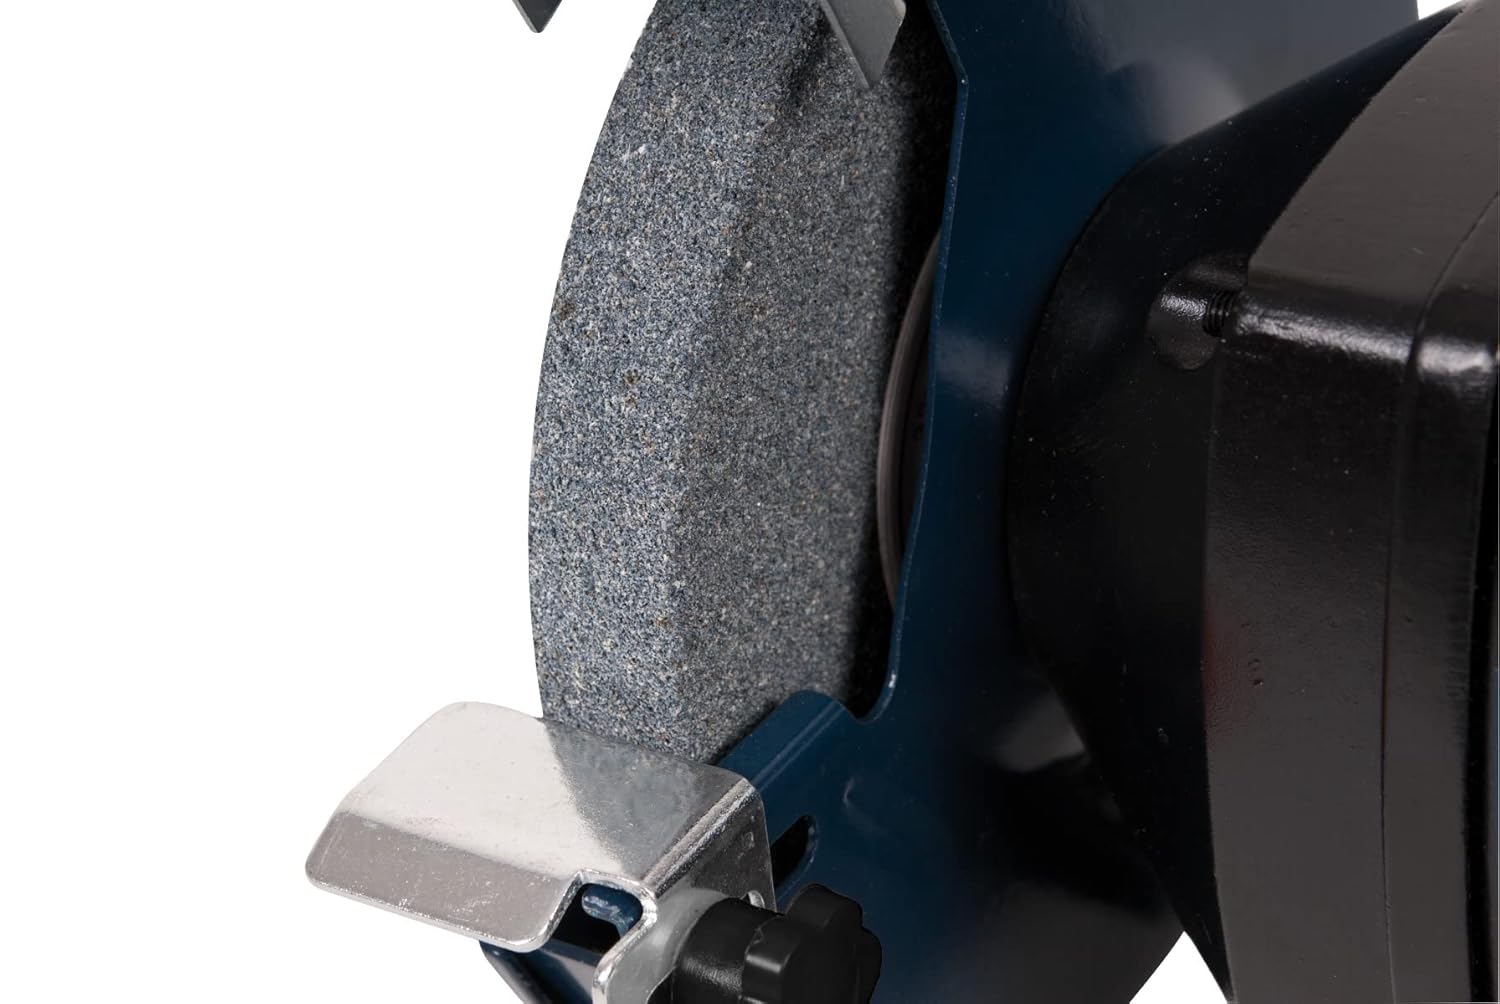
Figure 7: Close-up of the coarse P36 grinding wheel, typically used for aggressive material removal and initial sharpening.
5.3 Fine Grinding (P80 Wheel)
The fine grinding wheel (P80 grit) is located on the right side of the grinder. It is ideal for:
- Achieving a smoother finish.
- Sharpening finer materials such as knives and scissors.
- Refining edges after coarse grinding.

Figure 8: Close-up of the fine P80 grinding wheel, used for precision sharpening and achieving a smoother finish.
6. Maintenance
Regular maintenance ensures the longevity and safe operation of your bench grinder.
- Cleaning: Regularly clean the grinder to remove dust and grinding debris. Use a brush or compressed air. Ensure the machine is unplugged before cleaning.
- Wheel Inspection: Periodically inspect grinding wheels for wear, cracks, or damage. Replace worn or damaged wheels immediately.
- Work Rest and Spark Arrester Check: Ensure work rests and spark arresters are securely fastened and properly adjusted before each use.
- Electrical Cord: Inspect the power cord for any signs of damage. If damaged, have it repaired by a qualified technician.
7. Troubleshooting
This section addresses common issues you might encounter.
| Problem | Possible Cause | Solution |
|---|---|---|
| Grinder does not start | No power supply; Faulty switch; Damaged cord | Check power outlet and plug; Inspect power cord; Contact service for switch replacement. |
| Excessive vibration | Loose mounting; Unbalanced grinding wheel; Worn bearings | Ensure grinder is securely mounted; Check wheels for damage and replace if necessary; Contact service for bearing inspection. |
| Grinding wheel not cutting effectively | Glazed or clogged wheel; Incorrect wheel for material | Dress the grinding wheel to expose fresh abrasive; Ensure appropriate wheel grit is used for the task. |
| Excessive sparks | Improper grinding technique; Work rest too far from wheel | Use lighter pressure; Adjust work rest to 1/16 inch (1.5 mm) from wheel. |
8. Specifications
Key technical specifications for the FERM BGM1020 Bench Grinder:

Figure 9: Product label displaying technical specifications and compliance markings for the FERM BGM1020 Bench Grinder.
- Model: BGM1020
- Brand: Ferm
- Power Source: Corded Electric
- Voltage: 230 Volts
- Wattage: 250 Watts
- No-load Speed: 2980/min
- Grinding Wheel Diameter: 150 mm
- Grinding Wheel Thickness: 20 mm (P36 coarse), 40 mm (P80 fine)
- Grinding Wheel Bore Diameter: 12.7 mm
- Included Components: P36 & P80 Grinding Stones
- Material: Alloy Steel
- Colour: Blue, Black
- Item Weight: 7.76 Kilograms
- Product Dimensions (LxWxH): 35.5 x 20 x 22.6 cm
9. Warranty and Support
For warranty information, technical support, or service inquiries, please contact the manufacturer or authorized importer.
- Manufacturer: Ferm International, Lingenstraat 6, 8028 PM Zwolle, Netherlands
- Manufacturer Contact: +31 38 385 2525
- Importer (India): FERM INDIA, 85/1, 2nd Floor, 1st main road, New Timberyard Layout, Bangalore, Karnataka
Please retain your proof of purchase for any warranty claims.


