
LiftMaster 41C494-2
Contents
LiftMaster 41C494-2 Multi-function Wall Control User Manual
Model: 41C494-2
1. Introduction
This manual provides instructions for the installation, operation, and maintenance of the LiftMaster 41C494-2 Multi-function Wall Control. This wall control is designed for use with various Chamberlain Residential Garage Door Openers. Please read this manual thoroughly before installation and use to ensure proper function and safety.
Important: This wall control is not compatible with Security+ 2.0 Models. Verify compatibility with your garage door opener's manual or replacement parts diagram before proceeding.
2. Safety Information
Always observe the following safety precautions:
- Disconnect power to the garage door opener before installing or servicing the wall control.
- Ensure all wiring is performed according to local electrical codes.
- Keep children away from the wall control and garage door opener.
- Mount the wall control out of the reach of small children (at least 5 feet above the floor).
- Do not allow children to operate the garage door opener.
- Test the safety reversal system of your garage door opener monthly.
3. Package Contents
The package should contain the following items:
- LiftMaster 41C494-2 Multi-function Wall Control
- Mounting Screws (typically included, but may vary)
- Instruction Manual (this document)
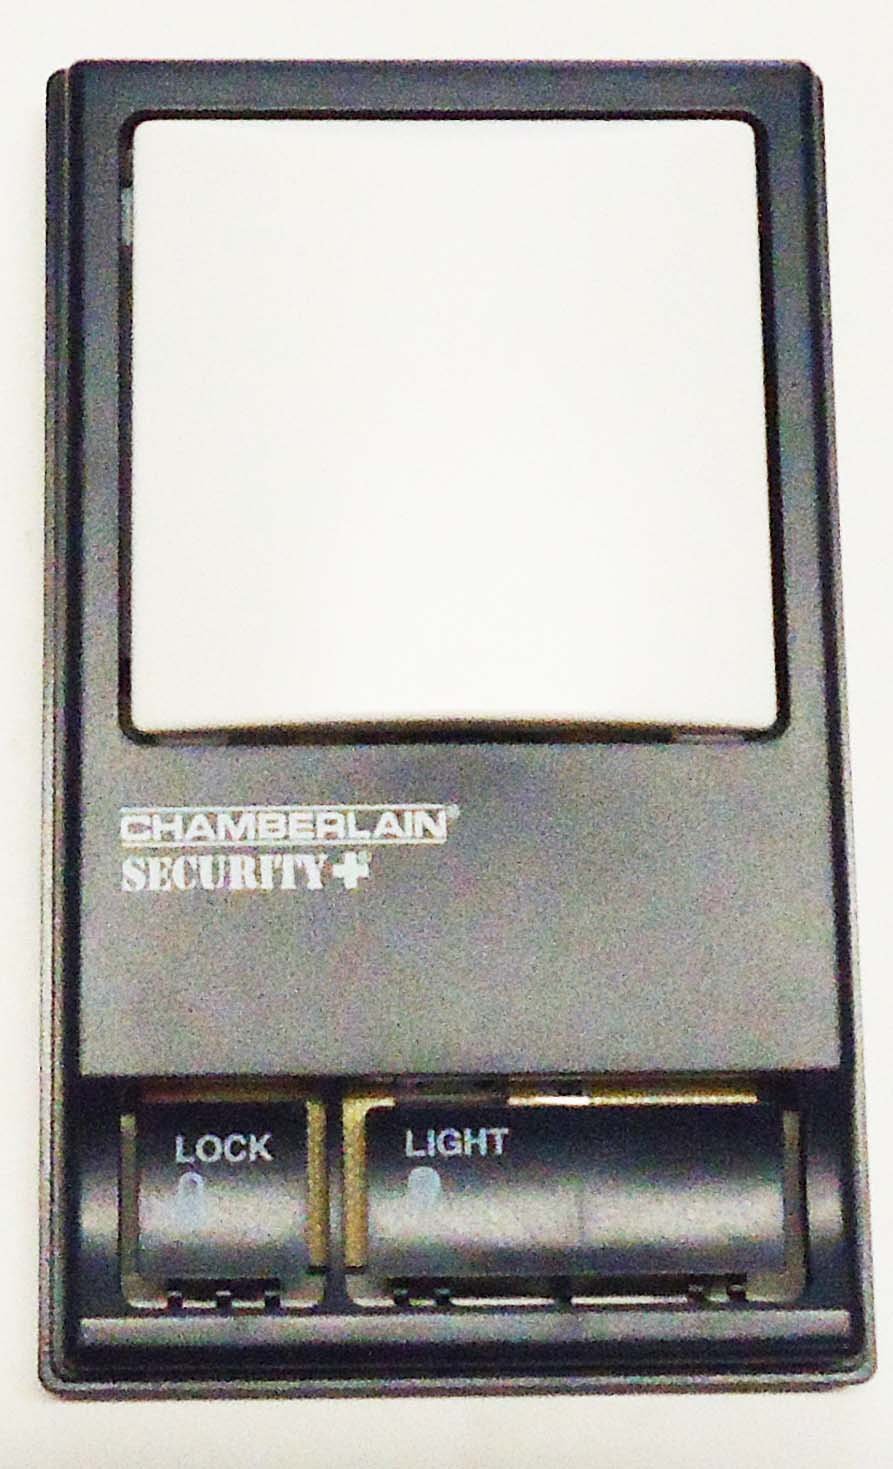
Image: The LiftMaster 41C494-2 Multi-function Wall Control, showing its main button and additional function buttons.
4. Setup and Installation
Follow these steps to install your new wall control:
- Disconnect Power: Unplug the garage door opener from the electrical outlet or turn off the circuit breaker to the garage door opener.
- Remove Old Wall Control (if applicable): Carefully remove the existing wall control from the wall. Disconnect the wires from the terminals. Note which wire was connected to which terminal (usually red and white).
- Prepare Wires: Strip approximately 1/4 inch of insulation from the ends of the wires if necessary.
- Connect Wires: Connect the wires to the terminals on the back of the new LiftMaster 41C494-2 wall control. Typically, the red wire connects to the RED terminal and the white wire connects to the WHITE terminal. Ensure connections are secure.
- Mount Wall Control: Mount the new wall control to the wall using the provided screws. Ensure it is mounted at least 5 feet above the floor and away from moving parts of the garage door.
- Restore Power: Plug the garage door opener back into the electrical outlet or turn on the circuit breaker.
- Test Operation: Press the main button on the wall control to ensure the garage door opens and closes correctly.
For detailed wiring diagrams, refer to your specific garage door opener's manual.
5. Operating Instructions
The LiftMaster 41C494-2 Multi-function Wall Control provides convenient operation of your garage door opener and additional features.
- Main Push Button: Press this large button to open or close the garage door. If the door is moving, pressing the button will stop it. Pressing it again will reverse the door's direction.
- Light Button: Press this button to turn the garage door opener's light on or off. The light will automatically turn off after a preset time (usually 4.5 minutes) if not manually turned off.
- Lock Button: Press and hold this button for 2 seconds to disable all remote controls and wireless keypads. The garage door opener will only operate from the wall control. To unlock, press and hold the button again for 2 seconds. This feature is useful for security when you are away or for extended periods.
6. Maintenance
The LiftMaster 41C494-2 Wall Control requires minimal maintenance.
- Cleaning: Wipe the surface of the wall control with a soft, damp cloth. Do not use abrasive cleaners or solvents.
- Functionality Check: Periodically test all buttons (main, light, lock) to ensure they are functioning correctly.
- Wire Connections: If the wall control becomes unresponsive, check the wire connections at the back of the unit and at the garage door opener terminals to ensure they are secure.
7. Troubleshooting
| Problem | Possible Cause | Solution |
|---|---|---|
| Wall control does not operate the garage door. |
|
|
| Remote controls do not work. | Lock feature is activated. | Press and hold the Lock button for 2 seconds to deactivate. |
| Light button does not turn light on/off. |
|
|
8. Specifications
- Model: 41C494-2
- Brand: LiftMaster
- Compatibility: Chamberlain Security+ Garage Door Openers (not Security+ 2.0)
- Features: Open/Close, Light Control, Lock Feature
- Connectivity: Wired
- Color: Black
9. Warranty Information
LiftMaster products typically come with a limited warranty. For specific warranty details regarding your 41C494-2 Multi-function Wall Control, please refer to the documentation included with your original garage door opener or visit the official LiftMaster website. Keep your proof of purchase for warranty claims.
10. Customer Support
If you encounter issues not covered in this manual or require further assistance, please contact LiftMaster customer support:
- Website: www.liftmaster.com
- Phone: Refer to the LiftMaster website for regional contact numbers.
When contacting support, please have your product model number (41C494-2) and a description of the issue ready.
Ask a question about this manual
Ask about setup, troubleshooting, compatibility, parts, safety, or missing instructions. Manuals+ will review the question and use this page’s manual context to help answer it.