
Sunex Tools 5000A
Sunex 5000A 16-Speed Floor UL/CSA Drill Press
Model: 5000A
Product Overview
The Sunex 5000A is a robust 16-speed floor drill press designed for precision drilling tasks. It features a heavy-duty 3/4 HP motor and a 5/8-inch drill capacity, making it suitable for various materials. The drill press includes a convenient belt tension lever for quick speed adjustments and a work table that rotates 360 degrees and pivots from 0 to 45 degrees on each side, with an indicator for precise setting. This unit is UL and CSA Listed, ensuring compliance with safety standards.
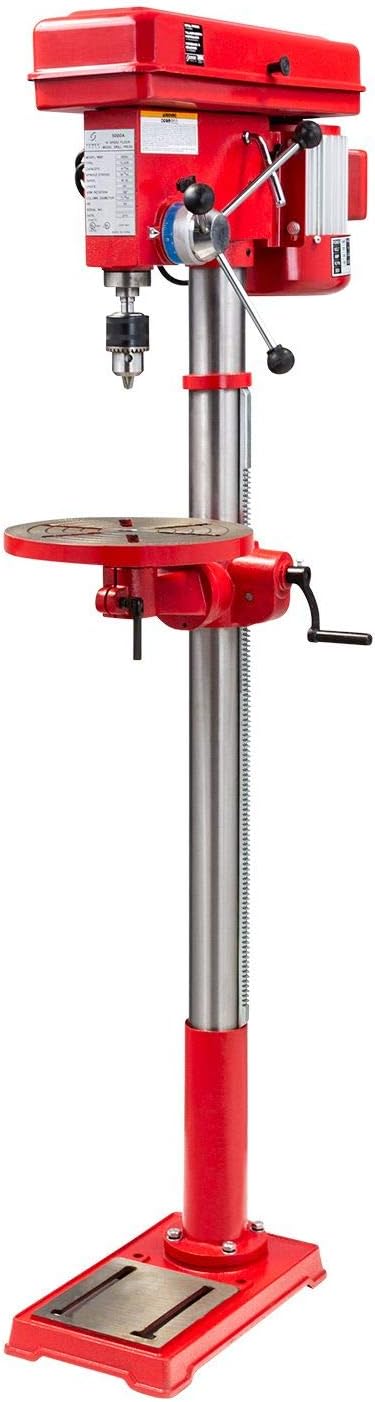
Figure 1: Full view of the Sunex 5000A 16-Speed Floor Drill Press.
Important Safety Instructions
Always observe the following safety precautions when operating the drill press to prevent injury or damage to the equipment.
- Read and understand all instructions before operating the drill press.
- Wear appropriate personal protective equipment (PPE), including safety glasses or a face shield, and hearing protection.
- Ensure the work area is clean, well-lit, and free from clutter.
- Securely fasten the workpiece to the drill press table using clamps or a vise to prevent rotation during drilling.
- Never wear loose clothing, gloves, neckties, or jewelry that could become entangled in moving parts. Tie back long hair.
- Disconnect the power supply before making adjustments, changing accessories, or performing maintenance.
- Do not operate the drill press if any parts are damaged or missing.
- Maintain proper footing and balance at all times.
- Avoid forcing the drill bit; allow the drill press to work at its own pace.
- Keep hands clear of the rotating drill bit and chuck.
Key Components
Familiarize yourself with the main components of your drill press:
- Head Assembly: Contains the motor, spindle, and chuck.
- Chuck: Holds the drill bit securely. The Sunex 5000A features a 5/8-inch chuck.
- Column: The main vertical support for the head and table.
- Work Table: Adjustable platform for supporting the workpiece.
- Base: Provides stability for the entire unit.
- Depth Stop: Allows for precise control over drilling depth.
- Feed Handles: Used to lower the chuck and drill bit into the workpiece.
- Belt Tension Lever: Facilitates quick changes in drilling speed.

Figure 2: Close-up view of the powerful 5/8-inch chuck, designed for heavy-duty drilling.
Assembly and Setup
Follow these steps to assemble your Sunex 5000A drill press:
- Unpacking: Carefully remove all components from the packaging. Inspect for any shipping damage.
- Base and Column Assembly: Securely attach the column to the base using the provided hardware. Ensure all bolts are tightened.
- Table Assembly: Slide the work table assembly onto the column. Adjust the table height and lock it in place.
- Head Assembly: Carefully lift and mount the head assembly onto the top of the column. Secure it with the appropriate fasteners.
- Chuck Installation: Clean the tapered spindle and the inside of the chuck. Place the chuck onto the spindle and firmly tap it into place with a rubber mallet.
- Handle Installation: Attach the feed handles to the head assembly.
- Power Connection: Ensure the drill press is placed on a stable, level surface. Connect the power cord to a grounded electrical outlet.
Operating Your Drill Press
Speed Adjustment
The Sunex 5000A offers 16 speeds, adjusted by changing the belt position on the motor and spindle pulleys. Refer to the speed chart located inside the belt cover for recommended speeds for different materials and drill bit sizes.
- Disconnect the drill press from the power supply.
- Open the belt cover on the head assembly.
- Release the belt tension using the convenient belt tension lever.
- Move the belts to the desired pulley combination for the required speed.
- Re-engage the belt tension lever to ensure proper belt tension.
- Close the belt cover before reconnecting power and operating the machine.

Figure 3: The convenient belt tension lever allows for fast transitions between speeds.
Table Adjustment
The work table can be adjusted for height and angle to accommodate various drilling operations.
- Height Adjustment: Loosen the table lock handle, raise or lower the table to the desired height, and then securely tighten the lock handle.
- Angle Adjustment: The table can pivot from 0 to 45 degrees on each side. Loosen the table tilt lock, adjust the table to the desired angle using the indicator, and then tighten the lock.
- Rotation: The table can rotate 360 degrees around the column. Loosen the table lock handle, rotate the table, and then tighten the lock.

Figure 4: The adjustable table rotates 360 degrees and pivots from 0 to 45 degrees on each side, with an indicator for precise setting.
Drilling Procedures
- Select the appropriate drill bit for the material and hole size. Insert it firmly into the chuck and tighten with the chuck key.
- Adjust the table height and angle as needed.
- Securely clamp the workpiece to the table to prevent movement during drilling.
- Set the depth stop if a specific drilling depth is required.
- Turn on the drill press. Allow the motor to reach full speed before beginning to drill.
- Slowly lower the drill bit into the workpiece using the feed handles, applying steady, even pressure.
- Periodically retract the drill bit to clear chips, especially when drilling deep holes.
- Once the hole is complete, retract the drill bit fully before turning off the machine.
Maintenance
Regular maintenance ensures the longevity and safe operation of your drill press.
- Cleaning: After each use, clean the drill press to remove dust, chips, and debris. Use a brush or vacuum; never use compressed air directly on the machine as it can force debris into bearings.
- Lubrication: Periodically apply a light coat of machine oil to the column, quill, and other moving parts to prevent rust and ensure smooth operation. Refer to the lubrication points in the detailed manual.
- Belt Inspection: Regularly check the drive belts for wear, cracks, or stretching. Replace worn belts promptly.
- Chuck Maintenance: Keep the chuck jaws clean and free of debris. Lubricate the chuck jaws occasionally with a light oil.
- Electrical Inspection: Inspect the power cord and plug for any damage. Do not use the drill press if the cord is frayed or damaged.
- Fastener Check: Periodically check all nuts, bolts, and screws for tightness. Tighten any loose fasteners.
Troubleshooting
This section addresses common issues you might encounter with your drill press.
| Problem | Possible Cause | Solution |
|---|---|---|
| Drill press does not start | No power supply; tripped circuit breaker; faulty switch or motor. | Check power connection; reset circuit breaker; consult qualified technician. |
| Excessive vibration or noise | Loose components; worn belts; unbalanced chuck or drill bit; damaged bearings. | Tighten all fasteners; replace worn belts; ensure chuck/bit are clean and properly seated; consult technician for bearing issues. |
| Drill bit wobbles | Improperly seated drill bit; damaged chuck; bent spindle. | Re-seat drill bit; clean chuck jaws; replace chuck if damaged; consult technician for bent spindle. |
| Motor overheats | Overloading the motor; insufficient ventilation; prolonged use. | Reduce feed pressure; ensure ventilation openings are clear; allow motor to cool down. |
| Difficulty changing speeds | Belt tension too high; belts stuck. | Ensure belt tension lever is fully disengaged; inspect belts for damage. |
Technical Specifications
The following table provides detailed specifications for the Sunex 5000A Drill Press:
| Specification | Value |
|---|---|
| Model Number | 5000A |
| Motor | 3/4 HP |
| Drill Capacity | 5/8 inches |
| Number of Speeds | 16 |
| Maximum Rotational Speed | 3850 RPM |
| Voltage | 115V |
| Amperage | 5000 Amps |
| Chuck Size | 13 Millimeters (5/8 inches) |
| Table Rotation | 360 degrees |
| Table Pivot | 0 to 45 degrees (each side) |
| Item Weight | 137.7 Pounds |
| Product Dimensions | 45.13 x 18.5 x 10.88 inches |
| Certifications | UL and CSA Listed |
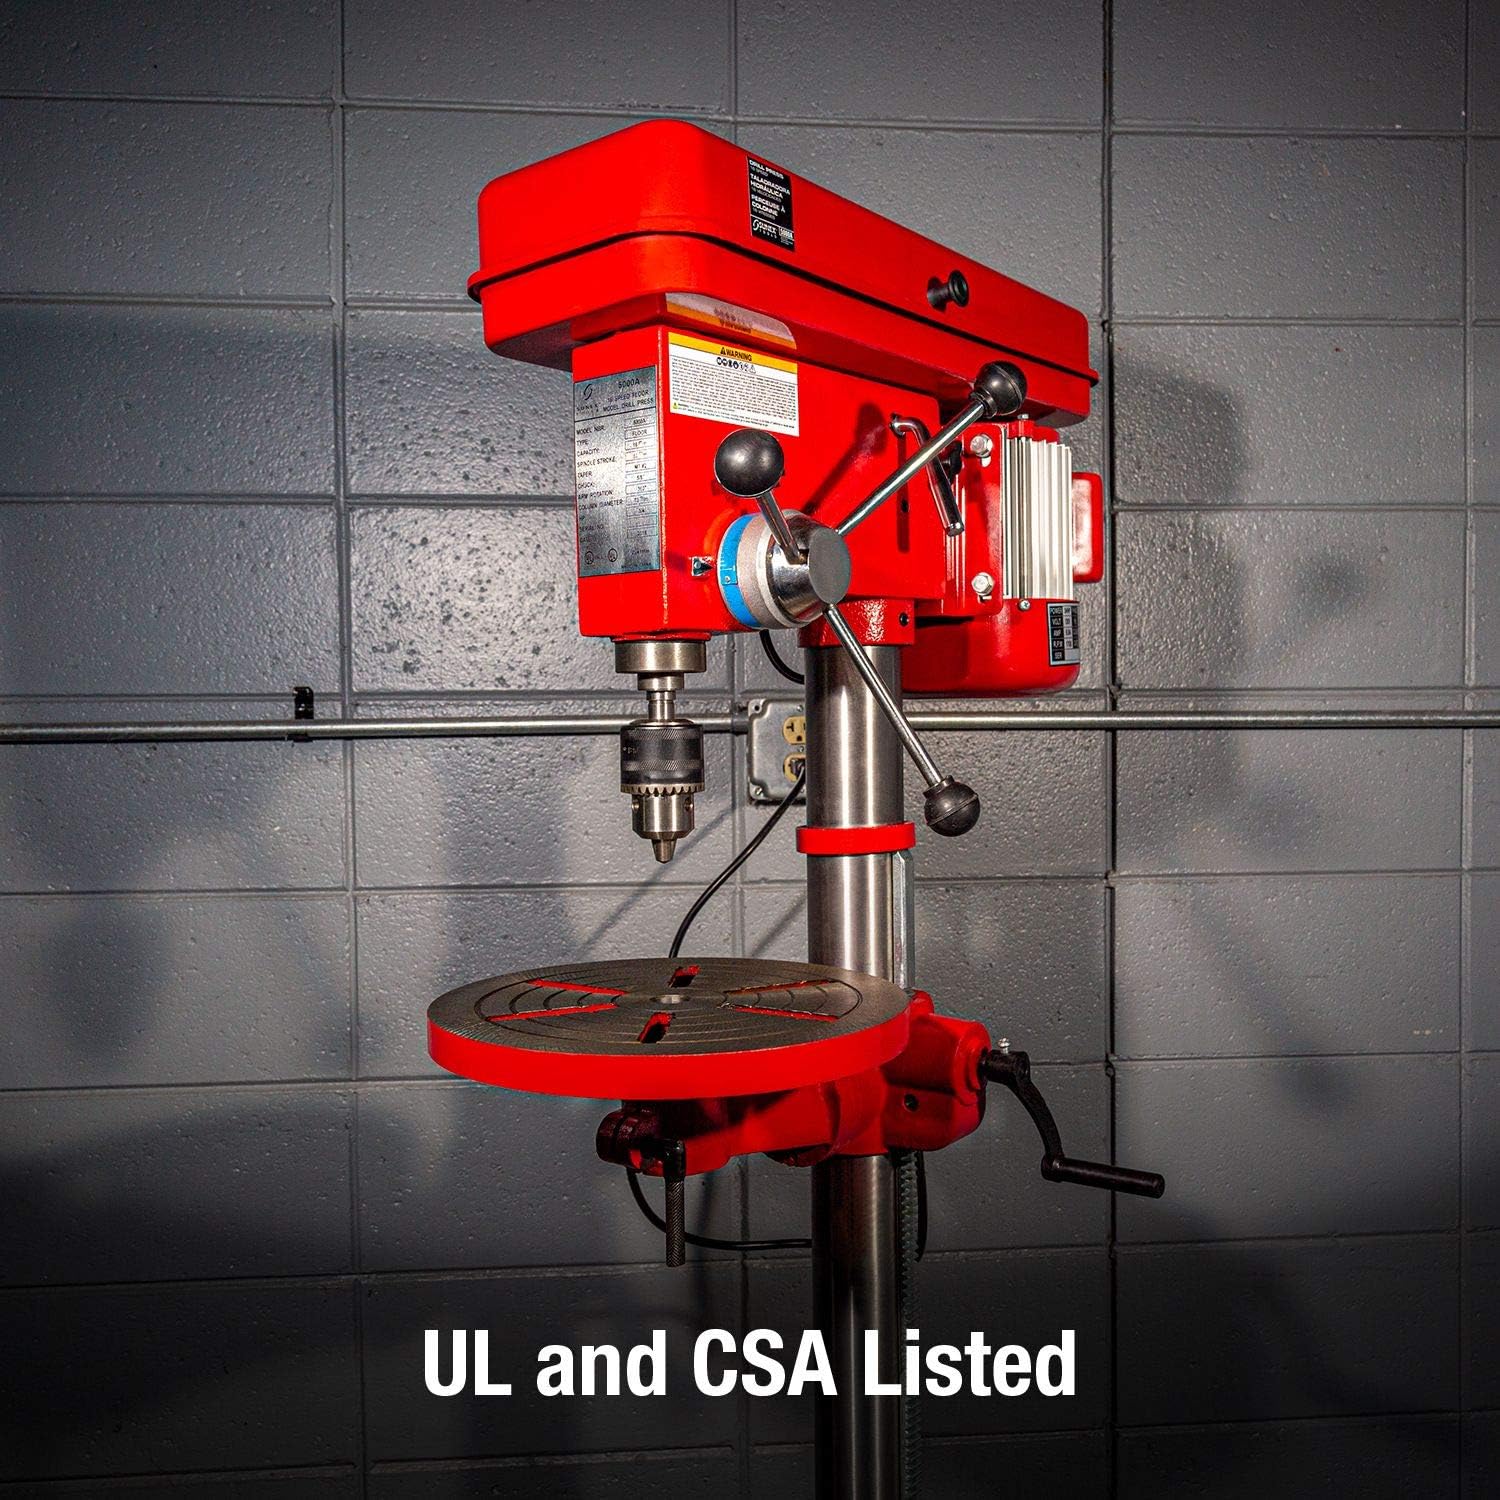
Figure 5: The Sunex 5000A Drill Press is UL and CSA Listed, ensuring compliance with safety standards.
Warranty and Customer Support
Sunex Tools products are manufactured to high-quality standards. For specific warranty details, including coverage period and terms, please refer to the warranty card included with your product or visit the official Sunex Tools website. Keep your purchase receipt as proof of purchase.
For technical assistance, parts, or service inquiries, please contact Sunex Tools customer support. Contact information can typically be found on the manufacturer's website or in the product packaging.
Related documents5000A


Ask a question about this manual
Ask about setup, troubleshooting, compatibility, parts, safety, or missing instructions. Manuals+ will review the question and use this page’s manual context to help answer it.