1. Introduction
This manual provides instructions for the proper setup, operation, and maintenance of your AmScope M620C-E1 Digital Monocular Compound Microscope. This instrument is designed for educational, laboratory, and hobbyist use, offering a magnification range from 40X to 2500X and digital imaging capabilities.
2. Safety Information
- Always handle the microscope with care. Avoid sudden impacts or vibrations.
- Ensure the microscope is placed on a stable, level surface.
- Disconnect the power cord before cleaning or performing any maintenance.
- Do not attempt to disassemble the microscope or its electrical components. Refer servicing to qualified personnel.
- Keep the microscope away from direct sunlight, high temperatures, dust, and corrosive chemicals.
- Use only the provided power adapter or one with identical specifications.
- When using immersion oil, avoid contact with skin and eyes. Clean up spills immediately.
3. Package Contents
Verify that all items listed below are included in your package:
- AmScope M620C-E1 Monocular Compound Microscope Body
- WF10X Eyepiece
- WF25X Eyepiece
- 4X, 10X, 40X, 100X (Oil) Achromatic DIN Objectives
- 1.3MP USB Digital Imager
- USB Cable
- Software CD for Windows/Mac/Linux
- Power Adapter
- Immersion Oil Bottle
- Blue Color Filter
- Dust Cover
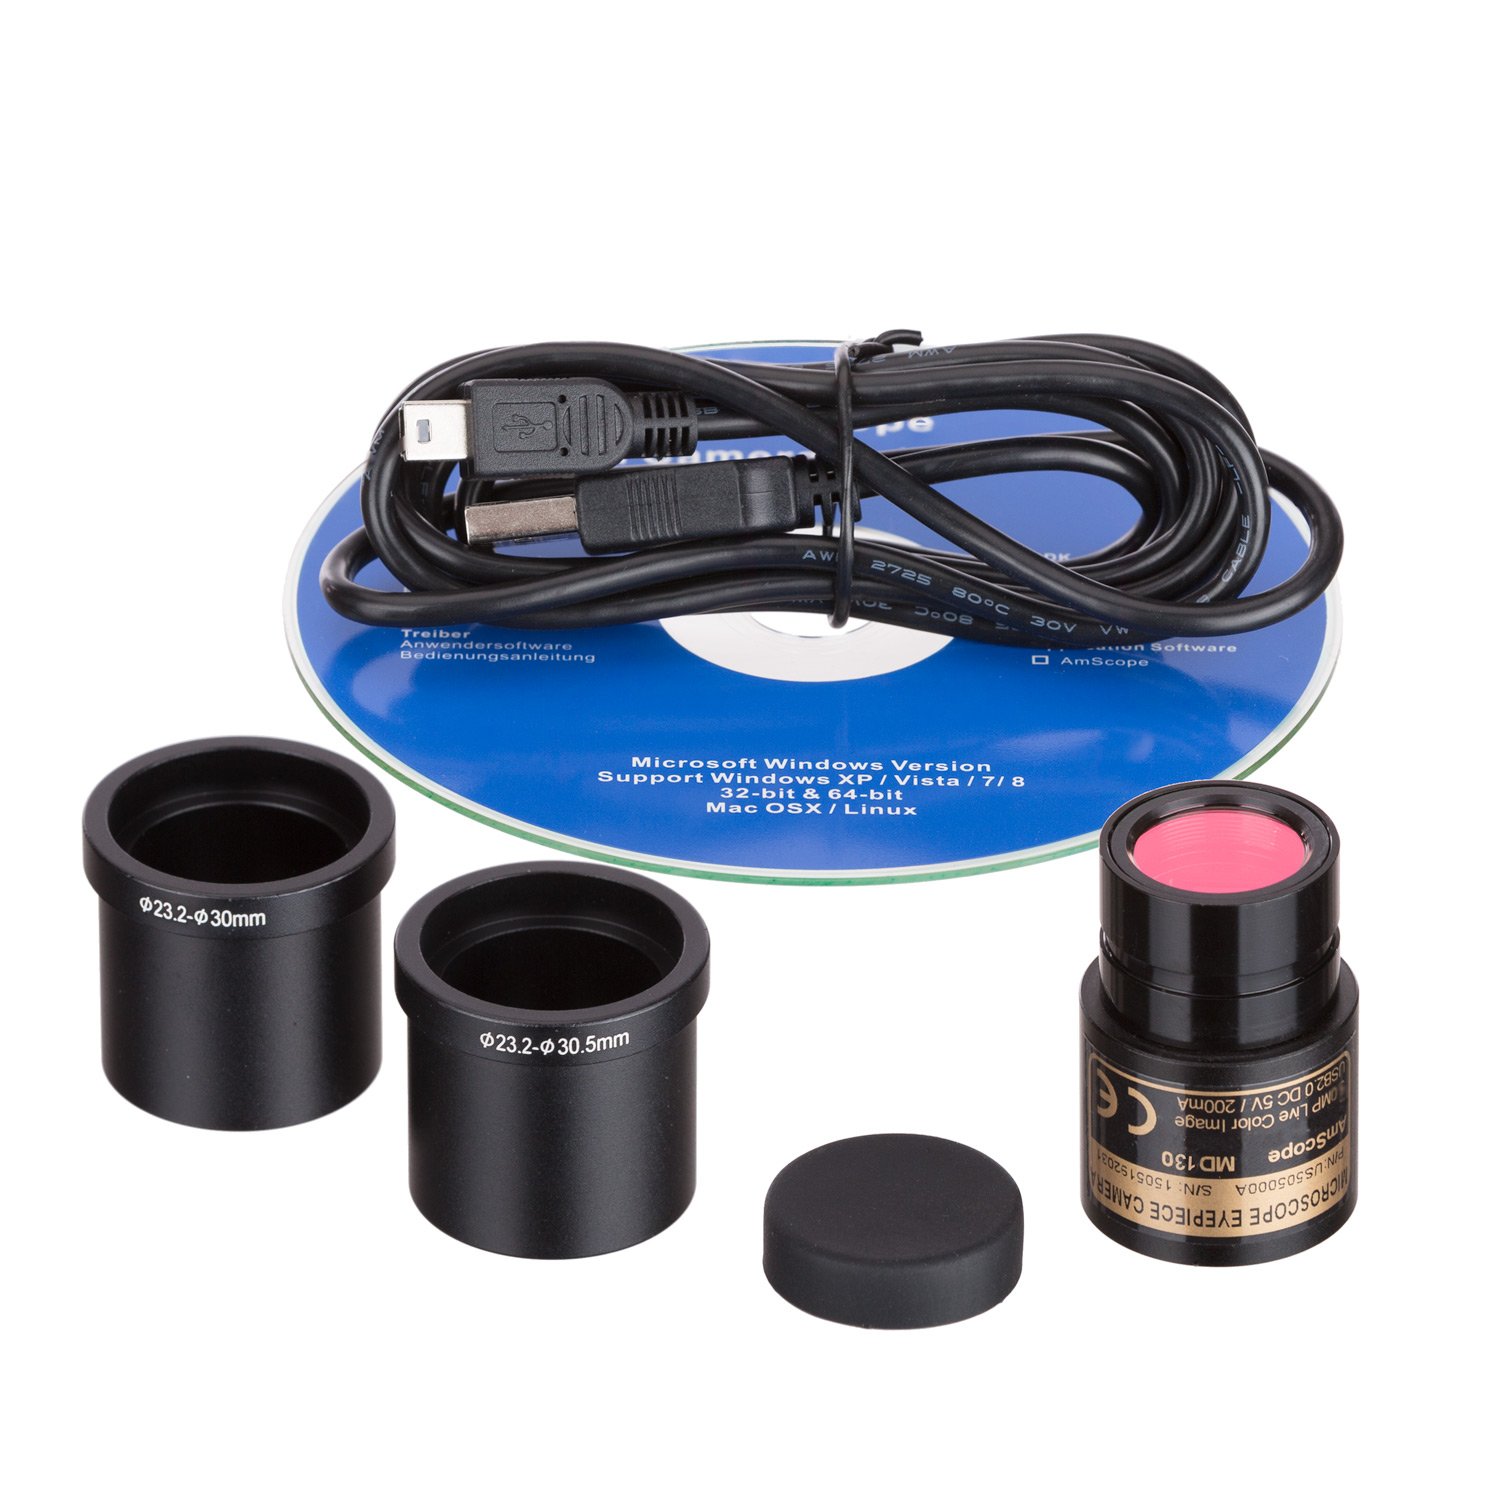
Figure 3.1: Included 1.3MP USB digital imager, USB cable, software CD, and eyepiece adapters.
4. Component Identification
Familiarize yourself with the main parts of your microscope:

Figure 4.1: Overall view of the AmScope M620C-E1 microscope. Key components include the eyepiece, monocular head, revolving nosepiece, objective lenses, mechanical stage, stage clips, coarse and fine focus knobs, illumination control, and base.
- Eyepiece: Where you look to view the specimen.
- Monocular Head: Holds the eyepiece, rotates 360 degrees for comfortable viewing.
- Revolving Nosepiece: Rotates to change objective lenses.
- Objective Lenses: Provide primary magnification (4X, 10X, 40X, 100X).
- Mechanical Stage: Platform for holding slides, with X-Y movement controls.
- Stage Clips: Secure the specimen slide on the mechanical stage.
- Coarse Focus Knob: For large adjustments to focus.
- Fine Focus Knob: For small, precise adjustments to focus.
- Illumination Control: Adjusts the brightness of the LED light source.
- Abbe Condenser: Focuses light onto the specimen.
- Iris Diaphragm: Controls the amount of light passing through the specimen.
- Base: Provides stability and houses the illumination system.
5. Setup
5.1 Unpacking and Placement
- Carefully remove all components from the packaging.
- Place the microscope on a sturdy, level surface, away from direct sunlight and heat sources.
5.2 Eyepiece and Objective Installation
- Remove the protective cap from the monocular head.
- Insert the desired eyepiece (WF10X or WF25X) into the eyepiece tube.
- Ensure the objective lenses (4X, 10X, 40X, 100X) are securely screwed into the revolving nosepiece.
5.3 Power Connection
- Connect the power adapter to the microscope's power input jack.
- Plug the power adapter into a standard electrical outlet (110V).
6. Operating Instructions
6.1 Placing a Specimen
- Rotate the revolving nosepiece to the lowest power objective (4X).
- Raise the stage using the coarse focus knob to create space.
- Place the specimen slide onto the mechanical stage, securing it with the stage clips.
- Use the X-Y stage controls to position the desired area of the specimen directly under the objective lens.
6.2 Focusing
- Turn on the LED illumination using the power switch and adjust the brightness to a comfortable level.
- While looking through the eyepiece, slowly lower the stage using the coarse focus knob until the specimen comes into rough focus.
- Use the fine focus knob to achieve a sharp, clear image.
6.3 Illumination Adjustment
- Brightness Control: Use the illumination control knob on the base to adjust the LED light intensity.
- Abbe Condenser: The condenser focuses light onto the specimen. For optimal viewing, the condenser should be centered.
- Iris Diaphragm: Adjust the iris diaphragm lever to control the contrast and resolution. A smaller opening increases contrast but reduces resolution, while a larger opening increases resolution but reduces contrast.
6.4 Magnification Selection
- Start with the lowest power objective (4X) for initial viewing and focusing.
- Once focused, rotate the revolving nosepiece to a higher power objective (10X, 40X). The microscope is parfocal, meaning minimal refocusing should be needed. Use the fine focus knob for precise adjustments.
- Total Magnification = Eyepiece Magnification × Objective Magnification.
6.5 Oil Immersion (100X Objective)
- After focusing with the 40X objective, rotate the nosepiece halfway between the 40X and 100X objectives.
- Place a small drop of immersion oil directly onto the center of the specimen slide.
- Rotate the 100X objective into the oil drop until it makes contact.
- Use only the fine focus knob to bring the image into sharp focus. Do not use the coarse focus knob with the 100X oil immersion objective.
- After use, clean the 100X objective and the slide immediately with lens cleaning solution and lens paper to remove all oil residue.
7. Digital Imaging Setup and Software
7.1 Connecting the USB Imager
- Remove the eyepiece from the monocular head.
- Insert the 1.3MP USB digital imager into the eyepiece tube.
- Connect the USB cable from the imager to an available USB port on your computer (Windows, Mac, or Linux).

Figure 7.1: The AmScope M620C-E1 microscope connected to a laptop, displaying a live microscopic view.
7.2 Software Installation
- Insert the provided software CD into your computer's CD/DVD drive.
- Follow the on-screen instructions to install the AmScope imaging software. Drivers for the USB imager are typically included.
- For Mac users, PhotoBooth may recognize the USB camera directly.
7.3 Capturing Images and Video
- Launch the AmScope imaging software.
- Select the USB imager as the video source.
- Adjust focus and illumination on the microscope to achieve a clear image on your computer screen.
- Use the software's interface to capture still images or record video. The software also provides tools for editing, measurement, and compositing.

Figure 7.2: Example of a microscopic image captured using the digital imager.

Figure 7.3: Another example of a detailed microscopic image.
8. Maintenance
8.1 Cleaning Optics
- Use a soft brush or compressed air to remove loose dust from lenses.
- For stubborn smudges or oil, apply a small amount of lens cleaning solution to a piece of lens paper and gently wipe the lens surface in a circular motion.
- Never use abrasive cloths or harsh chemicals, as these can damage optical coatings.
- Always clean the 100X oil immersion objective immediately after use.
8.2 General Care and Storage
- Keep the microscope covered with the dust cover when not in use.
- Store the microscope in a cool, dry place, away from direct sunlight and extreme temperatures.
- Periodically clean the exterior of the microscope with a soft, damp cloth.
9. Troubleshooting
- No Illumination: Check power connection, ensure the power switch is on, and adjust brightness control.
- Blurry Image: Adjust coarse and fine focus knobs. Ensure the objective is correctly rotated into position. Check if the specimen slide is correctly placed. Clean objective and eyepiece lenses if smudged.
- Image Too Dark/Bright: Adjust the illumination control and the iris diaphragm.
- Digital Imager Not Detected: Ensure the USB cable is securely connected to both the imager and the computer. Verify that the software drivers are correctly installed. Try a different USB port.
- Dust/Spots in View: Clean the eyepiece, objective lenses, and the top surface of the condenser.
10. Specifications
- Model: M620C-E1
- Head: 30-degree inclined 360-degree swiveling monocular
- Eyepieces: WF10X, WF25X
- Objectives: Achromatic DIN 4X, 10X, 40X (spring), 100X (spring, oil)
- Magnification: 40X-2500X
- Nosepiece: Revolving quadruple
- Stage: Double-layer mechanical stage with X-Y controls
- Focus: Coaxial coarse and fine focus system
- Illumination: LED, adjustable brightness
- Condenser: Abbe condenser with iris diaphragm
- Digital Imager: 1.3MP USB camera
- Compatible Devices: Personal Computer (Windows, Mac, Linux)
- Power: 110V
- Material: Metal
11. Warranty and Support
AmScope products are designed for quality and durability. For warranty information, technical support, or service inquiries, please contact AmScope directly through their official website or customer service channels. Please have your model number (M620C-E1) and purchase details ready when contacting support.


