
1. Product Overview
The Lexmark MS812DN is a high-performance monochrome laser printer designed for demanding work environments. It offers fast printing speeds, high-resolution output, and robust features to keep your office productive.
Key Features:
- Faster processing: Efficiently handles complex print jobs.
- Reliable High performance: Built for consistent, high-volume printing.
- Keep jobs moving: Designed to minimize interruptions and maximize uptime.
- Spend less time waiting: Achieves print speeds of up to 70 pages per minute.
- Print on a wide range of media: Supports various paper types including card stock, envelopes, labels, and transparencies.

Figure 1: Lexmark MS812DN Monochrome Laser Printer.
2. Setup Guide
Follow these steps to set up your Lexmark MS812DN printer.
2.1 Unpacking the Printer
- Carefully remove the printer from its packaging.
- Remove all packing materials, tapes, and protective films from the printer.
- Ensure all included components (workgroup printer, black toner cartridge) are present.
2.2 Connecting the Printer
- Place the printer on a stable, level surface.
- Connect the power cord to the printer and then to a grounded electrical outlet.
- For network connectivity, connect an Ethernet cable from your network router/switch to the printer's Ethernet port.
- Alternatively, for direct connection, use a USB cable to connect the printer to your computer's USB port.
2.3 Installing the Toner Cartridge
- Open the front access door of the printer.
- Unpack the black toner cartridge.
- Gently shake the cartridge to distribute the toner evenly.
- Insert the toner cartridge into its designated slot until it clicks into place.
- Close the front access door.
2.4 Loading Paper
- Pull out the paper tray.
- Adjust the paper guides to fit the size of the paper you are loading.
- Load the paper stack into the tray, ensuring it is flat and within the guides.
- Push the paper tray back into the printer until it locks.
2.5 Driver Installation
After connecting the printer, install the necessary drivers on your computer. Drivers and user guides are available from the official Lexmark website. Visit www.lexmark.com for the latest software downloads compatible with PC, Mac, and Unix systems.

Figure 2: Front view of the Lexmark MS812DN printer, showing the paper tray and control panel.
3. Operation
This section covers the basic operation of your Lexmark MS812DN printer.
3.1 Basic Printing
- Ensure the printer is powered on and connected to your computer or network.
- Open the document you wish to print on your computer.
- Select File > Print (or the equivalent command in your application).
- Choose the Lexmark MS812DN from the list of available printers.
- Adjust print settings as needed (e.g., number of copies, paper size, print quality).
- Click Print.
3.2 Duplex Printing (Two-Sided)
The MS812DN supports automatic duplex printing.
- In your application's print dialog, look for options related to Two-Sided Printing or Duplex Printing.
- Select the desired duplex option (e.g., long-edge binding, short-edge binding).
- Proceed with printing as usual.
3.3 Using the Control Panel
The printer features an e-Task touch screen for direct control. Use the touch screen to:
- View printer status and error messages.
- Access printer settings and network configurations.
- Initiate copy, scan, and fax functions directly from the device.
3.4 Copy, Scan, and Fax Functions
The Lexmark MS812DN is a multifunction device capable of copying, scanning, and faxing.
- Copy: Place documents on the scanner glass or in the Automatic Document Feeder (ADF). Use the control panel to select copy options and start the process.
- Scan: Scan documents to a computer, network folder, or email. Configure scan destinations via the control panel or your computer's scanning software.
- Fax: Connect a phone line to the printer's fax port. Use the control panel to dial numbers and send faxes.
4. Maintenance
Regular maintenance ensures the longevity and optimal performance of your printer.
4.1 Replacing the Toner Cartridge
When the toner is low, the printer will display a message on the control panel. To replace:
- Open the front access door.
- Remove the old toner cartridge by pulling it out.
- Unpack the new toner cartridge and shake it gently.
- Insert the new cartridge until it clicks into place.
- Close the front access door.
4.2 Cleaning the Printer
- Exterior: Wipe the exterior of the printer with a soft, damp, lint-free cloth. Do not use abrasive cleaners or solvents.
- Scanner Glass: Clean the scanner glass with a soft cloth moistened with glass cleaner.
- Internal Components: Refer to the detailed user guide (available on Lexmark's website) for instructions on cleaning internal components like rollers and the fuser.
4.3 Clearing Paper Jams
If a paper jam occurs, the printer's control panel will display an error message indicating the location of the jam. Follow the on-screen instructions or consult the full user manual for specific steps to clear the jam from various access points.
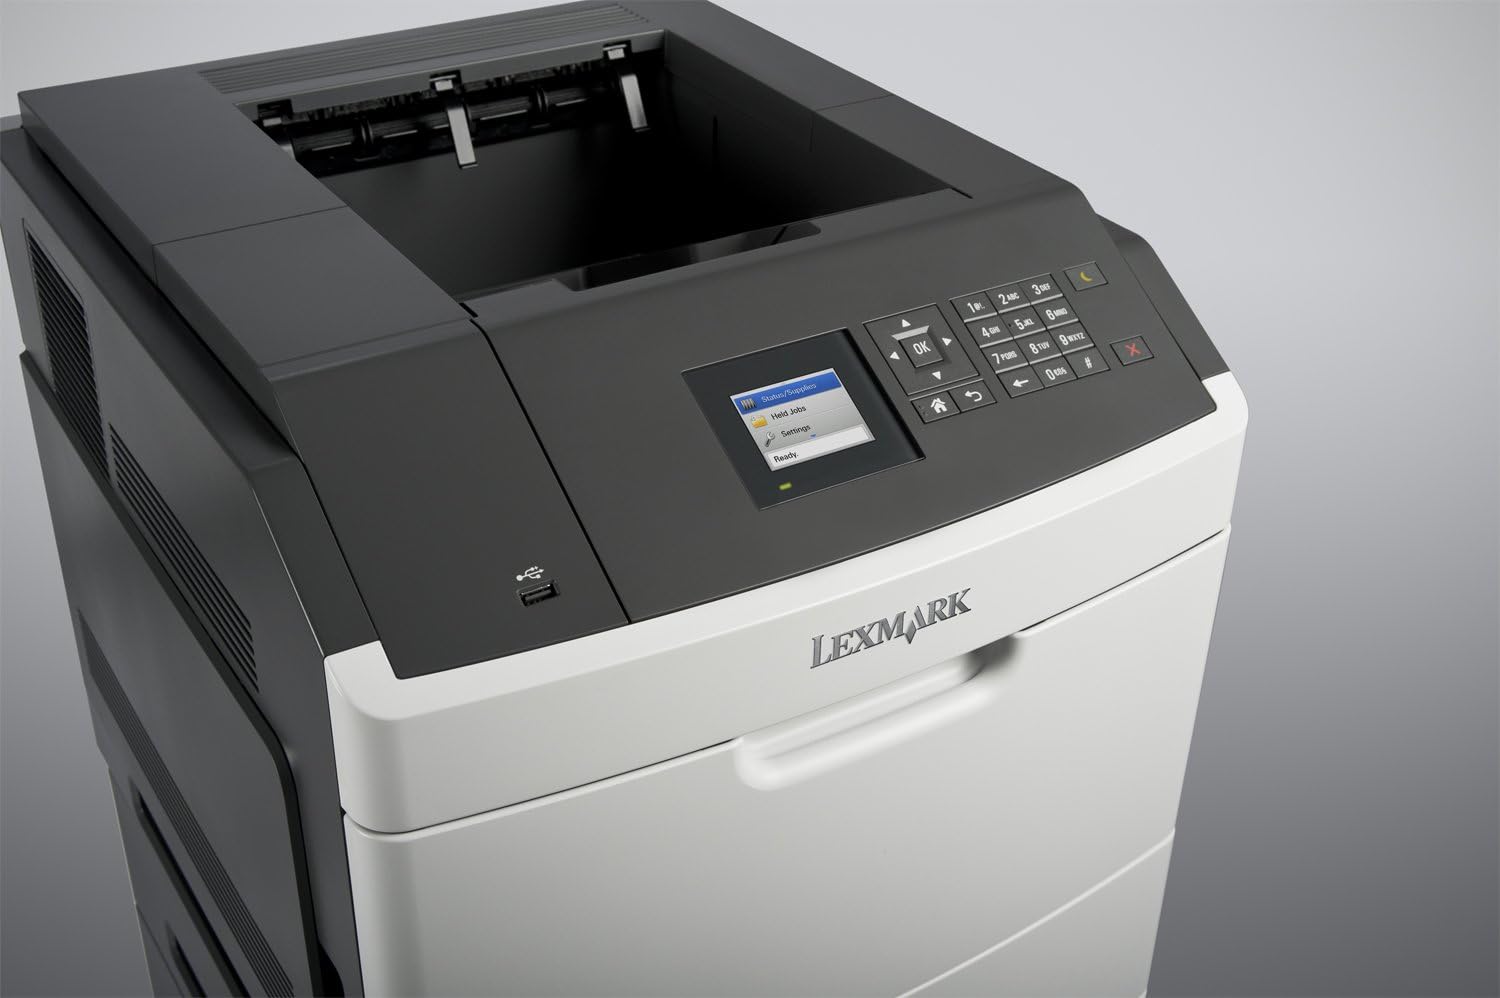
Figure 3: Side view of the Lexmark MS812DN printer, showing access points for maintenance.
5. Troubleshooting
This section provides solutions to common issues you might encounter.
5.1 Printer Not Responding
- Ensure the printer is powered on and all cables (power, USB/Ethernet) are securely connected.
- Check the printer's control panel for any error messages.
- Restart both the printer and your computer.
- Verify that the correct printer driver is installed and selected on your computer.
5.2 Print Quality Issues
- Check the toner cartridge level and replace if low.
- Ensure you are using appropriate paper for your print job.
- Perform a print quality test from the printer's control panel or driver settings.
- Clean the printer's internal components as per the maintenance section or full user manual.
5.3 Paper Jams
Refer to Section 4.3 for instructions on clearing paper jams. Always remove jammed paper carefully to avoid tearing.
5.4 Network Connectivity Problems
- Verify the Ethernet cable is properly connected to both the printer and the network device.
- Check network settings on the printer's control panel to ensure it has a valid IP address.
- Restart your network router/switch.
6. Technical Specifications
| Feature | Detail |
|---|---|
| Brand | Lexmark |
| Model Name | MS812DN |
| Item Model Number | PP7687 |
| Printing Technology | Laser |
| Printer Output | Monochrome |
| Max Print Speed Monochrome | 70 ppm |
| Maximum Black and White Print Resolution | 1200 x 1200 dpi |
| Dual-sided printing (Duplex) | Yes |
| Connectivity Technology | Ethernet, USB |
| Memory Storage Capacity | 512 MB |
| Max Input Sheet Capacity | 4400 |
| Print Media | Card stock, Envelopes, Labels, Paper (plain), Transparencies |
| Compatible Devices | PC, Mac, Unix |
| Product Dimensions (L x W x H) | 21.1 x 24.2 x 22.2 inches |
| Item Weight | 27 pounds |
| Included Components | Workgroup printer, Toner cartridge - black |
| Additional Printer Functions | Copy, Fax, Scan |
7. Warranty and Support
7.1 Warranty Information
This Lexmark MS812DN printer may come with a 90-Day Depot Warranty, particularly for refurbished units. Please refer to your purchase documentation for specific warranty terms and conditions.
7.2 Customer Support
For further assistance, technical support, or to download the latest drivers and full user manuals, please visit the official Lexmark support website:
You can also visit the Lexmark Store on Amazon for product information and accessories: Lexmark Store


