Introduction
This manual provides detailed instructions for the safe installation, operation, and maintenance of your Millennium RWHC14-SR Restoration One Light Pendant. Please read all instructions carefully before beginning installation and retain this manual for future reference.
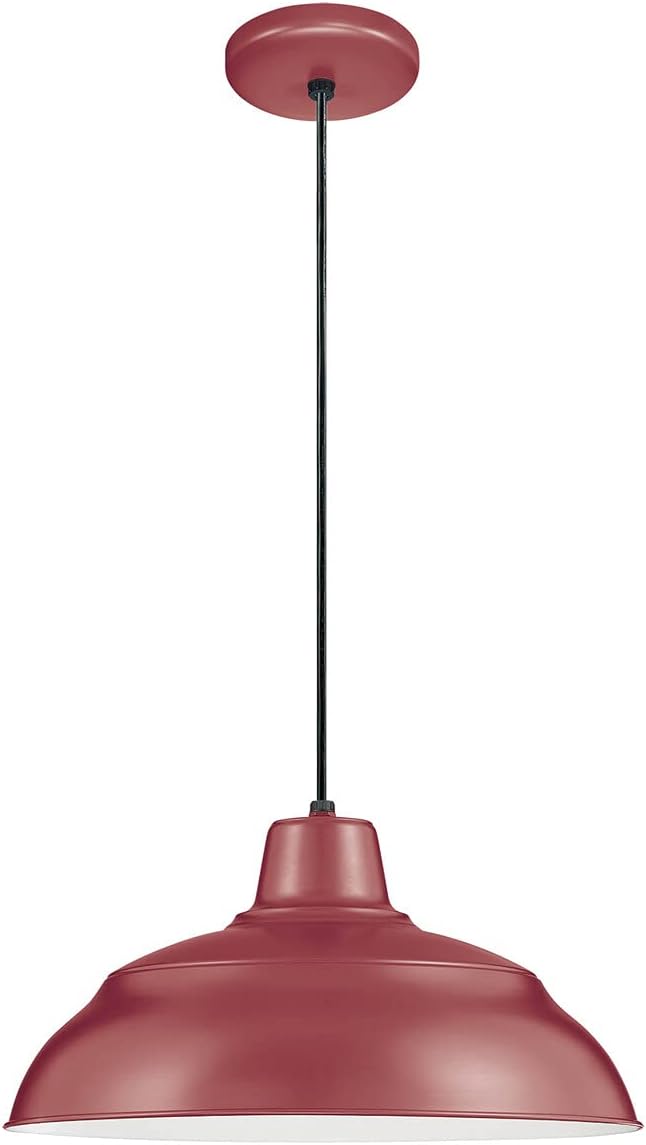
Image 1: The Millennium RWHC14-SR Restoration One Light Pendant, showcasing its Bronze/Dark finish and classic design.
Important Safety Information
WARNING: This product can expose you to chemicals including lead, which is known to the State of California to cause cancer and birth defects or other reproductive harm. For more information go to www.P65Warnings.ca.gov.
- Always turn off the main power supply at the circuit breaker before installation, removal, or servicing.
- Consult a qualified electrician if you are unsure about the installation process.
- Ensure all electrical connections are made in accordance with local codes and ordinances.
- Do not exceed the maximum wattage specified for the light fixture.
- This fixture is rated for Damp locations. Do not install in areas with direct water exposure.
- Handle glass components with care to prevent breakage.
Package Contents
Verify that all components are present before beginning installation:
- One Light Pendant Fixture (Model RWHC14-SR)
- Mounting Hardware Kit
- Instruction Manual
Note: Light bulb is typically not included and must be purchased separately.
Specifications
| Feature | Detail |
|---|---|
| Brand | Millennium Lighting |
| Model Number | RWHC14-SR |
| Product Dimensions | 14"L x 14"W x 8.25"H |
| Material | Glass, Metal |
| Finish | Bronze/Dark |
| Light Fixture Form | Pendant |
| Light Source Type | LED (compatible) |
| Bulb Base | E26 Medium |
| Max Wattage | 200 watts |
| Voltage | 120 Volts |
| Safety Rating | UL Listed |
| Location Rating | Damp |
| Mounting Type | Ceiling Mount (Pendant) |
Setup & Installation
Tools Required: Screwdriver, wire strippers, electrical tape, ladder, safety glasses.
- Turn Off Power: Locate the circuit breaker controlling the light fixture's location and turn off the power. Verify power is off using a voltage tester.
- Prepare Mounting: Carefully unpack the fixture and identify all components. Attach the mounting bracket to the junction box in the ceiling using the provided screws. Ensure the bracket is securely fastened.
- Wire Connections:
- Connect the black wire from the fixture to the black (hot) wire from the junction box.
- Connect the white wire from the fixture to the white (neutral) wire from the junction box.
- Connect the green or bare copper ground wire from the fixture to the ground wire from the junction box.
- Secure all connections with wire nuts and electrical tape.
- Mount Fixture: Carefully tuck all wires into the junction box. Align the fixture canopy with the mounting bracket and secure it using the provided screws or nuts.
- Install Bulb: Screw an E26 medium base bulb (up to 200 watts) into the socket. Do not overtighten.
- Restore Power: Turn the power back on at the circuit breaker. Test the light fixture.

Image 2: The Millennium RWHC14-SR pendant light installed, demonstrating its aesthetic in a typical indoor setting.
Operating Instructions
The Millennium RWHC14-SR pendant light is operated via a standard wall switch connected to the fixture's electrical circuit. Ensure the light bulb is correctly installed and the power supply is active.
- Turning On/Off: Flip the wall switch to the "ON" position to illuminate the pendant. Flip to "OFF" to turn it off.
- Dimming (Optional): If connected to a compatible dimmer switch and using a dimmable bulb, you can adjust the light intensity using the dimmer control.
Maintenance
Regular maintenance ensures the longevity and optimal performance of your pendant light.
- Cleaning:
- Always turn off power at the circuit breaker before cleaning.
- Wipe the fixture with a soft, dry cloth.
- Do not use abrasive cleaners, solvents, or polishes as they may damage the finish.
- For glass components, use a mild glass cleaner applied to a cloth, not directly to the fixture.
- Bulb Replacement:
- Ensure power is off and the bulb has cooled completely.
- Unscrew the old bulb counter-clockwise.
- Screw in a new E26 medium base bulb (up to 200 watts) clockwise until snug.
Troubleshooting
| Problem | Possible Cause | Solution |
|---|---|---|
| Light does not turn on. |
|
|
| Light flickers. |
|
|
| Fixture hums. |
|
|
Warranty & Support
Warranty Information: The product is covered by a manufacturer's warranty. Specific details regarding the duration and terms of the warranty are typically provided with the product packaging or can be obtained by contacting Millennium Lighting directly. The provided information states "Warranty Description: Na.", indicating specific details are not readily available in this context.
Customer Support: For technical assistance, missing parts, or warranty claims, please contact Millennium Lighting customer service. Refer to the product packaging or the official Millennium Lighting website for current contact information.


