
1. Introduction
This manual provides instructions for the proper installation and maintenance of your Auto Ventshade (AVS) Outside Mount Rain Guards, designed specifically for the 2011-2023 Dodge Charger. These vent visors are externally mounted and crafted from impact-resistant acrylic to enhance your driving experience by allowing fresh air circulation while protecting the interior from rain and other elements.
Please read all instructions carefully before beginning installation to ensure correct fitment and optimal performance.
2. Product Contents
Verify that all components are present in your package:
- Front & Rear Outside Mount Ventvisors (4 pieces)
- 3M Automotive-Grade Adhesive Tape (pre-applied)
- Surface Prep Kit (alcohol wipes)
- Installation Sheet

Figure 1: Included components of the AVS Outside Mount Rain Guards.
3. Specifications
| Feature | Detail |
|---|---|
| Brand | Auto Ventshade |
| Model Number | 94313 |
| Fitment | 2011 - 2023 Dodge Charger |
| Color | Smoke |
| Exterior Finish | Smooth |
| Auto Part Position | Outside |
| Number of Pieces | 4 |
| Installation Type | Self-Adhesive |
| Material | High-grade impact-resistant acrylic |
4. Safety Information
Always exercise caution when working on your vehicle. Ensure the vehicle is parked on a level surface with the parking brake engaged. Wear appropriate personal protective equipment, such as gloves, during installation. Keep all tools and small parts away from children.
5. Installation Instructions
Installation is straightforward and requires no drilling. Follow these steps for a secure fit:
- Preparation:
- Ensure the ambient temperature is at least 68°F (20°C) for optimal adhesive bonding.
- Clean the surface area where the rain guards will be applied using the provided alcohol wipes. Ensure all dirt, wax, and residue are removed. The surface must be completely dry before proceeding.
- Test Fit:
- Carefully test fit each vent visor to its corresponding window frame without removing the adhesive backing. This helps you visualize the correct placement and alignment.
- Identify the front and rear visors. The rear visors typically have a more rounded corner towards the rear of the vehicle, while the front visors have a more squared corner towards the front.
- Adhesive Application:
- Peel back approximately 1-2 inches of the red adhesive liner from both ends of the vent visor. Fold the peeled liner outwards to create tabs for easy removal later.
- Carefully align the vent visor to the window frame, ensuring it sits just above the window frame and not on the paint.
- Once aligned, firmly press down on the exposed ends of the adhesive to secure them in place.
- Slowly pull the remaining red adhesive liner from underneath the vent visor while continuously applying firm pressure along the entire length of the visor. This ensures a strong bond.
- Final Securement:
- After the adhesive is fully applied, use a clean, soft cloth to firmly press along the entire length of the vent visor, applying consistent pressure to ensure maximum adhesion.
- Repeat the process for all four windows.
- Post-Installation:
- Avoid washing the vehicle for at least 24-48 hours to allow the adhesive to fully cure.
- For the first 72 hours, avoid rolling down the windows to allow the rubber weatherstripping to conform to the shape of the new vent visors.
Installation Video Guides:
Video 1: Installation of Original Ventvisor (Example: Toyota Tundra). This video demonstrates the general installation process for AVS Outside Mount Ventvisors.
Video 2: Installing Outside Mount Ventvisors (Example: Jeep Gladiator). Another example of the installation process for outside mount ventvisors.
Video 3: General Installation of Original Ventvisor. This video provides a general overview of the installation steps.

Figure 2: AVS Ventvisor being mounted externally with adhesive tape.
6. Operating Instructions
Your AVS Outside Mount Rain Guards allow you to slightly crack your windows for fresh air circulation, even during rain or snow, without water entering the vehicle. This helps to reduce interior heat buildup and eliminate stale odors.
- To allow air circulation, gently lower your window a few inches. The rain guard will deflect rain and wind.
- Ensure windows are fully closed when parking for extended periods or in severe weather conditions.
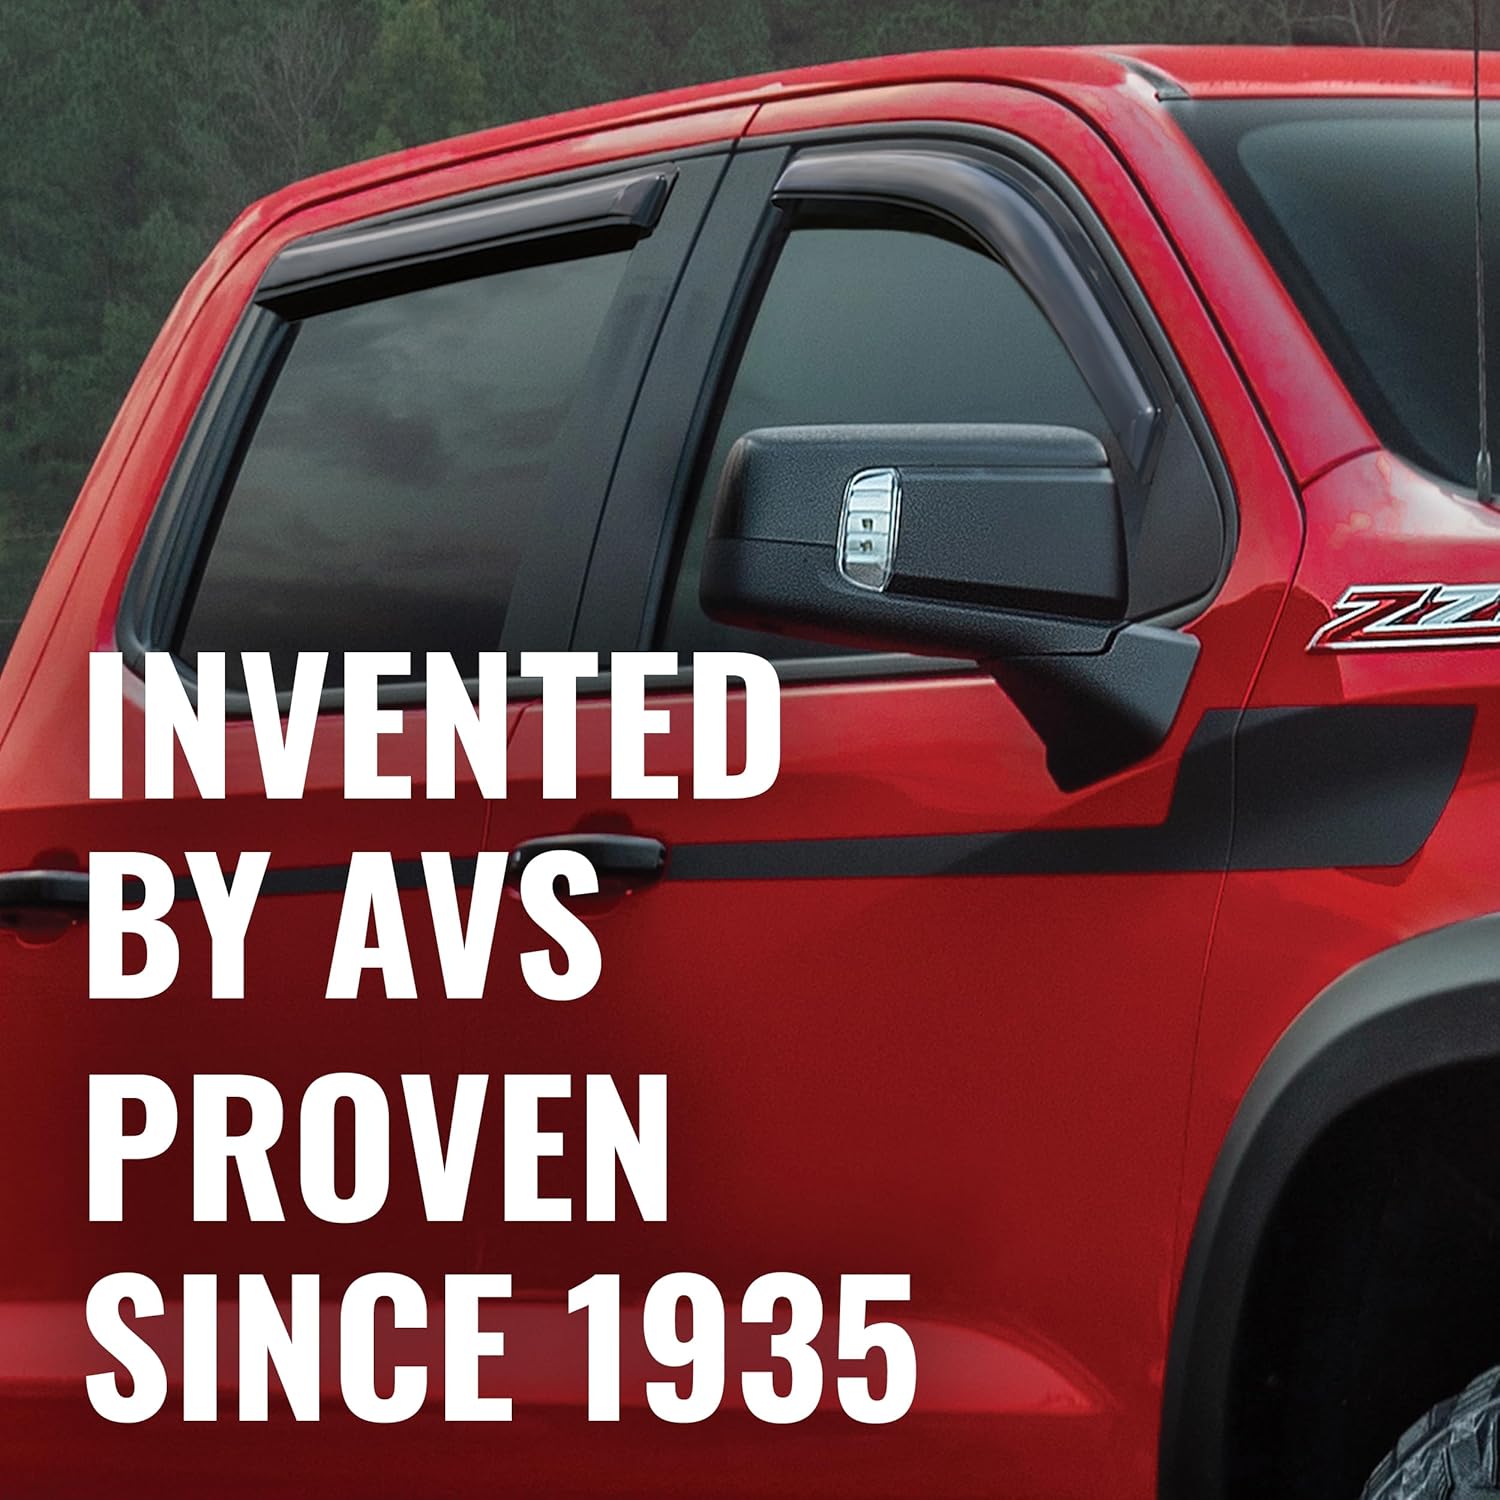
Figure 3: AVS Rain Guards allow windows to be slightly open for ventilation.
7. Maintenance
To maintain the appearance and longevity of your AVS Outside Mount Rain Guards:
- Clean the rain guards regularly with mild soap and water. Avoid abrasive cleaners or harsh chemicals that could damage the acrylic finish.
- The material is UV resistant and car wash safe. However, avoid high-pressure washes directly on the edges of the rain guards, especially immediately after installation.
- Inspect the adhesive bond periodically to ensure it remains secure.

Figure 4: AVS Ventvisors are designed to be car wash safe.
8. Troubleshooting
If you encounter any issues with your AVS Outside Mount Rain Guards, consider the following:
- Window not rolling up smoothly: This can sometimes occur immediately after installation as the window's rubber seal adjusts. Gently assist the window by pulling up on the rain guard while rolling the window up. This should resolve itself after the 72-hour curing period.
- Adhesive not sticking: Ensure the surface was thoroughly cleaned and dry before application. Ambient temperature should be above 68°F (20°C). If issues persist, contact customer support.
9. Warranty
All AVS side window deflectors are backed by a Limited Lifetime Warranty. For specific details regarding warranty coverage and claims, please refer to the official Auto Ventshade website or contact their customer service.
10. Support
For further assistance, technical support, or to inquire about replacement parts, please visit the official Auto Ventshade website or contact their customer service department. Contact information can typically be found on the product packaging or the manufacturer's website.

