Introduction
The Brinsea Octagon 20 Advance Humidity Pump is specifically designed to work seamlessly with the Brinsea Octagon 20 ADVANCE egg incubator. This pump effectively maintains the humidity level precisely at the user-set level, irrespective of changes in room humidity. This capability helps overcome common problems that can lead to eggs failing to hatch, particularly in the later stages of incubation. The Advance Humidity Pump includes a peristaltic pump and an external water reservoir, providing a reliable solution for accurate humidity control, which is a crucial factor for successful egg incubation.
Setup Instructions
1. Unpacking and Component Identification
Carefully remove all components from the packaging. Verify that all parts are present and undamaged. The package should contain the peristaltic pump unit, an external water reservoir, an electrical lead, and a flexible tube for water supply.

Figure 1: The Brinsea Octagon 20 Advance Humidity Pump, showing the main unit, clear water reservoir, and connecting tubes.
2. Placement
Position the humidity pump unit on a stable, level surface directly beside your Brinsea Octagon 20 ADVANCE egg incubator. Ensure there is enough space for easy access to the water reservoir and connections.
3. Connecting the Pump
- Connect the electrical lead from the humidity pump to the designated port on your Octagon 20 ADVANCE incubator. Refer to your incubator's manual for the exact port location.
- Attach one end of the flexible tube to the water inlet on the humidity pump.
- Place the other end of the flexible tube into the external water reservoir. Ensure the tube reaches the bottom of the reservoir to allow for maximum water uptake.
4. Filling the Water Reservoir
Fill the external water reservoir with distilled or de-ionized water. Using tap water may lead to mineral buildup and affect pump performance over time. Ensure the water level is sufficient for the duration of incubation, especially during the critical hatching period.
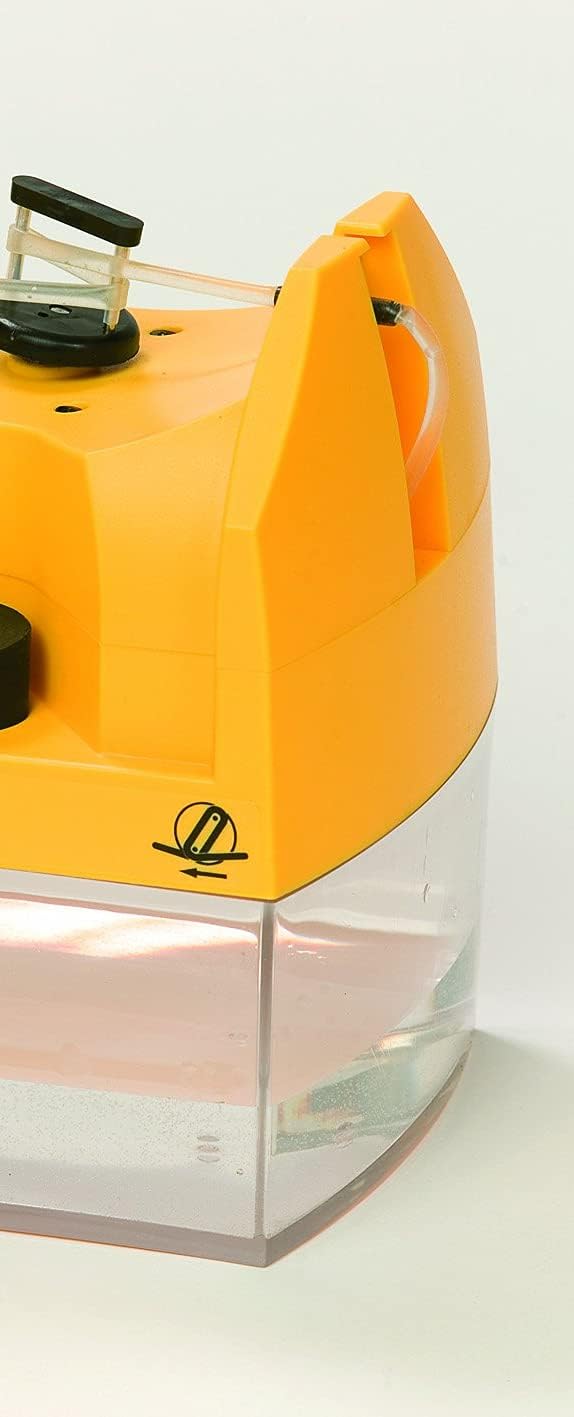
Figure 2: Close-up view of the water reservoir, indicating the water level. Regular monitoring is essential.
Operating the Humidity Pump
1. Powering On
Once the pump is connected to the incubator, power on your Brinsea Octagon 20 ADVANCE incubator. The humidity pump draws power and receives control signals directly from the incubator.
2. Setting Humidity Levels
Humidity settings are controlled directly from the incubator's intuitive digital menu. Navigate to the humidity settings on your incubator's display and adjust the desired Relative Humidity (RH) percentage. The pump will automatically work to achieve and maintain this set level.
3. Monitoring Humidity
The achieved relative humidity (RH) is continuously shown on the incubator's digital display. Regularly monitor this reading to ensure the humidity pump is functioning correctly and maintaining the desired conditions for your eggs.
Maintenance
Proper maintenance ensures the longevity and optimal performance of your Brinsea Humidity Pump.
- Regular Cleaning: Periodically clean the external water reservoir and the flexible tube to prevent algae growth or mineral buildup. Use a mild disinfectant solution and rinse thoroughly with clean water.
- Water Quality: Always use distilled or de-ionized water in the reservoir. This prevents limescale and mineral deposits from clogging the pump mechanism and tubes.
- Tube Inspection: Regularly inspect the flexible tube for any kinks, blockages, or signs of wear. Ensure it is securely connected at both ends.
- Pump Unit Cleaning: Wipe down the exterior of the pump unit with a damp cloth. Do not immerse the pump unit in water.
Troubleshooting
This section provides solutions to common issues you might encounter with your humidity pump.
| Issue | Possible Cause | Solution |
|---|---|---|
| Humidity not reaching set level |
|
|
| Pump not operating |
|
|
| Excessive humidity |
|
|
Product Specifications

Figure 3: The compact size of the Brinsea Humidity Pump, demonstrating its portability and ease of placement.
| Feature | Detail |
|---|---|
| Brand Name | Brinsea |
| Manufacturer | Brinsea Products |
| Model Name | Octagon 20 Advance Humidity Pump |
| Item Model Number | Octagon 20 Advance Humidity Pump |
| Item Weight | 3 pounds |
| Item Dimensions (LxWxH) | 5 x 5 x 7 inches |
| Item Package Dimensions (LxWxH) | 15.2 x 10.9 x 5.7 inches |
| Color | Yellow |
| Included Components | Water pump with external reservoir and tubing |
| Specific Uses for Product | Indoor (for egg incubation) |
Warranty and Support
Warranty Information
The Brinsea Octagon 20 Advance Humidity Pump comes with a full 3-year manufacturer warranty. This warranty is subject to registration. Please refer to the warranty card included with your product or visit the official Brinsea website for detailed terms and conditions regarding warranty registration and claims.
Customer Support
For any further assistance, technical queries, or support not covered in this manual, please contact Brinsea Products customer service. Contact details can typically be found on the Brinsea website or on the product packaging.