
1. Introduction
This manual provides detailed instructions for the installation, operation, and maintenance of your Lampa NORDRIVE N10035 Aluminum Roof Bar. This product is designed to provide a secure and aerodynamic solution for transporting additional cargo on your vehicle's roof. Please read all instructions carefully before installation and use to ensure safety and proper function.
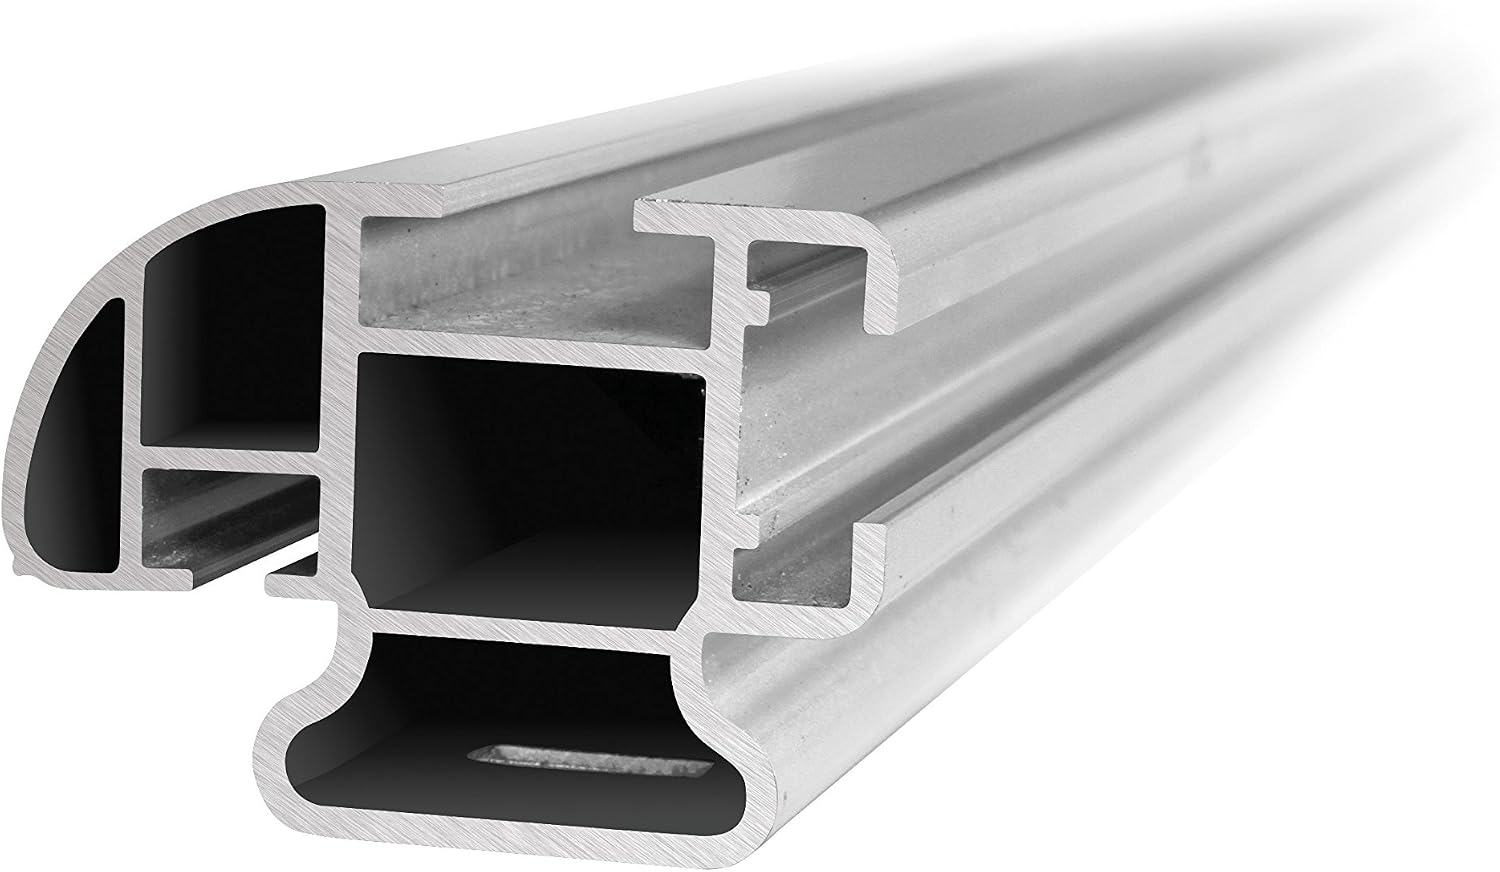
Image 1.1: Overview of the NORDRIVE N10035 Aluminum Roof Bar.
2. Safety Information
Adherence to these safety guidelines is crucial for preventing accidents and ensuring the longevity of your roof bar system.
- Weight Limits: Never exceed the maximum load capacity specified for your vehicle's roof or the roof bar system. Consult your vehicle's owner's manual for specific weight limits.
- Secure Attachment: Always ensure the roof bar and any attached accessories are securely fastened before driving. Regularly check all bolts and fasteners for tightness, especially after initial installation and before long journeys.
- Load Distribution: Distribute the load evenly across the roof bars. Secure all cargo properly to prevent shifting during transit.
- Driving Behavior: Adjust your driving speed and style when carrying loads on the roof. Be aware of increased vehicle height and potential changes in handling, especially in crosswinds or when cornering.
- Maintenance: Periodically inspect the roof bar for any signs of wear, damage, or corrosion. Replace any damaged components immediately.
- Accessory Compatibility: Ensure any accessories (e.g., bike racks, ski carriers) used with the roof bar are compatible and properly installed according to their respective manuals.
3. Package Contents
The Lampa NORDRIVE N10035 Aluminum Roof Bar package typically includes the following components:
- Aluminum Roof Bar (135 cm length)
- Mounting feet/supports (quantity as required for vehicle fitment)
- End caps
- Rubber profile inserts for aerodynamic enhancement and load protection
- Installation hardware (bolts, washers, tools if provided)
- Instruction Manual
4. Setup (Installation)
The NORDRIVE N10035 Aluminum Roof Bar is designed for universal fitment on vehicles with appropriate roof types (e.g., integrated roof rails, fixed points). Installation requires careful attention to detail to ensure secure attachment.
4.1. Component Identification

Image 4.1: Close-up view of the NORDRIVE roof bar end cap, showing the brand logo and locking mechanism.

Image 4.2: Close-up view of the roof bar's mounting foot/base, which connects to the vehicle's roof.
4.2. General Installation Steps
- Consult Vehicle Manual: Refer to your vehicle's owner's manual for specific instructions regarding roof load capacity and approved mounting points for roof bars.
- Assemble Feet: Attach the mounting feet to the aluminum bars according to the specific instructions provided with your mounting kit (sold separately or included based on vehicle model). Ensure all components are oriented correctly.
- Position Bars: Place the assembled roof bars onto your vehicle's roof at the designated mounting points. Ensure the bars are parallel and evenly spaced.
- Secure to Vehicle: Fasten the mounting feet to your vehicle's roof using the provided hardware. Tighten all bolts evenly and firmly, but do not overtighten.
- Install Rubber Profile: Insert the specially designed rubber profile into the top channel of the aluminum bar. This profile enhances aerodynamics and protects the bar and cargo.
- Final Check: After installation, gently shake the roof bars to confirm they are securely attached. Drive a short distance and re-check all fasteners for tightness.
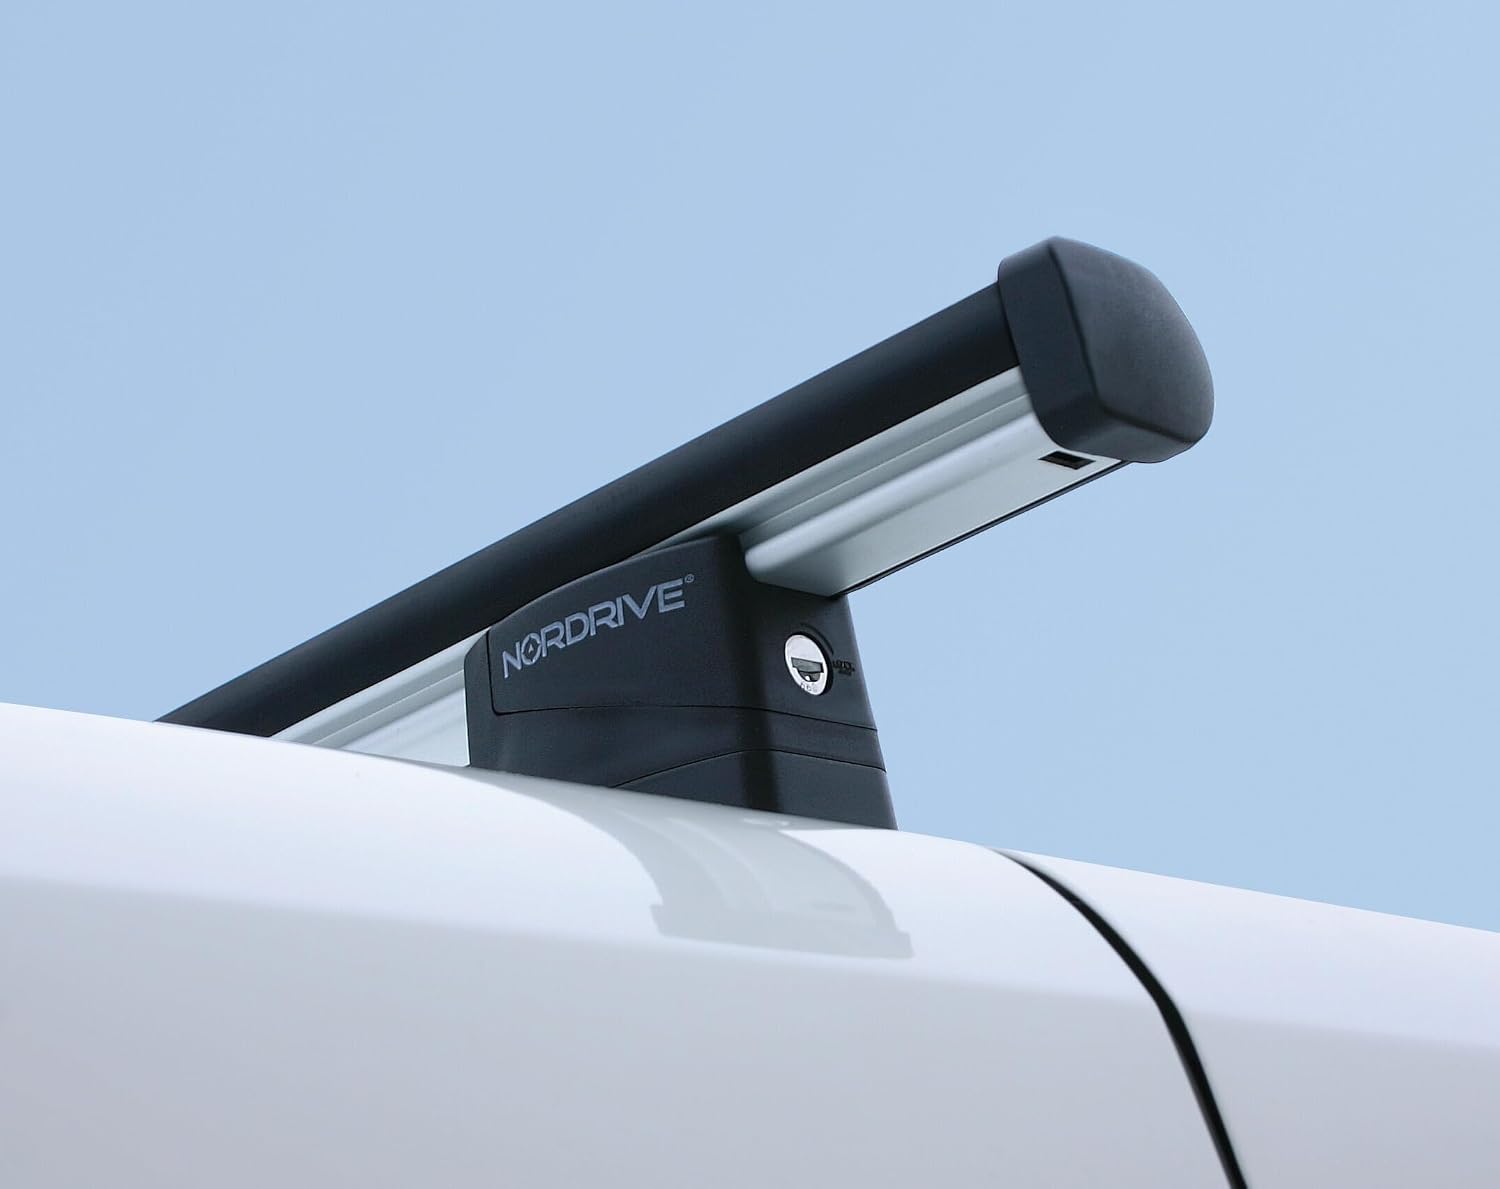
Image 4.3: The NORDRIVE N10035 Aluminum Roof Bar installed on a vehicle.
5. Operating Instructions
The NORDRIVE N10035 Aluminum Roof Bar features three channels for versatile accessory attachment, particularly via unified T-connectors.
5.1. Loading Cargo
- Distribute Weight: Place heavier items closer to the center of the vehicle and distribute weight evenly between the two roof bars.
- Secure Cargo: Use appropriate straps, nets, or cargo boxes to secure all items firmly to the roof bars. Ensure no part of the load obstructs your view or extends dangerously beyond the vehicle's dimensions.
- Check Clearance: Be mindful of increased vehicle height when entering garages, car washes, or areas with low overhead clearance.
5.2. Using T-Slot Accessories
The aluminum bar is equipped with 3 channels designed for the insertion of accessories using unified T-connectors. This allows for easy and secure attachment of various roof rack accessories such as ski carriers, bike racks, or cargo boxes.
- Remove End Cap: Carefully remove the end cap from the roof bar to expose the T-slot channel.
- Slide in T-Connector: Slide the T-connector of your accessory into the channel.
- Position and Secure: Slide the accessory to the desired position and tighten its fastening mechanism.
- Replace End Cap: Re-install the end cap to protect the channel and maintain aerodynamics.

Image 5.1: The NORDRIVE roof bar demonstrating the use of a T-slot accessory.
6. Maintenance
Regular maintenance ensures the safety and extends the lifespan of your NORDRIVE N10035 Aluminum Roof Bar.
- Cleaning: Clean the roof bars regularly with mild soap and water. Avoid abrasive cleaners or solvents that could damage the aluminum finish or rubber components.
- Inspection: Periodically inspect all components for signs of wear, cracks, corrosion, or damage. Pay close attention to the mounting feet, rubber profiles, and end caps.
- Fastener Check: Re-tighten all mounting bolts and fasteners at least once a month, or more frequently if the bars are used often or for heavy loads.
- Storage: If the roof bars are removed for storage, clean them thoroughly and store them in a dry, protected area away from direct sunlight and extreme temperatures.
7. Troubleshooting
This section addresses common issues you might encounter with your roof bar.
- Excessive Noise/Whistling: Ensure the rubber profile inserts are properly seated in the channels. Check that all end caps are securely in place. Adjusting the position of the bars slightly may also help.
- Loose Bars: If the roof bars feel loose, immediately pull over and re-tighten all mounting bolts. If the issue persists, inspect the mounting feet and vehicle attachment points for damage.
- Difficulty Attaching Accessories: Ensure you are using T-connectors compatible with the NORDRIVE system. Check that the channels are clear of debris.
- Damage to Components: If any part of the roof bar system is damaged, do not use it. Contact Lampa customer support or your retailer for replacement parts.
8. Specifications
| Feature | Detail |
|---|---|
| Model Number | N10035 |
| Brand | Lampa |
| Material | Anodized Aluminum |
| Length | 135 cm |
| Dimensions (L x W x H) | 135 x 4 x 3 cm |
| Cross-section Dimensions (W x H) | 54 mm x 39 mm |
| Weight | 2.24 kg |
| Mounting Type | Roof Bar (requires specific vehicle mounting kit) |
| Vehicle Compatibility | Universal fit for cars with appropriate roof types |
| Accessory Channels | 3 channels for T-connector accessories |
| Country of Origin | China |
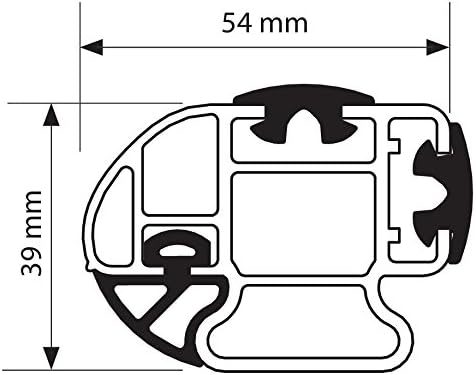
Image 8.1: Technical cross-section diagram showing roof bar dimensions (54mm width, 39mm height).
9. Warranty and Support
For warranty information, please refer to the documentation provided at the time of purchase or contact your retailer. For technical support or inquiries regarding replacement parts, please contact Lampa customer service directly or visit their official website.
Manufacturer: Lampa
Model: N10035

