1. Introduction
Thank you for choosing the BLACK+DECKER Multi-Evo Trimmer Head Attachment ERH183. This attachment is designed to convert your BLACK+DECKER Multi-Evo 18V base unit into a versatile trimmer or router, suitable for various woodworking tasks such as edge profiling, grooving, and decorative work. This manual provides essential information for safe and effective use, including setup, operation, maintenance, and troubleshooting.
2. Safety Information
Always observe basic safety precautions when using power tools to reduce the risk of fire, electric shock, and personal injury. Read and understand all instructions before operating this attachment. Keep this manual for future reference.
- Wear appropriate personal protective equipment: Always wear safety glasses, hearing protection, and a dust mask.
- Ensure the workpiece is secure: Clamp or otherwise secure the material you are working on to prevent movement during operation.
- Keep hands clear of the cutting area: Never touch the router bit while the tool is operating or connected to power.
- Disconnect power before making adjustments: Always remove the battery from the Multi-Evo base unit before changing bits, adjusting depth, or performing maintenance.
- Use sharp and correct bits: Dull or damaged bits can cause kickback and reduce cutting efficiency. Use bits designed for the material and task.
- Maintain a firm grip: Hold the Multi-Evo unit firmly with both hands during operation.
- Work in a well-ventilated area: Wood dust can be hazardous.
3. Product Overview
The ERH183 trimmer head attachment is designed for precision routing and trimming. Familiarize yourself with its components before use.
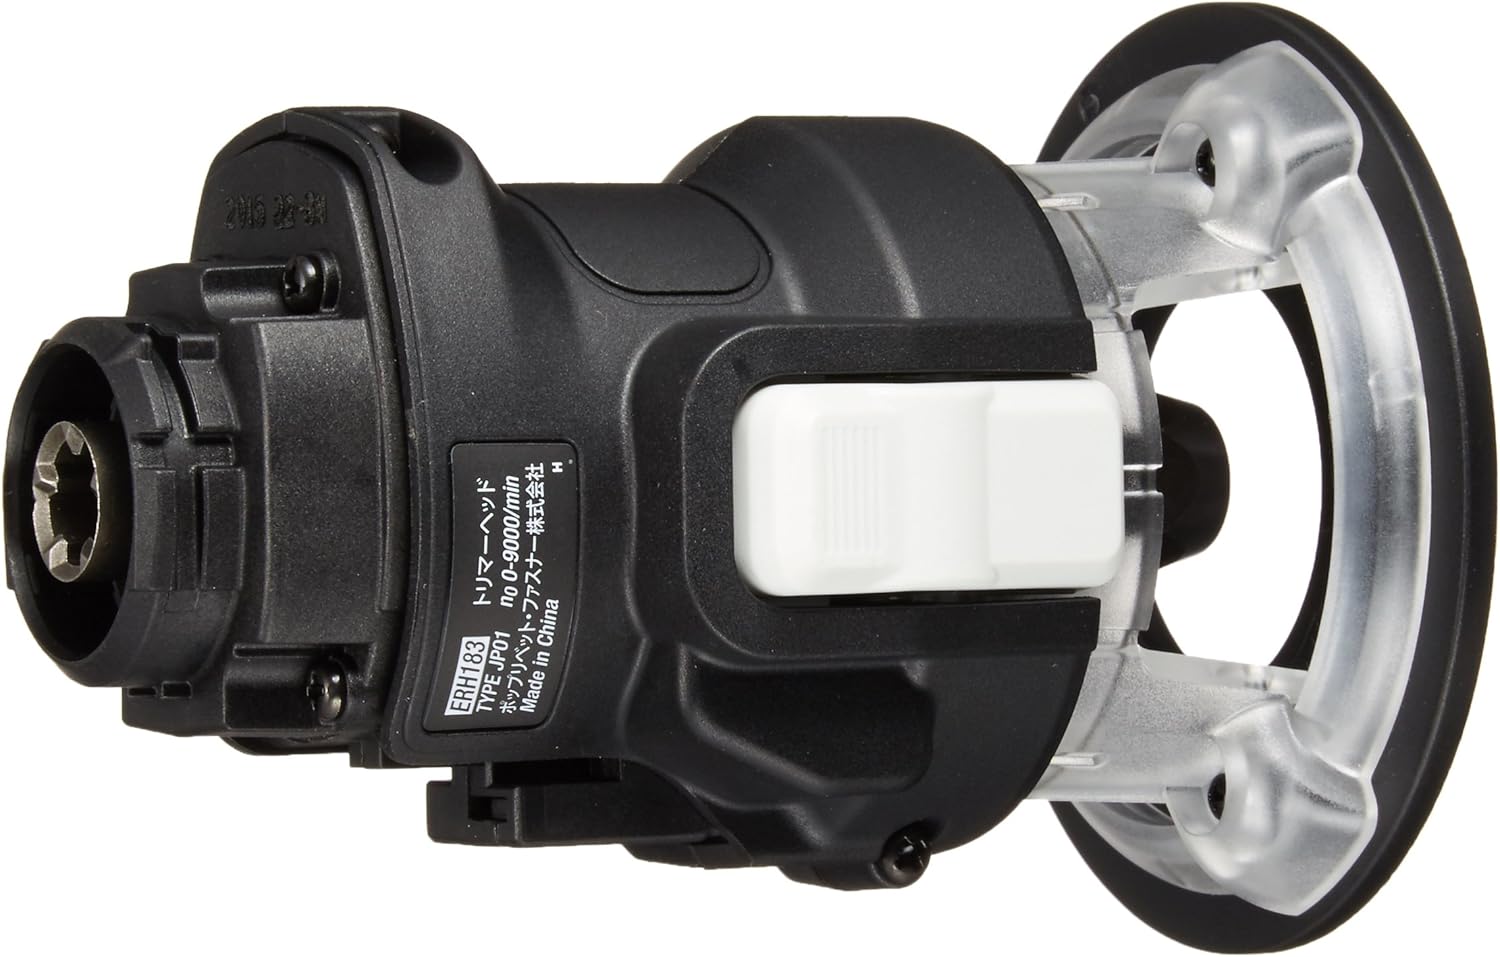
Figure 3.1: The BLACK+DECKER Multi-Evo Trimmer Head Attachment ERH183. This image shows the compact design of the trimmer head, featuring the collet nut, base plate, and depth adjustment mechanism.
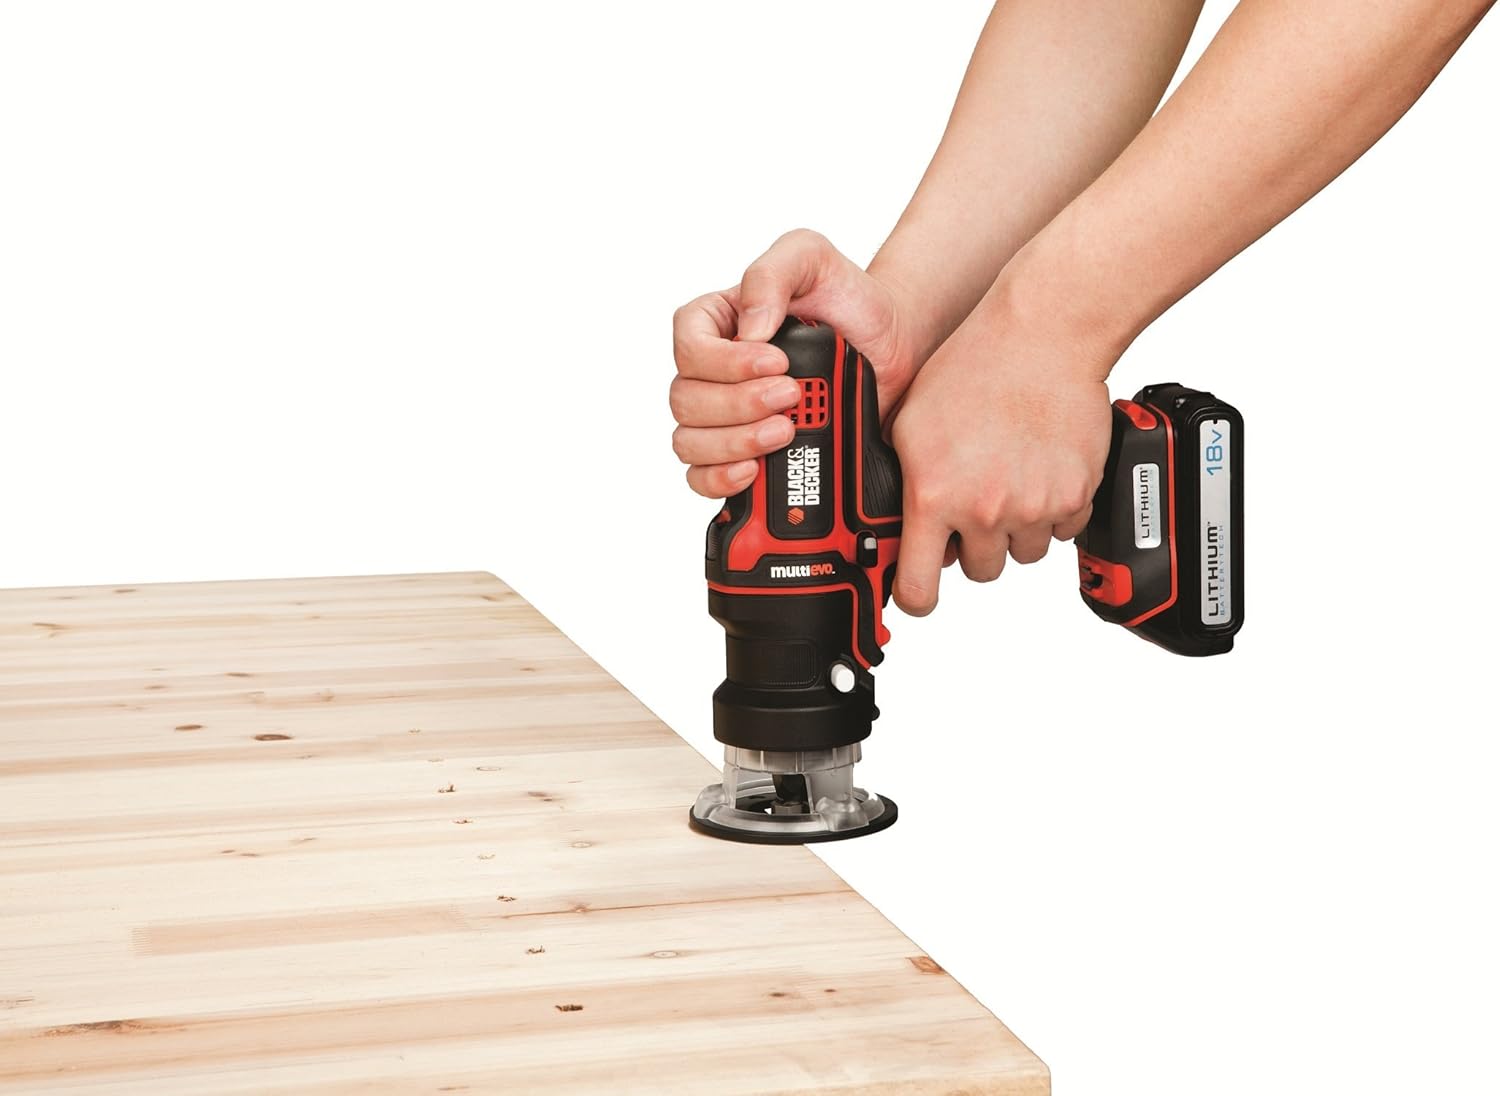
Figure 3.2: Trimmer head with its clear base, allowing visibility of the cutting area during operation. The base is designed for stability and precise control.
4. Setup
4.1 Attaching the Trimmer Head to the Multi-Evo Base Unit
- Ensure the Multi-Evo base unit (sold separately) is switched off and the battery is removed.
- Align the trimmer head attachment with the Multi-Evo base unit.
- Push the attachment onto the base unit until it clicks securely into place.
- Verify that the attachment is firmly seated and does not wobble.

Figure 4.1: Illustrates the trimmer head attachment being connected to the BLACK+DECKER Multi-Evo 18V base unit. Ensure a secure connection before use.
4.2 Installing and Changing Router Bits
- Ensure the battery is removed from the Multi-Evo base unit.
- Press and hold the spindle lock button on the trimmer head.
- Using the provided wrench, loosen the collet nut by turning it counter-clockwise.
- Insert the desired router bit into the collet, ensuring at least 3/4 of the shank is inserted.
- Tighten the collet nut firmly with the wrench while holding the spindle lock button. Do not overtighten.
- Release the spindle lock button.
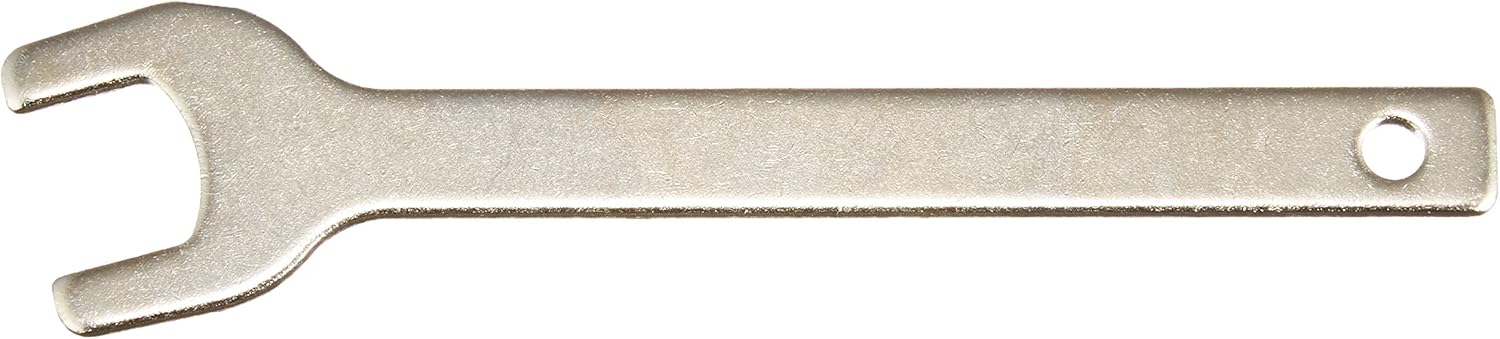
Figure 4.2: An assortment of common router bits, including straight, chamfer, and round-over profiles. Select the appropriate bit for your specific woodworking task.

Figure 4.3: The wrench used for tightening and loosening the collet nut when installing or changing router bits.
4.3 Adjusting Cutting Depth
- Ensure the battery is removed from the Multi-Evo base unit.
- Place the trimmer head on a flat surface with the router bit touching the surface.
- Loosen the depth adjustment knob or lever on the side of the trimmer head.
- Raise or lower the motor housing until the desired cutting depth is achieved.
- Tighten the depth adjustment knob or lever securely.
5. Operating Instructions
Once the trimmer head is attached and the bit and depth are set, you can begin operation.
5.1 Powering On/Off
- Insert the 18V battery into the Multi-Evo base unit.
- To start the tool, press the trigger switch on the Multi-Evo base unit. The speed is variable depending on trigger pressure.
- To stop the tool, release the trigger switch.
5.2 Routing Techniques
Always perform a test cut on a scrap piece of material before working on your main project.
- Direction of Cut: For optimal control and finish, always feed the router against the rotation of the bit. This typically means moving from left to right when routing along an edge.
- Shallow Cuts: For deeper profiles, make several shallow passes rather than one deep cut. This reduces strain on the tool and bit, and provides a cleaner finish.
- Edge Routing: Keep the base plate flat against the workpiece edge. Use a guide if necessary for straight cuts.
- Plunge Cuts: For internal cuts, ensure the bit is not touching the workpiece when starting the tool. Slowly lower the bit into the material once full speed is reached.

Figure 5.1: A user demonstrating edge profiling with the BLACK+DECKER Multi-Evo Trimmer Head. The tool is held firmly with both hands, guiding it along the edge of a wooden board.
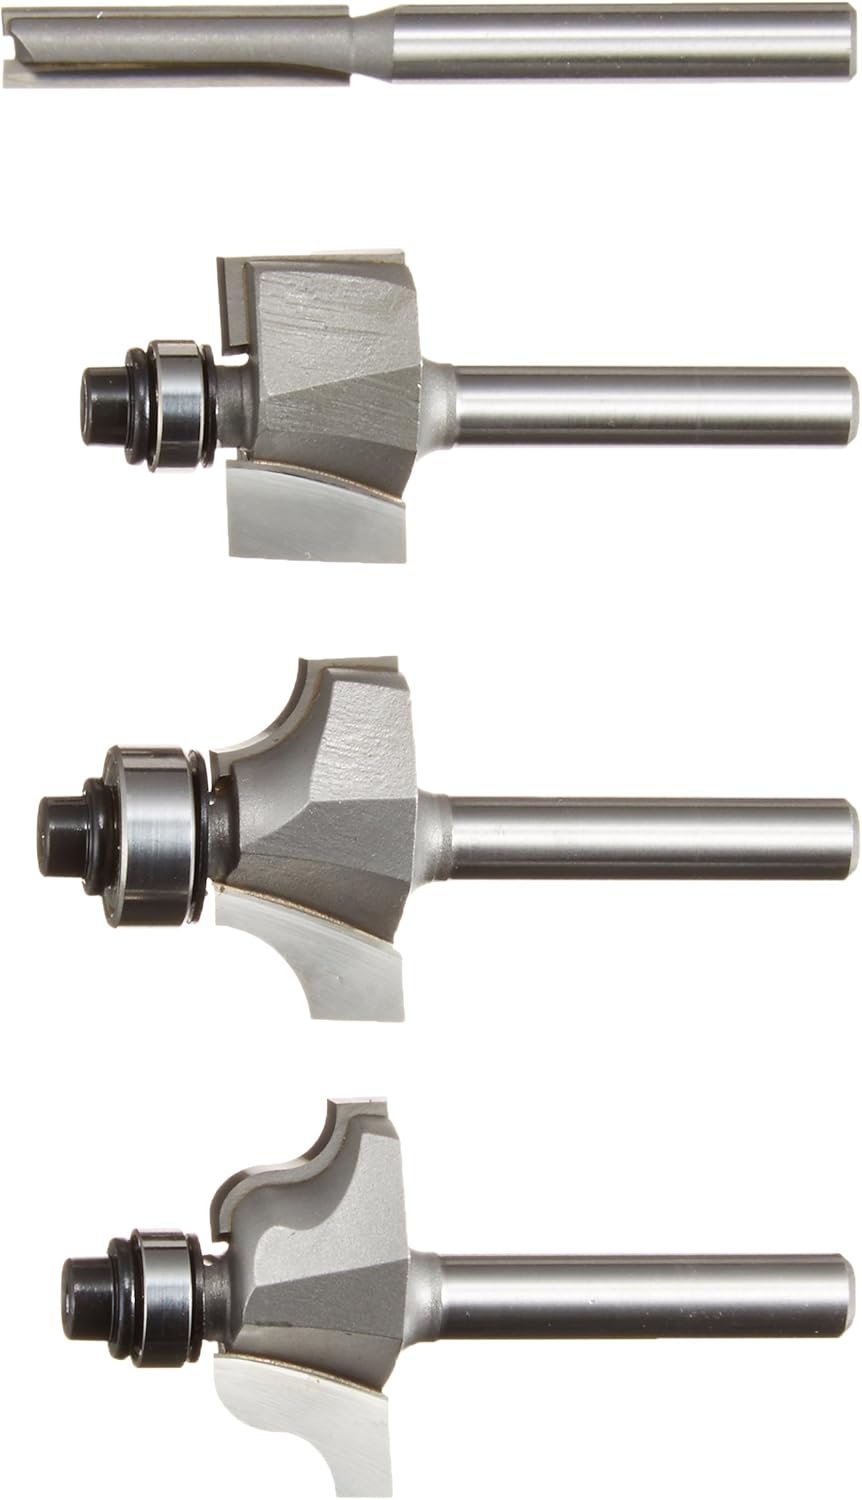
Figure 5.2: The trimmer head in action, showing the clear base providing visibility of the cutting path on a wooden surface.
6. Maintenance
Regular maintenance ensures the longevity and optimal performance of your trimmer head attachment.
- Cleaning: After each use, disconnect the attachment from the power unit and use a soft brush or compressed air to remove dust and debris from the collet, base, and ventilation openings. Do not use solvents or abrasive cleaners.
- Bit Inspection: Regularly inspect router bits for sharpness and damage. Replace dull or chipped bits immediately to prevent poor cuts and potential kickback.
- Storage: Store the trimmer head attachment in a dry, secure place, out of reach of children.
7. Troubleshooting
| Problem | Possible Cause | Solution |
|---|---|---|
| Tool does not start. | Battery not inserted correctly or discharged. | Ensure battery is fully charged and properly inserted into the Multi-Evo base unit. |
| Poor cut quality or burning of wood. | Dull or incorrect router bit; feeding too fast; incorrect depth setting. | Replace with a sharp, appropriate bit. Reduce feed rate. Adjust cutting depth for multiple shallow passes. |
| Excessive vibration. | Router bit not properly secured; damaged bit; attachment not fully seated. | Ensure collet nut is tightened. Replace damaged bit. Re-attach trimmer head securely to the base unit. |
| Tool stalls during operation. | Overloading the tool; dull bit; battery low. | Reduce feed rate. Use a sharp bit. Charge or replace battery. Make shallower cuts. |
8. Specifications
- Model Number: ERH183
- Product Dimensions: 9 x 13.5 x 9 cm
- Item Weight: 0.4 Kilograms
- Power Source: Battery Powered (requires BLACK+DECKER Multi-Evo 18V base unit and battery, sold separately)
- No-Load Speed: 0-9000 RPM (when used with Multi-Evo 18V base unit)
- Collet Size: 6mm (compatible with standard 6mm shank router bits)
- Material (Attachment Housing): Durable plastic and metal components
- Material (Router Bits - typical): High Carbon Steel, Stainless Steel (bits sold separately)
- Colour: Black
9. Warranty and Support
For warranty information, technical support, or service inquiries, please refer to the documentation provided with your BLACK+DECKER Multi-Evo 18V base unit or visit the official BLACK+DECKER website. Keep your proof of purchase for warranty claims.
Website: www.blackanddecker.com