1. Introduction
This instruction manual provides essential information for the proper installation, operation, and maintenance of the Denso OEM Starter, model 228000-5862. Please read this manual thoroughly before attempting any installation or service to ensure safety and optimal performance. This starter is designed for specific applications including Hyster Forklifts H-80XL, H100XL, H110XL, H130XL, and various models equipped with GM 4.3L V6 engines.
2. Safety Information
WARNING: Working with automotive electrical systems can be hazardous. Always follow proper safety procedures to prevent injury or damage.
- Always disconnect the vehicle's battery (negative terminal first) before beginning any work on the electrical system.
- Wear appropriate personal protective equipment, including safety glasses and gloves.
- Ensure the vehicle is securely supported on a level surface if lifting is required.
- Avoid contact with hot engine components.
- If you are unsure about any step, consult a qualified automotive technician.
3. Product Overview
The Denso Starter 228000-5862 is a new OEM (Original Equipment Manufacturer) replacement part designed for reliable engine starting. It features a 12V, 10-tooth, 2.0KW CW (Clockwise) rotation design.
Key Specifications:
- Voltage: 12 Volts
- Wattage: 2.0 KW
- Gear Teeth: 10T
- Rotation: Clockwise (CW)
- Material: Metal
- Item Weight: Approximately 10.76 pounds (4.88 kg)
- Product Dimensions: Approximately 6 x 10 x 6 inches (15.24 x 25.4 x 15.24 cm)
Compatibility:
This starter is compatible with various models, including:
- Hyster Forklifts: H-80XL, H100XL, H110XL, H130XL
- Vehicles equipped with GM 4.3L V6 engines

Figure 3.1: Front-side view of the Denso Starter 228000-5862, showing the main body and the drive gear.

Figure 3.2: Angled view of the Denso Starter, highlighting the mounting points and electrical connections.
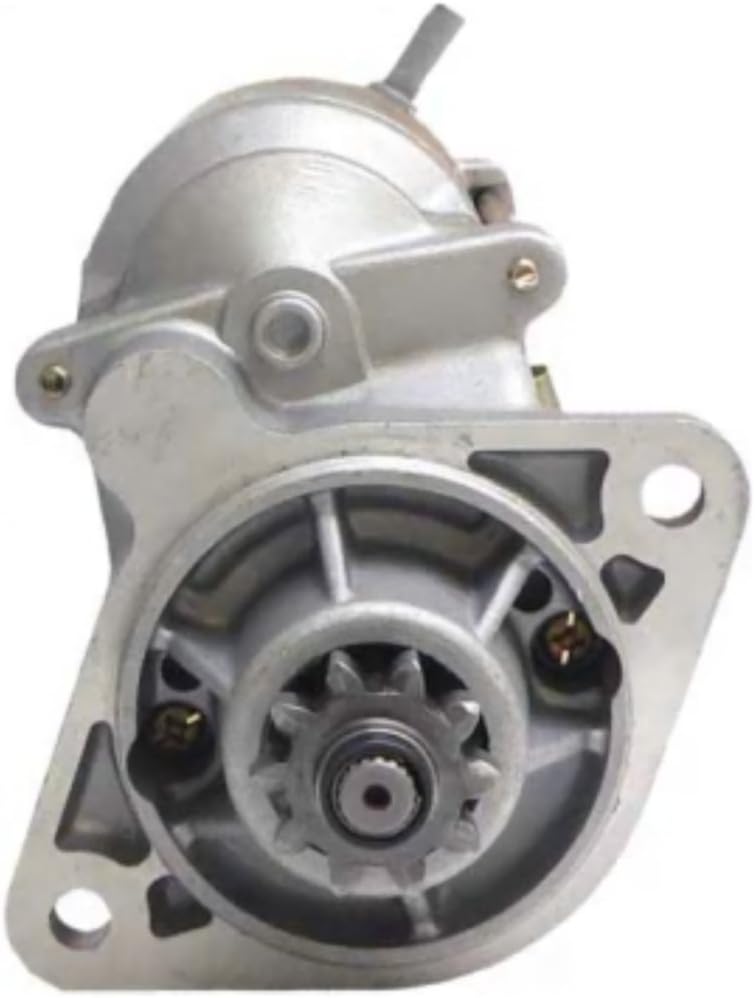
Figure 3.3: Front view of the Denso Starter, focusing on the drive gear and mounting flange.

Figure 3.4: Side view of the Denso Starter, showing the solenoid and main electrical terminals.

Figure 3.5: Rear-angled view of the Denso Starter, illustrating the overall compact design.
4. Setup and Installation
Professional installation is highly recommended for this component.
- Preparation: Ensure the vehicle is turned off, the parking brake is engaged, and the battery's negative terminal is disconnected. Allow the engine to cool if it has been recently operated.
- Locate the Starter: Identify the existing starter motor on the engine. Its location can vary by vehicle model.
- Disconnect Wiring: Carefully disconnect all electrical wiring from the old starter. Note the position of each wire for correct reinstallation.
- Remove Old Starter: Unbolt the old starter from its mounting points. This may require specific tools and access.
- Install New Starter: Position the new Denso Starter 228000-5862 in place and secure it with the appropriate bolts. Ensure it is seated correctly.
- Reconnect Wiring: Reattach all electrical wiring to the new starter, ensuring connections are clean and tight. Refer to your vehicle's service manual for specific wiring diagrams if needed.
- Reconnect Battery: Reconnect the negative battery terminal.
- Test: Attempt to start the engine to verify proper operation.
5. Operating Instructions
The starter motor is an integral part of the engine's starting system. Its operation is typically automatic upon turning the ignition key.
- Insert the ignition key into the ignition switch.
- Turn the key to the 'START' position. The starter motor will engage the engine's flywheel, causing the engine to crank.
- Once the engine starts, release the key, and it will return to the 'RUN' position. The starter motor will disengage.
- Avoid prolonged cranking (more than 10-15 seconds) to prevent overheating the starter. If the engine does not start, wait a few minutes before attempting again.
6. Maintenance
The Denso Starter 228000-5862 is designed for durability and typically requires minimal maintenance. However, periodic inspection can help ensure its longevity.
- Electrical Connections: Periodically inspect all electrical connections to the starter for corrosion or looseness. Clean any corrosion and tighten loose connections.
- Mounting Bolts: Check that the starter's mounting bolts are secure.
- Battery Condition: Ensure the vehicle's battery is in good condition and fully charged, as a weak battery can strain the starter motor.
- Cables: Inspect battery cables and starter cables for damage or excessive wear.
7. Troubleshooting
If you experience issues with your starter, consider the following common problems and solutions:
| Symptom | Possible Cause | Solution |
|---|---|---|
| Engine does not crank, no sound. | Dead battery, loose battery cables, faulty ignition switch, faulty starter solenoid. | Check battery charge and connections. Test ignition switch. Inspect starter solenoid. |
| Engine cranks slowly. | Weak battery, corroded battery terminals, undersized battery cables, internal starter issue. | Charge or replace battery. Clean battery terminals. Inspect cables. Have starter tested. |
| Clicking sound, but engine does not crank. | Low battery voltage, faulty starter solenoid, loose connections. | Check battery charge. Inspect battery and starter connections. Test starter solenoid. |
| Starter spins but engine does not crank. | Faulty starter drive (bendix gear), damaged flywheel teeth. | Inspect starter drive and flywheel. Replacement of starter or flywheel may be necessary. |
If troubleshooting steps do not resolve the issue, it is recommended to consult a certified mechanic or automotive electrical specialist.
8. Specifications
- Manufacturer: Denso
- Model Number: 228000-5862
- OEM Part Number: 228000-5862
- Voltage: 12 Volts
- Wattage: 2.0 KW
- Item Weight: 10.76 pounds (4.88 kg)
- Product Dimensions (L x W x H): 6 x 10 x 6 inches (15.24 x 25.4 x 15.24 cm)
- Material: Metal
- ASIN: B0094JHWA4
9. Warranty and Support
For warranty information regarding your Denso Starter 228000-5862, please refer to the documentation provided at the time of purchase or contact your authorized Denso dealer or the seller directly. Warranty terms and conditions may vary.
For technical support or further assistance, please contact the product seller or a qualified automotive service center.


