Introduction
The Med-Fit 3 Digital Dual Channel TENS Machine is designed for fast and effective pain relief and pain management. This device utilizes Transcutaneous Electrical Nerve Stimulation (TENS) technology to deliver mild, safe electrical signals to the nervous system, helping to inhibit pain and stimulate the body's natural pain relievers. Its digital controls provide greater accuracy in setting frequency, intensity, and duration, offering various modes for comprehensive pain management.
This manual provides essential information for the safe and effective operation of your Med-Fit 3 TENS machine. Please read it thoroughly before first use and retain it for future reference.
Safety Information
Always consult with a healthcare professional before using a TENS machine, especially if you have pre-existing medical conditions. Do not use this device if you have a pacemaker, are pregnant, or have epilepsy. Avoid placing electrodes on broken skin, over the eyes, mouth, or carotid sinus nerves (front of the neck).
- Keep out of reach of children.
- Do not use while driving or operating machinery.
- Discontinue use if irritation or discomfort occurs.
- Use only the recommended electrodes and accessories.
- This device is not suitable for use in pregnancy.

Image: Med-Fit 3 TENS machine recommended by medical professionals.
Package Contents
Upon opening the package, please verify that all items listed below are present and in good condition:
- 1 x Med-Fit 3 Digital Dual Channel TENS Machine
- 1 x Pack of high-quality self-adhesive electrodes (5x5 cm)
- 2 x Patient leads
- 1 x 9V PP3 Battery (non-rechargeable)
- 1 x Instruction Manual (this document)
- 1 x Patient Guide to TENS

Image: Contents of the Med-Fit 3 TENS machine package.
Product Overview
The Med-Fit 3 TENS machine features a compact design with intuitive controls and a clear LCD screen for easy operation.

Image: Detailed view of the Med-Fit 3 TENS machine controls.
Key Components:
- Intensity Control Dials (CH1, CH2): Used to adjust the intensity of the electrical stimulation for each channel independently.
- LCD Screen: Displays current settings including frequency (Hz), pulse width (µs), duration (Min), and selected mode.
- Incremental Control Buttons (Up/Down Arrows): For fine-tuning settings.
- SET Button: Used to confirm selections or enter setting modes.
- MODE Button: Cycles through available treatment modes (Burst, Constant, Modulation, SD1/SD2).
- Electrode Ports: Two ports for connecting patient leads and electrodes.
- Battery Compartment: Located on the back for the 9V PP3 battery.
- Sturdy Clip: Allows for attachment to clothing for portability.

Image: Med-Fit 3 TENS machine showing its sturdy clip for portability.
Setup
1. Installing the Battery:
- Locate the battery compartment on the back of the device.
- Slide the battery cover open.
- Insert the supplied 9V PP3 battery, ensuring correct polarity (+/-).
- Close the battery cover securely.
2. Connecting Electrodes:
- Ensure the device is turned OFF and intensity dials are set to '0'.
- Connect the patient leads to the electrode ports on the top of the TENS machine.
- Attach the self-adhesive electrodes to the pin connectors on the patient leads. Ensure a secure connection.
- Peel the electrodes from their protective liner.
- Apply the electrodes firmly to clean, dry skin over the target pain area. Refer to the "Electrode Placement Guide" section for optimal placement.

Image: Med-Fit 3 TENS machine electrodes and connectors.
Operating Instructions
1. Powering On and Initial Settings:
- Ensure electrodes are properly placed on your skin.
- Turn the intensity dials (CH1 and CH2) clockwise from 'OFF' to the 'ON' position. The LCD screen will illuminate.
- The device will default to a standard mode.
2. Selecting a Mode:
Press the MODE button to cycle through the available treatment modes:
- Constant Mode: Delivers continuous stimulation.
- Modulation Mode: Varies the pulse width and/or frequency to prevent nerve accommodation.
- Burst Mode: Delivers short bursts of high-frequency stimulation.
- SD1/SD2 Anti-Accommodation Modes: Specialized modes designed to prevent the body from adapting to the stimulation.
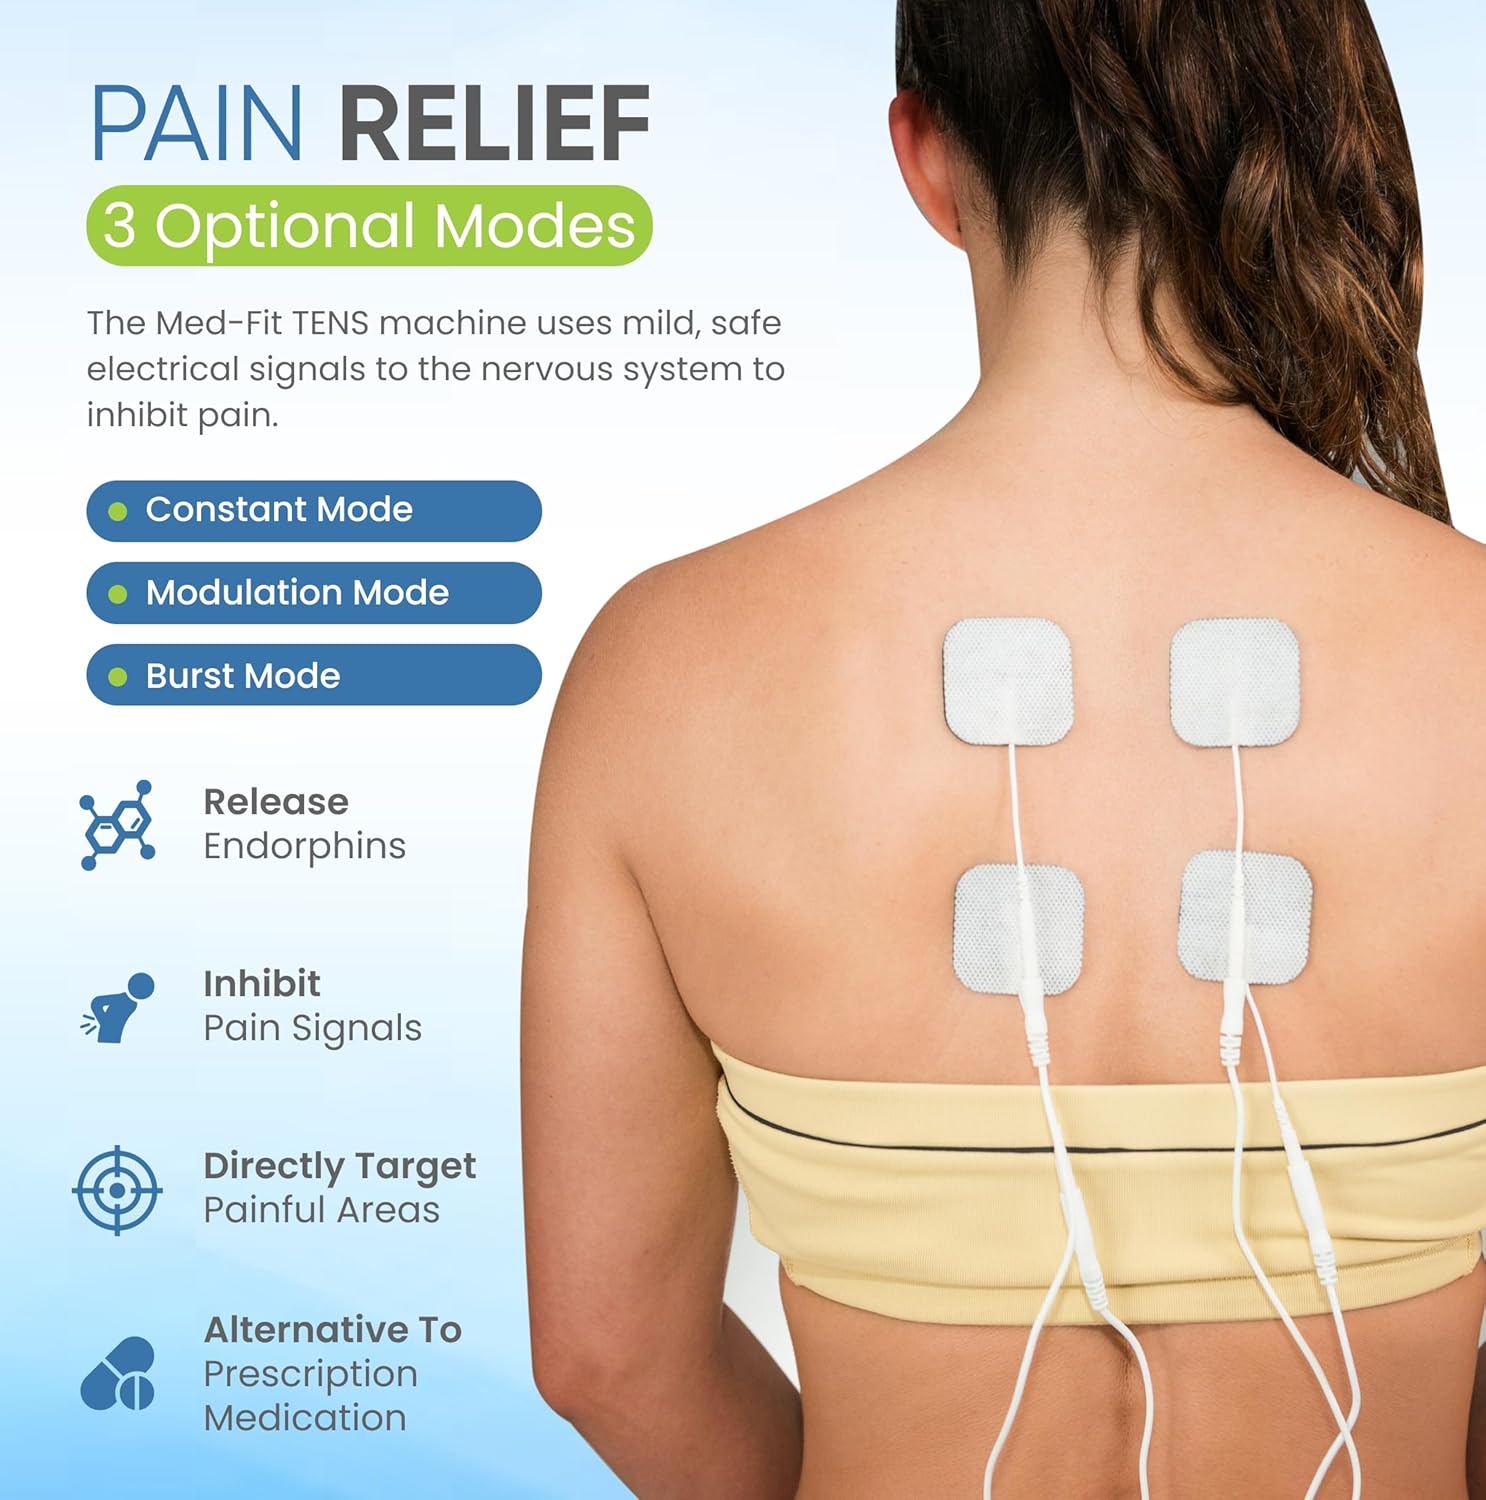
Image: Med-Fit 3 TENS machine modes for pain relief.
3. Adjusting Intensity:
Slowly turn the intensity dials (CH1 and CH2) clockwise to increase the stimulation intensity. You should feel a comfortable tingling sensation. Do not increase the intensity to a level that causes pain or discomfort. Each channel can be adjusted independently.
4. Adjusting Frequency and Pulse Width:
After selecting a mode, you can adjust the frequency (Hz) and pulse width (µs) using the incremental control buttons (▲ and ▼) and the SET button. Refer to the Patient Guide for recommended settings for specific conditions.
5. Treatment Duration:
The device may have a default treatment duration. You can typically adjust this using the incremental control buttons after pressing the SET button. Consult your healthcare professional for recommended treatment times.
6. Turning Off:
To turn off the device, slowly turn both intensity dials (CH1 and CH2) counter-clockwise until they click into the 'OFF' position. Remove electrodes from your skin.
Electrode Placement Guide
Proper electrode placement is crucial for effective pain relief. The electrodes should be placed on clean, dry skin, typically around or near the painful area. Avoid placing them directly over joints or bony prominences where they may not adhere well.
For detailed placement instructions for various body parts and conditions, please refer to the included Patient Guide to TENS. Below are general examples:

Image: Examples of electrode placement for pain relief.
- Back Pain: Place electrodes on either side of the spine, or directly on the painful area.
- Shoulder Pain: Place electrodes around the painful area of the shoulder, avoiding the neck.
- Leg/Knee Pain: Place electrodes above and below the knee, or on either side of the painful area on the leg.
- Always ensure electrodes are at least 1 inch apart.
Maintenance and Care
Cleaning the Device:
- Wipe the device with a soft, damp cloth. Do not use abrasive cleaners or immerse the device in water.
- Ensure the device is completely dry before storage or next use.
Electrode Care:
- After each use, reattach the electrodes to their protective liner to preserve their adhesive quality.
- Store electrodes in a cool, dry place.
- Replace electrodes when they lose their stickiness or if they cause skin irritation.
Battery Replacement:
- When the battery indicator on the LCD screen shows low power, replace the 9V PP3 battery as described in the "Setup" section.
- Dispose of used batteries according to local regulations.
Troubleshooting
| Problem | Possible Cause | Solution |
|---|---|---|
| No sensation or weak sensation |
|
|
| Skin irritation under electrodes |
|
|
| Device not turning on |
|
|
Specifications
| Feature | Detail |
|---|---|
| Model Number | MED-FIT 3 |
| Channels | Dual Channel |
| Power Supply | 1 x 9V PP3 Battery (included) |
| Dimensions (approx.) | 18.1 x 13.7 x 6.7 cm |
| Weight (approx.) | 4 g (device only, without battery) |
| Modes | Burst, Constant, Modulation, SD1, SD2 |
| Certification | CE 2460, Medical Device Directive Class 2a |
| Manufacturer | The Tens Company |
| Country of Origin | Taiwan |

Image: Med-Fit 3 TENS machine product label with specifications.
Warranty and Support
The Med-Fit 3 Digital Dual Channel TENS Machine comes with a manufacturer's warranty. Please refer to the warranty card included in your package for specific terms and conditions, including warranty duration and coverage details.
For technical support, troubleshooting assistance beyond this manual, or to inquire about replacement parts and accessories, please contact Med-Fit UK Ltd directly. Contact information can typically be found on the product packaging or their official website.
Manufacturer: The Tens Company
Distributor: Med-Fit UK Ltd
For the most up-to-date contact information, please visit the official Med-Fit website or refer to the details provided with your purchase.


