
1. Introduction
The EK Tools 1.25 Inch Circle Punch is designed for precision paper crafting, allowing users to effortlessly create perfect 1.25-inch diameter circles. This versatile tool is ideal for a wide range of projects including card making, scrapbooking, gift tags, invitations, and other paper-based decorations. Its durable construction and comfortable grip ensure ease of use and long-lasting performance.

Figure 1: EK Tools 1.25 Inch Circle Punch.
2. Safety Information
Please read and understand all safety instructions before using the EK Tools Circle Punch. Failure to follow these instructions may result in injury or damage to the product.
- Sharp Edges: The punch contains sharp cutting edges. Always handle with care to prevent cuts.
- Keep Away from Children: This product is not a toy. Keep out of reach of small children.
- Intended Use: Use only for punching paper and cardstock as specified. Do not attempt to punch other materials, as this may damage the tool or cause injury.
- Safety Lock: The punch features a safety lock mechanism for secure storage. Engage the lock when the tool is not in use to prevent accidental operation and reduce its profile for compact storage.
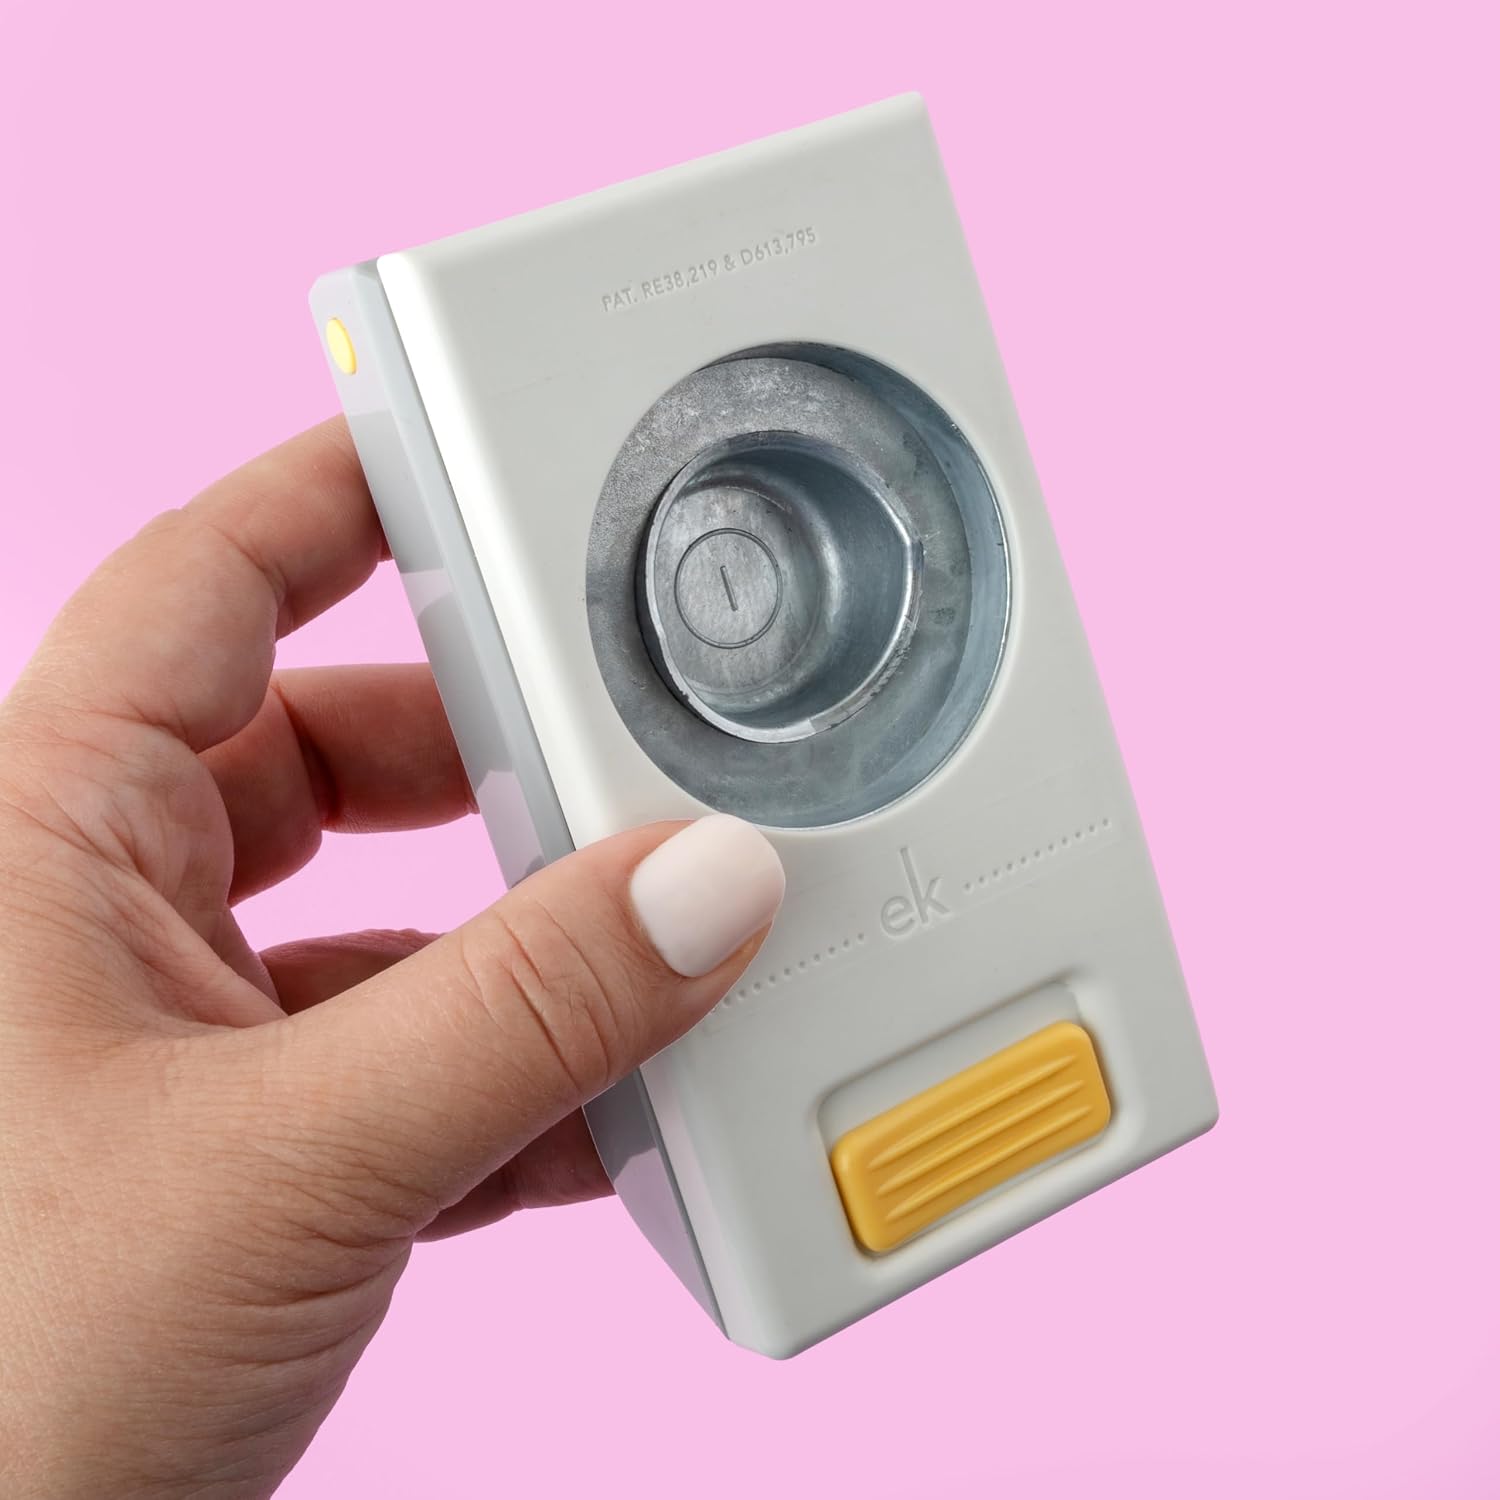
Figure 2: The safety lock mechanism on the EK Tools Circle Punch.
3. Setup
- Unboxing: Carefully remove the EK Tools Circle Punch from its packaging. Inspect the tool for any signs of damage.
- Unlock the Punch: If the punch is in its locked position (compact for storage), locate the yellow slider on the bottom of the punch. Slide it to release the mechanism, allowing the punch to open to its operational position.
- Initial Test: Before using on your project, perform a test punch on a scrap piece of paper to ensure proper function.

Figure 3: EK Tools Circle Punch as packaged. For additional resources, scan the QR code on the packaging or visit http://goo.gl/3nBjH.
4. Operating Instructions
Follow these steps to achieve clean, precise circle cuts with your EK Tools Circle Punch:
- Prepare Material: Ensure your paper or cardstock is flat and free of creases. The punch is optimized for cardstock.
- Insert Material: Slide the edge of your paper or cardstock into the punch slot until it reaches the desired position for your circle cut.
- For Accurate Placement: To precisely align your cut, turn the punch upside down. This allows you to see exactly where the cutting mechanism will engage with your material.
- Punch: Place the punch on a flat, stable surface or hold it firmly in your hand. Press down firmly and evenly on the top of the punch until you feel the material cut through.
- Retrieve Cutout: Release the pressure. The punched circle will fall into the collection tray at the bottom of the punch. Empty the tray as needed.
- Tip for Thinner Materials: When punching thinner materials like tissue paper, place the thin material over a piece of cardstock and punch both layers together. This helps ensure a clean cut and prevents tearing.

Figure 4: Demonstrating the EK Tools Circle Punch creating a perfect circle.

Figure 5: Top view of the EK Tools Circle Punch, showing the cutting area.
5. Maintenance
Proper maintenance ensures the longevity and optimal performance of your EK Tools Circle Punch.
- Sharpening the Blade: To sharpen the punch blade, fold several layers of aluminum foil and punch through them multiple times. This helps to hone the cutting edge.
- Lubricating the Mechanism: For a smoother punching action, lubricate the mechanism by punching through wax paper several times. The wax will coat the cutting edges and internal components.
- Cleaning: Periodically remove any paper scraps from the collection tray and around the cutting mechanism. Use a soft, dry cloth to wipe down the exterior of the punch.
Video 1: EK Punches Best Results Tips. This video demonstrates how to maintain your EK Tools punches for optimal performance, including sharpening and lubricating techniques.
6. Troubleshooting
| Problem | Possible Cause | Solution |
|---|---|---|
| Unclean or jagged cuts | Dull blade, too many paper layers, or incorrect paper type. | Sharpen the blade using aluminum foil (see Maintenance). Reduce the number of paper layers. Ensure you are using appropriate paper or cardstock. |
| Paper jams in the punch | Excessive paper thickness or small paper scraps obstructing the mechanism. | Remove jammed paper carefully. Avoid forcing the punch. Clear any small debris from the cutting area. Lubricate with wax paper (see Maintenance). |
| Difficulty pressing the punch | Mechanism is stiff or material is too thick. | Lubricate the punch with wax paper (see Maintenance). Reduce the thickness of the material being punched. |
7. Specifications
| Feature | Detail |
|---|---|
| Brand | EK Tools |
| Model Number | 54-31000 |
| Punch Size (Diameter) | 1.25 Inches |
| Product Dimensions (L x W x H) | 7.8"L x 4.8"W x 1.42"H |
| Item Weight | 0.04 Kilograms |
| Material | Paper (for punching) |
| Color | White |
| Operation Mode | Manual |
| Included Components | Paper Punch |
8. Warranty & Support
Warranty: The manufacturer states that the warranty is "Not applicable." Please refer to your retailer's return policy for details on returns or exchanges.
Support: For further assistance, product information, or to explore other EK Tools products, please visit the official EK Tools website or contact their customer service department. You can find more information at the EK Tools Store on Amazon.