1. Product Overview
The Intermatic HB113 is a heavy-duty, grounded, plug-in timer designed for 24-hour ON/OFF scheduling of high-power appliances. This timer is suitable for devices such as window-mounted air conditioners, heaters, and other heavy-duty appliances and lamps that utilize specialized NEMA plugs.
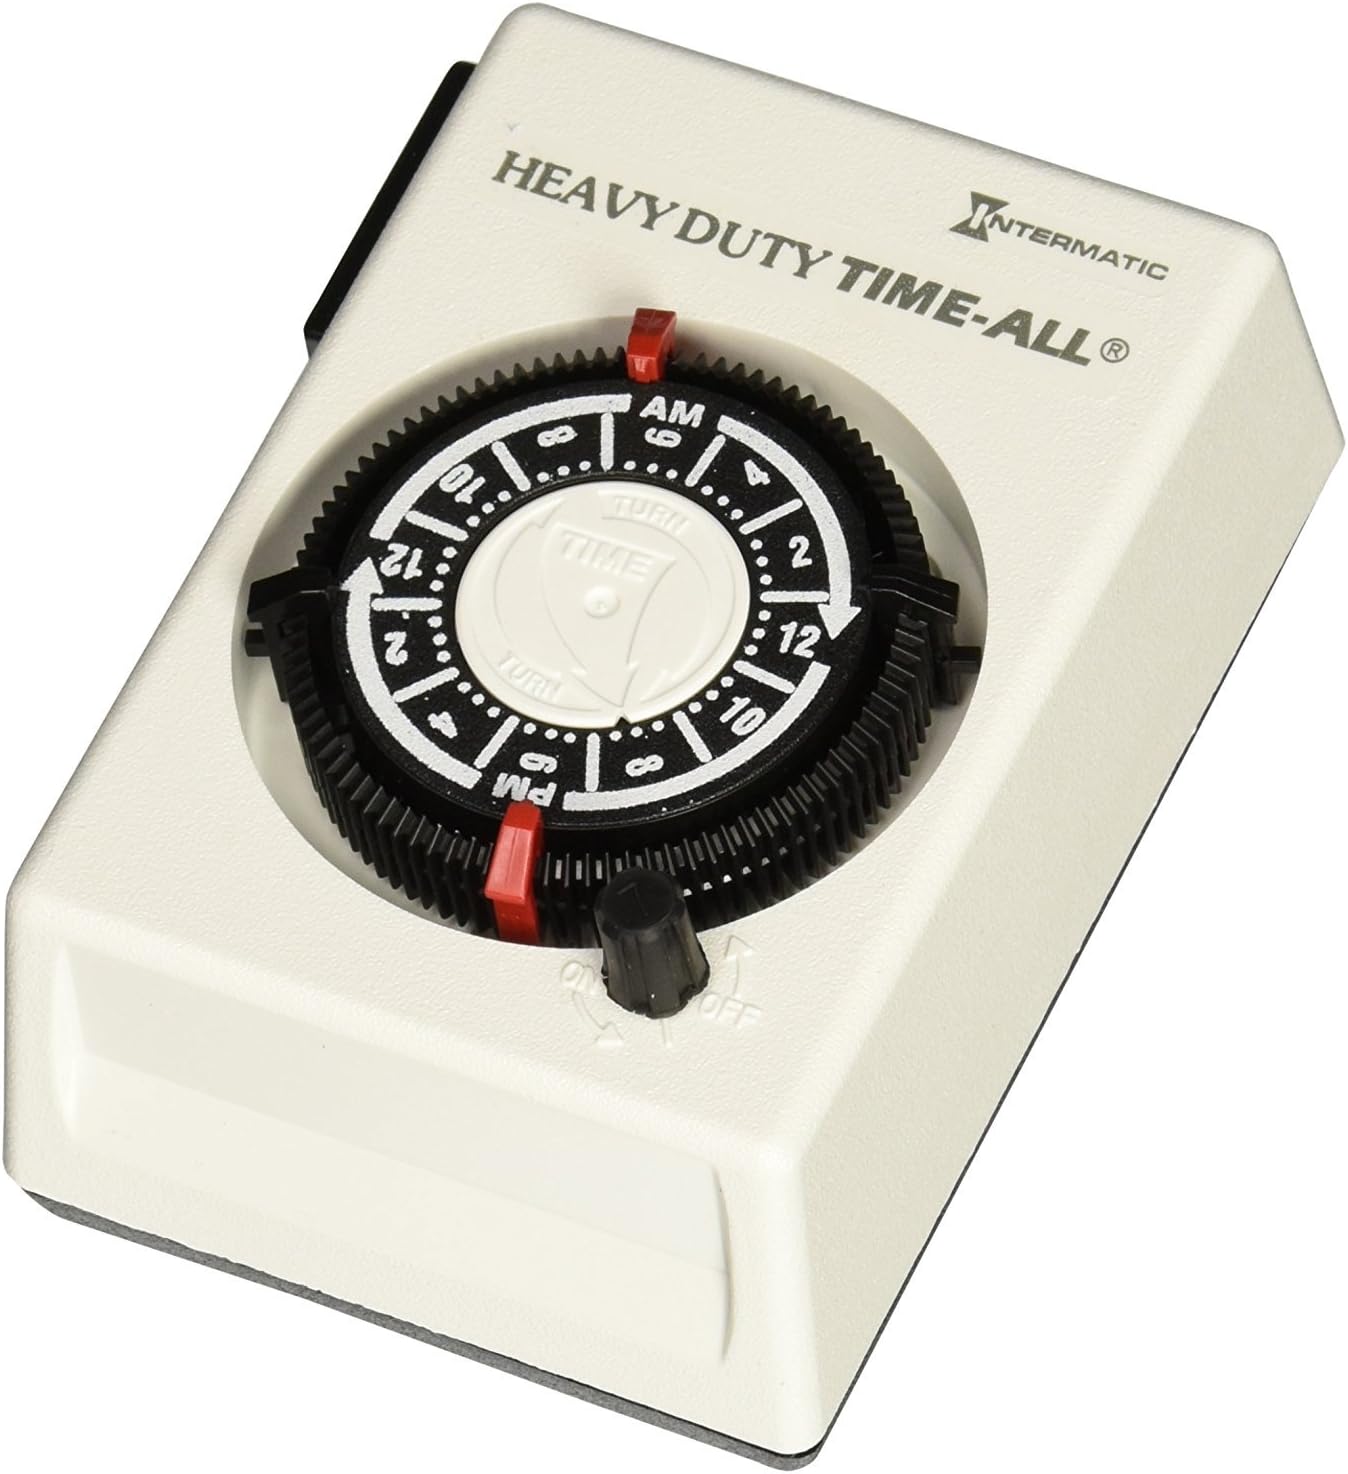
This image displays the Intermatic HB113 timer, a white rectangular device with a black rotating dial in the center. The dial has markings for AM and PM hours, and small slots for inserting ON/OFF trippers. A red indicator shows the current time. Below the dial is a black knob for manual ON/OFF override. The top of the timer is labeled 'HEAVY DUTY TIME-ALL®' and 'INTERMATIC'.
2. Important Safety Information
Please read and understand all instructions before installing or operating this timer. Retain this manual for future reference.
- This timer is designed for indoor use only.
- Do not exceed the electrical ratings of the timer (1 HP, 20 A, 125 VAC, 2500 W).
- Ensure the appliance connected to the timer is turned off before plugging it into the timer.
- Always plug the timer into a properly grounded 20 Amp "T" type NEMA receptacle.
- Do not immerse the timer in water or expose it to excessive moisture.
- Do not attempt to disassemble or repair the timer. Refer all servicing to qualified personnel.
3. Package Contents
Your Intermatic HB113 timer package includes:
- 1 x Intermatic HB113 Plug-in Timer
- 2 x Red ON Trippers
- 2 x Black OFF Trippers
4. Product Specifications
| Feature | Specification |
|---|---|
| Model Number | HB113 |
| Voltage | 125 Volts |
| Amperage | 20 Amps |
| Wattage | Up to 2500 Watts |
| Motor Horsepower | 1 HP |
| Plug Type | 3-prong 125V NEMA "T" type |
| ON/OFF Settings | 2 ON/OFF settings per day (with included trippers) |
| Minimum ON/OFF Time | 30 minutes |
| Dimensions (D x W x H) | 3"D x 3"W x 4.4"H |
| Weight | 0.55 Pounds (approx. 8.8 ounces) |
| Material | Metal |
| Color | White |
| Certification | UL Listed |
5. Setup and Installation
The Intermatic HB113 timer is designed for simple plug-in installation. Ensure your electrical outlet meets the required specifications.
5.1 Outlet Requirements
This timer requires a 20 Amp "T" type NEMA receptacle. This is a specific outlet configuration where one of the vertical slots for the plug is T-shaped, allowing for both 15A and 20A plugs. Standard 15A outlets with two vertical slots are not compatible.
5.2 Plugging in the Timer
- Ensure the appliance you intend to control is turned OFF.
- Plug the Intermatic HB113 timer directly into a grounded 125V NEMA "T" type wall receptacle.
- Plug your appliance into the receptacle on the side of the timer.
For a visual guide on the product and its features, please refer to the video below:
This video provides an overview of the Intermatic HB113 Heavy Duty Appliance Plug-in Timer, demonstrating its features such as the NEMA plug configuration, simple dial operation for setting current time, use of trippers for ON/OFF times, and the manual override switch.
6. Operating Instructions
6.1 Setting the Current Time
- Locate the rotating dial on the front of the timer.
- Turn the dial clockwise until the current time aligns with the red indicator arrow. The dial is marked with AM and PM hours.
6.2 Setting ON/OFF Times with Trippers
The timer uses removable trippers to set the ON and OFF times. The HB113 includes two red ON trippers and two black OFF trippers.
- Insert a red ON tripper into the dial at the desired time you want your appliance to turn ON.
- Insert a black OFF tripper into the dial at the desired time you want your appliance to turn OFF.
- Ensure the trippers are firmly seated in the slots. The minimum time between an ON and OFF event is 30 minutes.
- Additional trippers can be purchased separately for more ON/OFF events throughout the 24-hour cycle.
6.3 Manual ON/OFF Override
The timer features a manual override switch located below the dial, allowing you to temporarily turn the connected appliance ON or OFF without affecting the programmed schedule.
- To manually turn the appliance ON, slide the switch to the 'ON' position.
- To manually turn the appliance OFF, slide the switch to the 'OFF' position.
- The timer will resume its programmed schedule at the next scheduled ON or OFF event.
7. Maintenance
The Intermatic HB113 timer requires minimal maintenance.
- Periodically wipe the exterior of the timer with a soft, dry cloth to remove dust and dirt.
- Do not use abrasive cleaners or solvents, as these may damage the finish.
- Ensure the timer's vents (if any) are not obstructed to allow for proper airflow.
8. Troubleshooting
If you experience issues with your Intermatic HB113 timer, refer to the following common solutions:
- Timer not turning ON/OFF at programmed times:
Ensure the current time is correctly set on the dial. Verify that the red ON and black OFF trippers are securely inserted at the desired times and are not loose. Check that the manual override switch is not in a position that conflicts with the programmed schedule. - Appliance not receiving power:
Confirm the timer is fully plugged into a live, compatible 20 Amp "T" type NEMA outlet. Check that the appliance is securely plugged into the timer. Test the appliance by plugging it directly into the wall outlet to rule out an appliance issue. - Timer making a ticking noise:
A slight ticking sound is normal for mechanical timers as the internal clock mechanism operates. If the noise becomes excessively loud or unusual, ensure the timer is securely plugged in and not vibrating against the wall. - Timer dial not rotating:
Ensure the timer is receiving power. If the dial is stuck, check for any obstructions around the dial or trippers. If the issue persists, the internal mechanism may be faulty.
If troubleshooting steps do not resolve the issue, contact Intermatic customer support for assistance.
9. Warranty and Support
9.1 Warranty Information
The Intermatic HB113 timer comes with a 1-year limited warranty from the date of purchase. This warranty covers defects in materials and workmanship under normal use. For specific warranty terms and conditions, please refer to the documentation included with your product or visit the official Intermatic website.
9.2 Customer Support
For technical assistance, warranty claims, or further information, please contact Intermatic customer support through their official website or the contact details provided in your product packaging.


