1. Introduction
Thank you for choosing the Morphy Richards Europa 800-Watt Espresso and Cappuccino Coffee Maker. This appliance is designed to provide you with a versatile and convenient way to prepare various coffee beverages, including espresso, cappuccino, and latte. To ensure safe and optimal performance, please read this instruction manual thoroughly before first use and retain it for future reference.
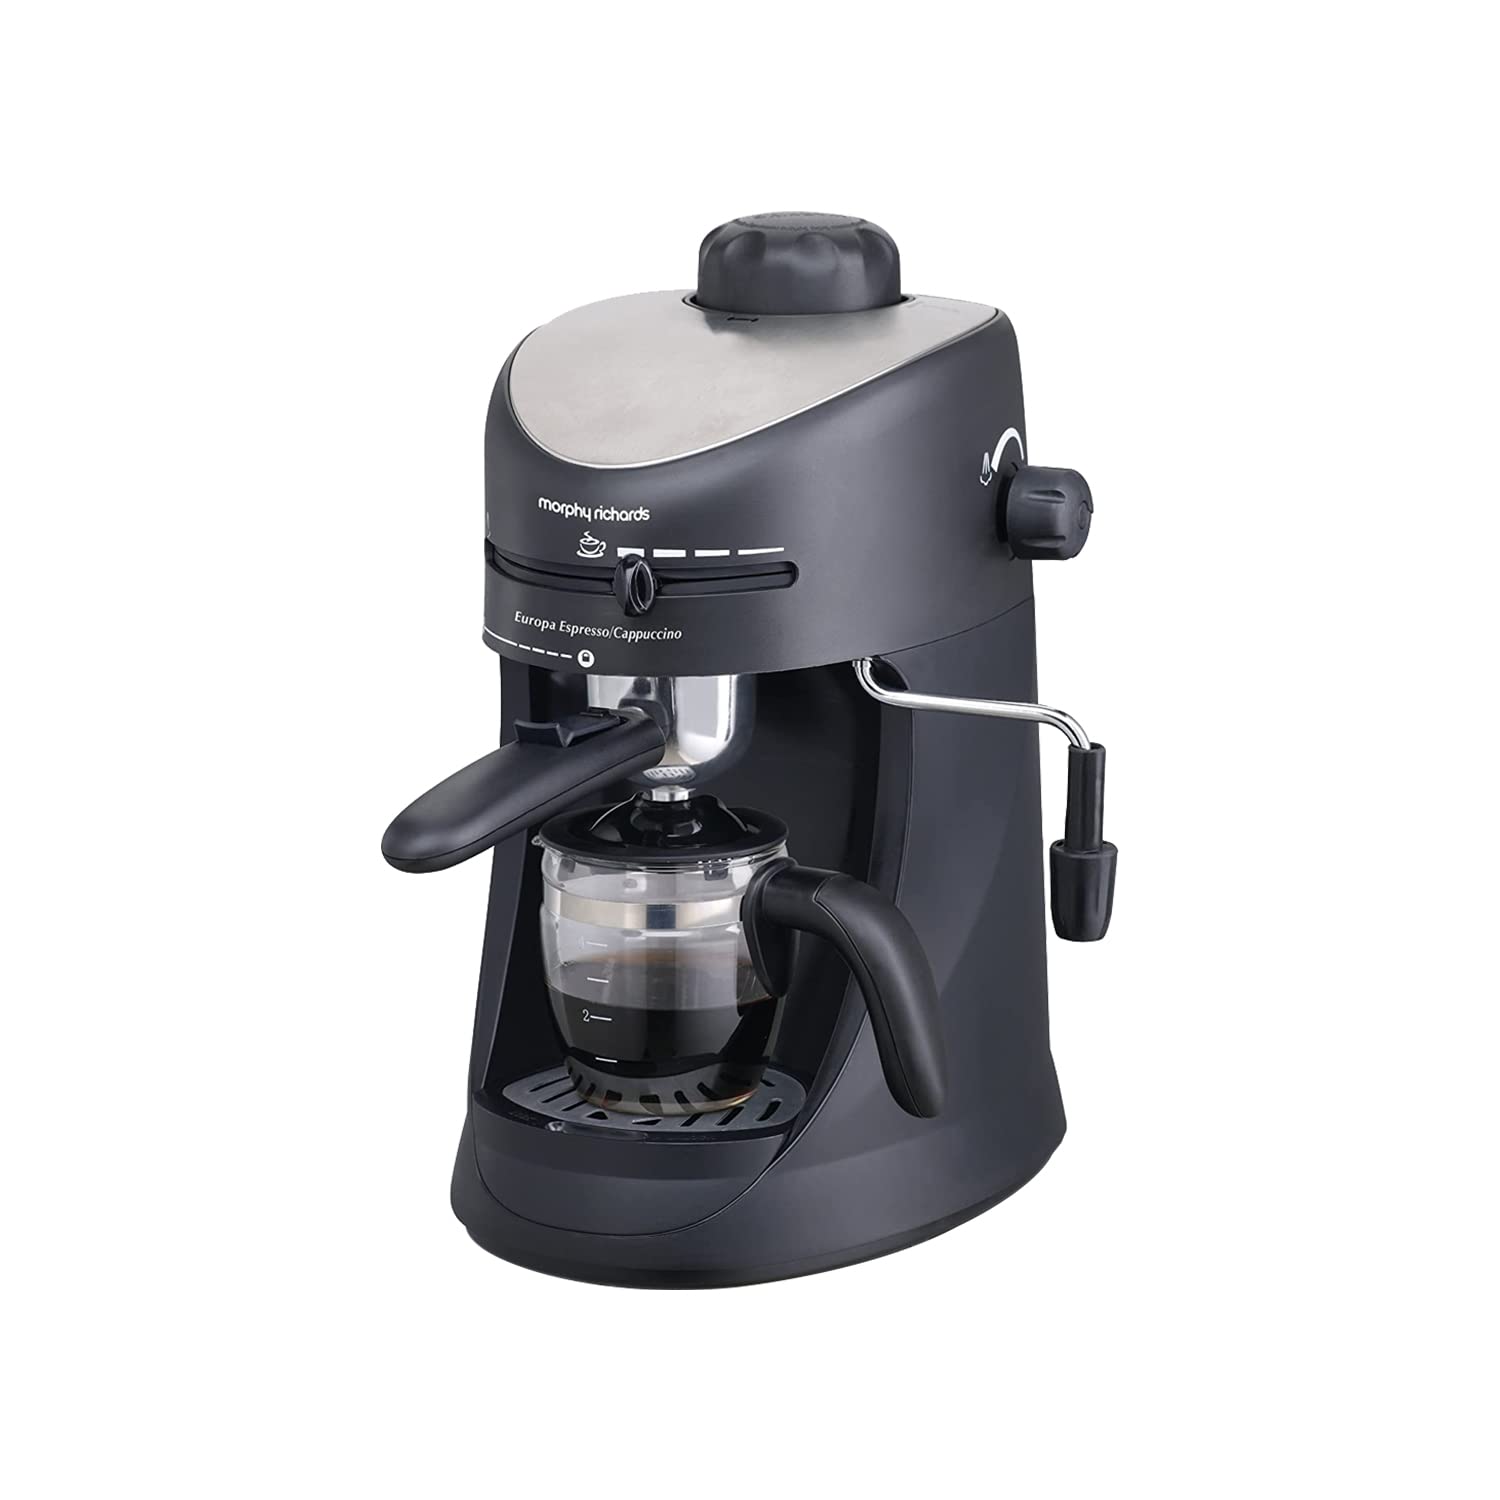
Figure 1.1: Morphy Richards Europa Coffee Maker
2. Important Safety Instructions
When using electrical appliances, basic safety precautions should always be followed to reduce the risk of fire, electric shock, and injury to persons. Please observe the following:
- Read all instructions before operating the appliance.
- Do not touch hot surfaces. Use handles or knobs.
- To protect against fire, electric shock, and injury, do not immerse cord, plugs, or the appliance in water or other liquid.
- Close supervision is necessary when any appliance is used by or near children.
- Unplug from outlet when not in use and before cleaning. Allow to cool before putting on or taking off parts, and before cleaning the appliance.
- Do not operate any appliance with a damaged cord or plug, or after the appliance malfunctions or has been damaged in any manner. Contact customer service for examination, repair, or adjustment.
- The use of accessory attachments not recommended by the appliance manufacturer may result in fire, electric shock, or injury to persons.
- Do not use outdoors.
- Do not let cord hang over edge of table or counter, or touch hot surfaces.
- Do not place on or near a hot gas or electric burner, or in a heated oven.
- Always attach plug to appliance first, then plug cord into the wall outlet. To disconnect, turn any control to 'off', then remove plug from wall outlet.
- Do not use appliance for other than intended use.
- Exercise extreme caution when dispensing hot steam.
- Never use hard or tap water directly, as it can cause lime-scaling issues. Always use soft, filtered, or bottled water to prolong the life of the machine and ensure optimal coffee taste.
3. Product Overview
Familiarize yourself with the components and controls of your coffee maker:

Figure 3.1: Key Features of the Coffee Maker
Components:
- Water Reservoir: Located under the top lid, for filling water.
- Portafilter with Filter Basket: Holds ground coffee for brewing.
- Heat-Resistant Glass Carafe: Collects brewed coffee, with capacity markings.
- Removable Drip Tray: Catches drips and spills for easy cleaning.
- Milk Frothing Nozzle (Steam Wand): For steaming and frothing milk.
- Measuring Scoop/Tamper: For measuring coffee grounds and tamping them into the filter.

Figure 3.2: Included Accessories
Controls:
- Power Switch: Located on the side, to turn the appliance on/off.
- Function Select Knob: Controls brewing and steam functions, and coffee strength.
- Steam Control Knob: Regulates steam output for frothing.

Figure 3.3: Power Switch
4. Setup and First Use
Before using your coffee maker for the first time, follow these steps:
- Unpacking: Carefully remove all packaging materials and ensure all components are present.
- Initial Cleaning: Wash the glass carafe, portafilter, and filter basket in warm, soapy water. Rinse thoroughly and dry. Wipe the exterior of the appliance with a damp cloth.
- First Cycle (without coffee):
- Fill the water reservoir with clean, soft water up to the '4-cup' mark.
- Place the empty filter basket into the portafilter and attach it securely to the machine.
- Place the glass carafe on the drip tray.
- Ensure the Function Select Knob is set to the 'Brew' position (coffee cup symbol).
- Plug the appliance into a suitable power outlet and turn on the Power Switch.
- Allow the water to brew through the system into the carafe. This cleans the internal components.
- Once complete, turn off the Power Switch, unplug the appliance, and discard the water.

Figure 4.1: Water Reservoir Opening
5. Operating Instructions
5.1 Making Espresso
- Fill Water: Open the top lid and fill the water reservoir with fresh, soft water. Do not exceed the '4-cup' maximum level.
- Add Coffee: Place the filter basket into the portafilter. Use the measuring scoop to add finely ground espresso coffee. For best results, use fresh coffee grounds. Do not use instant coffee.
- Tamp Coffee: Gently tamp the coffee grounds using the flat end of the measuring scoop. Ensure the coffee is level and not over-packed.
- Attach Portafilter: Securely attach the portafilter to the brewing head by aligning it and twisting firmly to the right.
- Position Carafe: Place the glass carafe with its lid on the drip tray, directly under the portafilter spout.
- Select Function: Turn the Function Select Knob to the 'Brew' position (coffee cup symbol).
- Start Brewing: Plug in the appliance and turn on the Power Switch. The indicator light will illuminate. The machine will begin to heat the water and brew coffee.
- Monitor Brewing: Brewing will stop automatically when the water reservoir is empty.
- Serve: Turn off the Power Switch and carefully remove the carafe. Serve your espresso immediately.

Figure 5.1: Function Select Knob
5.2 Frothing Milk for Cappuccino/Latte
The milk frothing nozzle allows you to create rich, creamy froth for your favorite milk-based coffee drinks.
- Prepare Milk: Fill a pitcher with cold milk (preferably full-fat for best froth) to about one-third full.
- Heat Machine: After brewing coffee, or if starting fresh, ensure there is water in the reservoir. Turn the Function Select Knob to the 'Steam' position (steam cloud symbol). The machine will heat up to produce steam.
- Purge Steam Wand: Once steam is ready (indicator light may change or steam starts to emit), briefly open the Steam Control Knob to release any condensed water. Close the knob immediately.
- Froth Milk: Immerse the frothing nozzle just below the surface of the milk in the pitcher. Slowly open the Steam Control Knob. Move the pitcher up and down to incorporate air and create froth.
- Stop Frothing: Once desired froth and temperature are achieved, close the Steam Control Knob and turn the Function Select Knob back to 'Off' or 'Brew' (if brewing coffee next).
- Clean Nozzle: Immediately wipe the frothing nozzle with a damp cloth to prevent milk residue from drying. Briefly open the Steam Control Knob again to clear any milk from inside the nozzle.

Figure 5.2: Milk Frothing Nozzle
6. Cleaning and Maintenance
Regular cleaning ensures optimal performance and extends the life of your coffee maker.
6.1 Daily Cleaning
- Unplug: Always unplug the appliance and allow it to cool completely before cleaning.
- Drip Tray: Remove and empty the drip tray. Wash it with warm, soapy water, rinse, and dry.
- Portafilter and Filter Basket: Remove the portafilter, discard used coffee grounds, and rinse the filter basket and portafilter under running water. Use a brush if necessary to remove stubborn residue.
- Carafe: Wash the glass carafe with warm, soapy water and rinse thoroughly.
- Frothing Nozzle: As mentioned in operating instructions, wipe immediately after use. If clogged, use a small pin to clear the opening.
- Exterior: Wipe the exterior of the machine with a soft, damp cloth. Do not use abrasive cleaners or scourers.

Figure 6.1: Removable Drip Tray
6.2 Descaling
Mineral deposits (limescale) can build up in your coffee maker over time, especially if hard water is used. Regular descaling is crucial for maintaining performance and coffee quality. Descale your machine every 2-3 months, or more frequently if you notice slower brewing or reduced steam output.
- Prepare Descaling Solution: Mix a descaling solution according to the manufacturer's instructions (e.g., citric acid solution or commercial descaler).
- Fill Reservoir: Pour the descaling solution into the water reservoir.
- Run Cycle: Place the carafe under the portafilter. Turn the Function Select Knob to 'Brew' and turn on the Power Switch. Allow half of the solution to brew through.
- Steam Cycle: Turn the Function Select Knob to 'Steam' and open the Steam Control Knob to allow steam to pass through the frothing nozzle for a few minutes. Close the knob.
- Rest: Turn off the Power Switch and let the machine sit for 15-20 minutes.
- Complete Cycle: Turn on the Power Switch and allow the remaining solution to brew through.
- Rinse Cycles: After descaling, run at least two full cycles with fresh, clean water to thoroughly rinse out any descaling solution.
7. Troubleshooting
If you encounter issues with your coffee maker, refer to the following table for common problems and solutions:
| Problem | Possible Cause | Solution |
|---|---|---|
| Coffee not brewing or very slow | No water in reservoir; Clogged filter basket; Limescale buildup; Coffee grounds too fine or over-tamped. | Fill water reservoir; Clean filter basket; Descale the machine; Use coarser grounds or tamp less firmly. |
| Weak coffee | Not enough coffee grounds; Coffee grounds too coarse; Water temperature too low. | Increase coffee quantity; Use finer grounds; Ensure machine is preheated. |
| No or poor milk froth | Frothing nozzle clogged; Insufficient steam pressure; Milk not cold enough or type of milk. | Clean frothing nozzle; Ensure machine is fully heated for steam; Use cold, fresh milk (full-fat recommended). |
| Water leaking from machine | Portafilter not securely attached; Drip tray full or improperly placed; Seal issues. | Ensure portafilter is tightly locked; Empty and correctly position drip tray; Contact customer service if seals are damaged. |
| Steam knob loose or detached | Wear and tear; Improper handling. | Attempt to reattach if possible; Contact customer service for repair or replacement. |
If the problem persists after attempting these solutions, please contact customer support.
8. Specifications
| Feature | Detail |
|---|---|
| Brand | Morphy Richards |
| Model Name | Europa 800-Watt Espresso |
| Item Model Number | 350007 |
| Power | 800 Watts |
| Voltage | 230 Volts |
| Bar Pressure | 4 Bar |
| Capacity | 4-Cup |
| Product Dimensions | 32D x 36W x 23H Centimeters |
| Item Weight | 2 kg 600 g |
| Special Features | Heat resistant carafe and lid, Permanent Filter, Steam control knob |
| Operation Mode | Manual |
| Included Components | Coffee maker, Instructional manual, Customer care list and Guarantee card |

Figure 8.1: Product Dimensions
9. Warranty and Support
Your Morphy Richards Europa 800-Watt Espresso and Cappuccino Coffee Maker comes with a 2-year product warranty from the date of purchase. Please retain your purchase receipt as proof of purchase for warranty claims.
For warranty service, technical assistance, or to purchase spare parts, please refer to the customer care list included with your product. You may also visit the official Morphy Richards website or contact their authorized service centers.
Manufacturer: Imported & Marketed by Bajaj Electricals Ltd.
Importer: Imported and Marketed by Bajaj Electricals Ltd 45/47, Veer Nariman Road, Mumbai, 400001


