1. Product Overview
The Detex V Series Grade 1 Exit Trim is a robust and reliable component designed to be used in conjunction with Detex V40/V50 Series Exit Devices. This specific trim features an 'S' pull handle and a night latch function, providing secure access control from the exterior while allowing free egress from the interior. It is supplied without a cylinder, allowing for customization with a cylinder of your choice or for applications where external key access is not required. Its non-handed design ensures versatility for various door configurations.
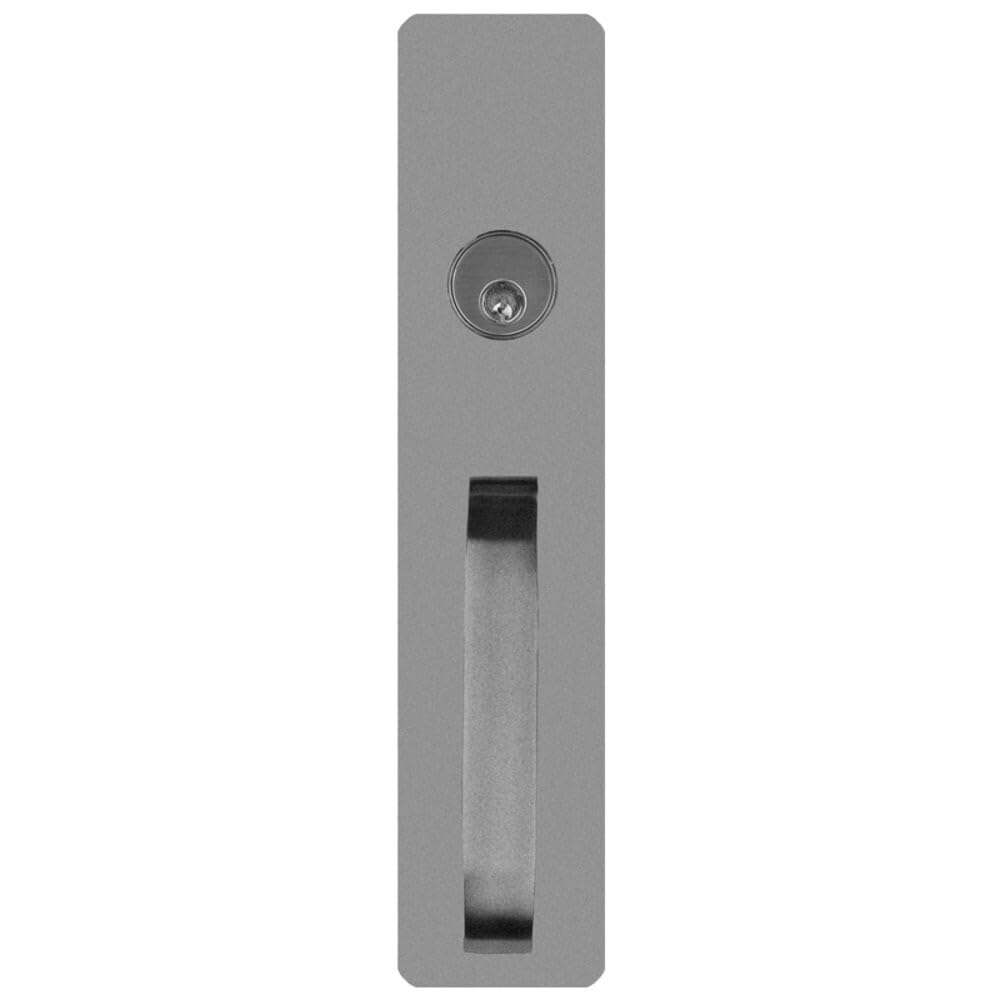
This image displays the Detex V Series Grade 1 Exit Trim, featuring an S-shaped pull handle and a provision for a cylinder (though the cylinder itself is not included with this trim). The trim has a sprayed aluminum finish and is designed for use with Detex V40/V50 Series Exit Devices.
2. What's Included
The package includes the Detex V Series Grade 1 Exit Trim with S Pull and night latch functionality, along with all necessary mounting hardware for installation. Please verify all components are present upon opening the package.
3. Setup and Installation
Installation of the Detex V Series Exit Trim requires careful attention to detail and should ideally be performed by a qualified professional to ensure proper function and security. This trim is non-handed, meaning it can be installed on both left-hand and right-hand doors without modification.
General Installation Steps:
- Preparation: Ensure the door is properly prepped for the exit device and trim. Refer to the specific Detex V40/V50 Series Exit Device manual for detailed door preparation instructions.
- Mounting: Align the trim with the pre-drilled holes on the door and the exit device. Secure the trim using the provided fasteners.
- Connecting to Exit Device: Connect the trim's internal mechanisms to the corresponding parts of the Detex V40/V50 Series Exit Device. This typically involves linking the night latch mechanism to the device's latch bolt.
- Cylinder Installation (Optional): If a cylinder is to be used, install it into the designated opening on the trim and secure it according to the cylinder manufacturer's instructions.
- Testing: After installation, thoroughly test the operation of the S pull and night latch from the exterior, and ensure the exit device functions correctly from the interior.
Always refer to the detailed installation instructions provided with your specific Detex V40/V50 Series Exit Device for precise steps and diagrams.
4. Operating Instructions
The Detex V Series Exit Trim with S Pull and night latch provides controlled access from the exterior.
- Night Latch Function: When the door is closed, the night latch automatically engages, securing the door.
- Exterior Access (S Pull): To gain entry from the exterior, the night latch must be retracted. Since this trim is supplied less cylinder, external key access is not provided by the trim itself. Entry would typically be gained via an external key cylinder (if installed separately) or by an authorized person from the interior.
- Interior Egress: From the interior, simply push the exit bar of the Detex V40/V50 Series Exit Device to retract the latch bolt and open the door. This always allows free and immediate egress.
5. Maintenance
Regular maintenance will ensure the longevity and proper function of your Detex V Series Exit Trim.
- Cleaning: Clean the exterior finish with a soft, damp cloth. Avoid abrasive cleaners or solvents that could damage the sprayed aluminum finish.
- Inspection: Periodically inspect all visible components for signs of wear, damage, or loose fasteners. Ensure the S pull operates smoothly and returns to its original position.
- Lubrication: If any moving parts feel stiff, apply a small amount of silicone-based lubricant. Avoid oil-based lubricants as they can attract dust and debris.
- Fasteners: Check and tighten any loose mounting screws or fasteners to maintain secure installation.
6. Troubleshooting
If you encounter issues with your Detex V Series Exit Trim, consider the following common troubleshooting steps:
- Trim feels stiff or sticky:
- Check for debris or obstructions around the S pull or night latch mechanism.
- Apply a silicone-based lubricant to moving parts.
- Ensure mounting screws are not overtightened, which can cause binding.
- Night latch not engaging/retracting properly:
- Verify the trim is correctly aligned with the exit device.
- Inspect the connection between the trim and the exit device's internal mechanism.
- Check for any damage to the latch bolt or strike plate on the door frame.
- Loose trim:
- Tighten all mounting screws. Do not overtighten.
- Inspect the door and frame for any structural issues that might prevent a secure mount.
For persistent issues or complex problems, it is recommended to contact a qualified locksmith or Detex customer support.
7. Specifications
| Brand | Detex |
| Model Number | 03A 689 |
| Material | Aluminum |
| Color | Gray |
| Exterior Finish | Sprayed Aluminum |
| Projection | 2-1/16 inches |
| Escutcheon Dimension | 3-1/2 inches x 13-1/2 inches |
| ANSI Standard | ANSI A156.3 - 2008, Grade 1, Type 1 |
| Special Feature | Easy to Install, Non-Handed |
| Package Dimensions | 14 x 5 x 4 inches |
| Item Weight | 1 Pound |
8. Warranty Information
The Detex V Series Grade 1 Exit Trim comes with a 10 Year Warranty from the manufacturer. Please retain your proof of purchase for warranty claims. For specific terms and conditions of the warranty, refer to the documentation provided with your product or contact Detex customer support.
9. Customer Support
For technical assistance, replacement parts, or warranty inquiries, please contact Detex customer support. Visit the official Detex website for the most current contact information, including phone numbers and email addresses.
Detex Corporation
(Specific contact details can be found on the manufacturer's official website)


