Introduction
The Minolta SRT-201 is a robust and reliable 35mm Single-Lens Reflex (SLR) film camera, designed for both aspiring and experienced photographers. Known for its durable mechanical shutter and through-the-lens (TTL) metering system, it offers precise control over exposure for stunning photographic results. This manual provides essential information for setting up, operating, and maintaining your camera.
1. Setup
1.1 Battery Installation
The Minolta SRT-201 requires batteries primarily for its light meter. The camera uses two 357-type batteries (also commonly known as LR44, A76, S76, or AG13). Ensure you have fresh batteries for accurate light metering.
- Locate the battery compartment on the bottom of the camera body.
- Use a coin to unscrew the battery compartment cap by turning it counter-clockwise.
- Insert two 357-type batteries, ensuring the positive (+) side of each battery faces upwards, as indicated by the diagram on the cap or inside the compartment.
- Carefully screw the battery compartment cap back into place, turning clockwise until snug. Do not overtighten.

1.2 Film Loading
Loading 35mm film correctly is crucial for successful photography.
- Open the camera back by pulling up the rewind knob located on the top left of the camera. The back cover will spring open.
- Place the 35mm film canister into the film chamber on the left side of the camera. Push the rewind knob back down to secure the canister.
- Pull the film leader across the film gate and insert its tip into one of the slots on the take-up spool on the right side.
- Advance the film slightly using the film advance lever until the film perforations engage with the sprockets on both sides. Ensure the film lies flat.
- Close the camera back firmly until it clicks into place.
- Advance the film two blank frames by repeatedly pressing the shutter button and winding the film advance lever. This ensures that any film exposed during loading is wound past. The frame counter should now show '1'.
2. Operating the Camera
2.1 Understanding Camera Controls
Familiarize yourself with the main controls of your Minolta SRT-201:
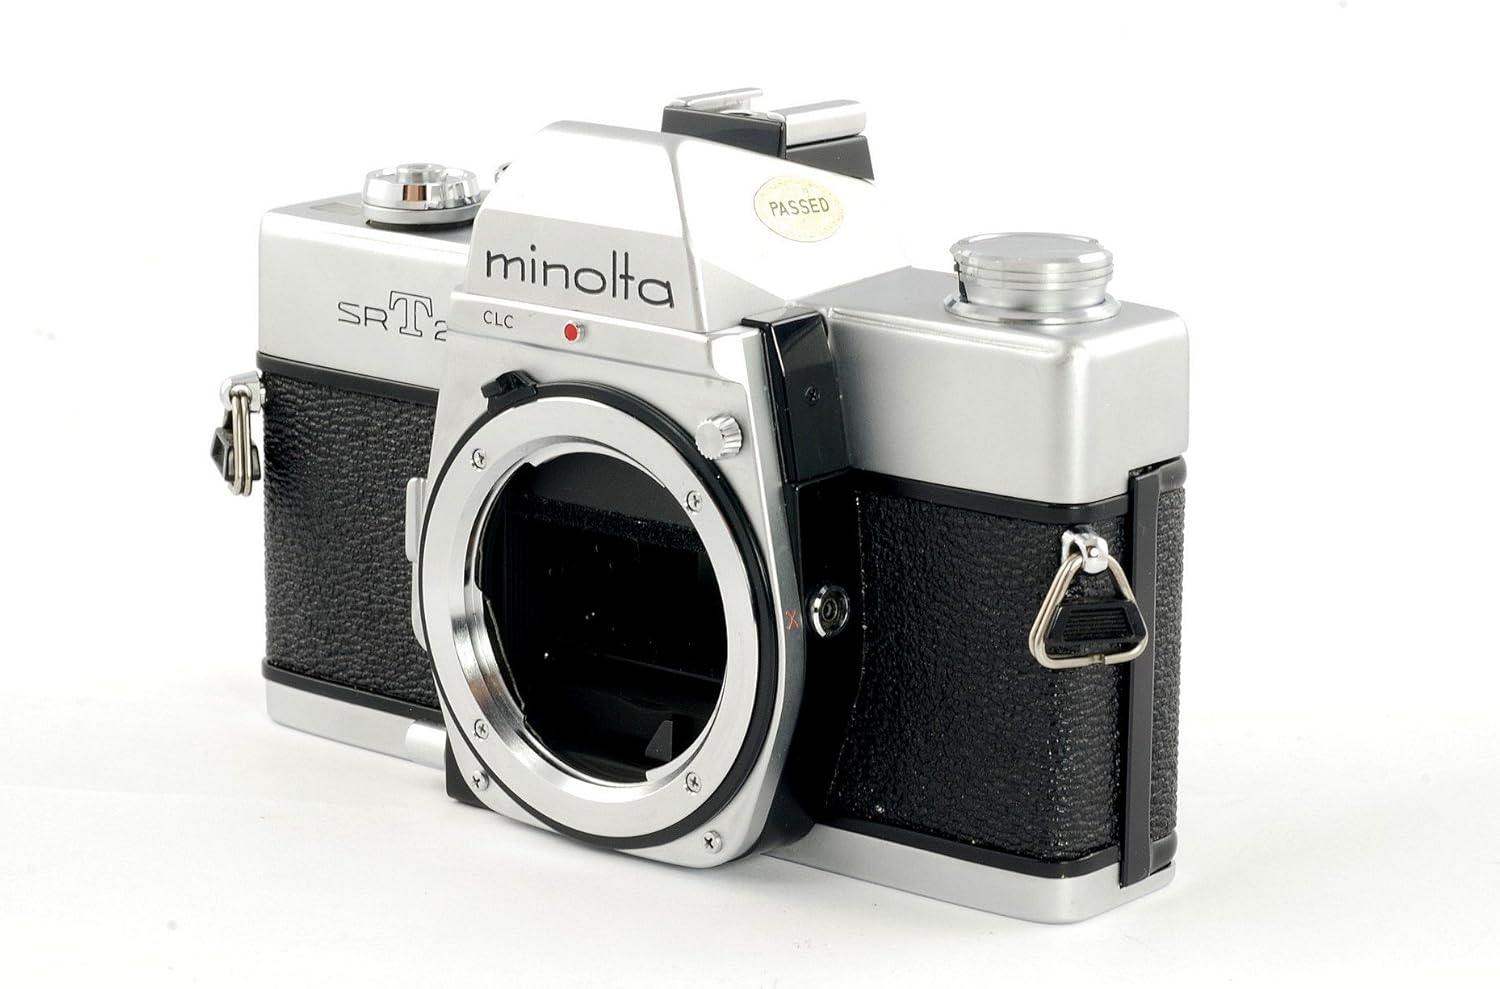
- Lens: The primary optical component, featuring aperture and focus rings.
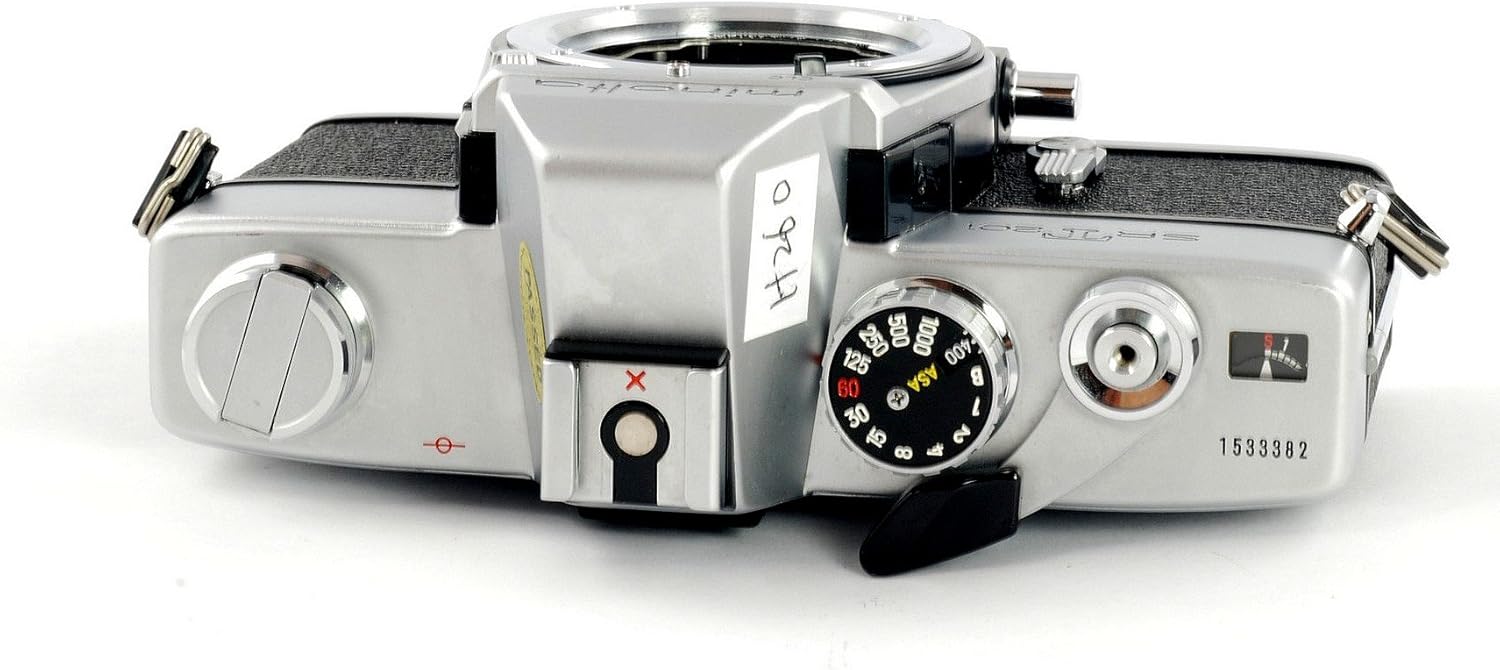
- Shutter Speed Dial: Located on the top plate, controls the duration the shutter remains open.
- ISO/ASA Dial: Integrated with the shutter speed dial, sets the film sensitivity.
- Film Advance Lever: On the top right, used to advance the film to the next frame and cock the shutter.
- Shutter Button: On the top plate, releases the shutter to take a picture.
- Rewind Knob: On the top left, used to rewind film back into the canister.
- Viewfinder: Allows you to compose and focus your shot.


2.2 Setting ISO (Film Speed)
The ISO setting on your camera must match the ISO rating of the film you are using for accurate light meter readings.
- Locate the ISO/ASA dial on the top plate of the camera, usually concentric with the shutter speed dial.
- Lift the outer ring of the ISO dial and rotate it until the desired ISO number (e.g., 200, 400) aligns with the indicator mark.
- Release the ring to lock the ISO setting.
2.3 Setting Shutter Speed
Shutter speed controls how long the camera's shutter remains open, affecting motion blur and overall exposure.
- Rotate the shutter speed dial on the top plate to select your desired speed. Common settings range from 1/1000th of a second (fastest) to 1 second (slowest), plus a 'B' (Bulb) setting for extended exposures.
- For 'Bulb' mode, the shutter remains open as long as the shutter button is pressed, ideal for very long exposures (e.g., night photography).
2.4 Setting Aperture
Aperture controls the size of the lens opening, influencing depth of field and light entering the camera.
- Locate the aperture ring on your lens. It is typically marked with f-numbers (e.g., f/1.7, f/2.8, f/8).
- Rotate the aperture ring to select your desired f-number. Smaller f-numbers (e.g., f/1.7) indicate a wider aperture, allowing more light and creating a shallower depth of field. Larger f-numbers (e.g., f/16) indicate a narrower aperture, allowing less light and creating a greater depth of field.
2.5 Taking Photos
Once your film is loaded and settings are adjusted, you're ready to capture images.
- Look through the viewfinder to compose your shot.
- Focus the lens by rotating the focusing ring until your subject appears sharp in the viewfinder.
- Check the light meter reading in the viewfinder to ensure proper exposure. Adjust shutter speed or aperture as needed until the meter indicates correct exposure.
- Gently press the shutter button to take the picture.
- Advance the film using the film advance lever to prepare for the next shot.
3. Maintenance
3.1 Cleaning and Care
Proper care extends the life and performance of your camera.
- Keep the lens clean using a soft lens brush or microfiber cloth. Avoid touching the lens surface with your fingers.
- Use a soft, dry cloth to wipe the camera body. Do not use harsh chemicals or abrasive materials.
- Always keep a lens cap on when not in use to protect the lens.
- Avoid exposing the camera to extreme temperatures, humidity, or direct sunlight for prolonged periods.
3.2 Storage
When storing your camera for extended periods:
- Remove the batteries to prevent leakage and corrosion.
- Store the camera in a cool, dry place, preferably in a camera bag or case to protect it from dust and impacts.
4. Troubleshooting
Here are solutions to some common issues you might encounter:
- Camera not firing: Ensure the film advance lever is fully wound and the shutter button is pressed completely. Check if the shutter speed is set to 'B' and you are holding the button long enough.
- Light meter not working: Check if the batteries are correctly installed and have sufficient charge. Clean the battery contacts if there is any corrosion.
- Film not advancing: Verify that the film leader is properly attached to the take-up spool and the film perforations are engaged with the sprockets. Ensure the rewind knob is fully pushed down.
5. Specifications
| Feature | Detail |
|---|---|
| Brand | Minolta |
| Model Name | SRT-201 35mm |
| Film Format Type | 35mm |
| Compatible Camera Film Format Type | 35mm |
| Special Feature | Film Memo Holder, Self Timer, Automatic Reset Film Counter |
| Included Components | Camera Body & Lens |
| Shutter Type | Mechanical |
| Item Weight | 2.39 pounds |
| Package Dimensions | 7.1 x 7.1 x 6.5 inches |
6. Warranty and Support
For warranty information or technical support, please refer to the documentation provided with your purchase or visit the official Minolta website. Keep your proof of purchase for any warranty claims.


