Introduction
This manual provides essential information for the proper installation, use, and maintenance of the Pentair 38405-4095 2-Inch PVC Slip Union Adapter. This adapter is specifically designed as a replacement component for Pentair Sta-Rite Dyna-Jet spa pumps. Please read these instructions thoroughly before proceeding with installation or any related tasks to ensure safe and effective operation.
Product Overview
The Pentair 38405-4095 is a 2-inch PVC slip union adapter. It serves as a critical connection component in the plumbing system of Pentair Sta-Rite Dyna-Jet spa pumps, facilitating the secure and leak-free flow of water. Its durable PVC construction ensures longevity and resistance to common pool and spa chemicals.
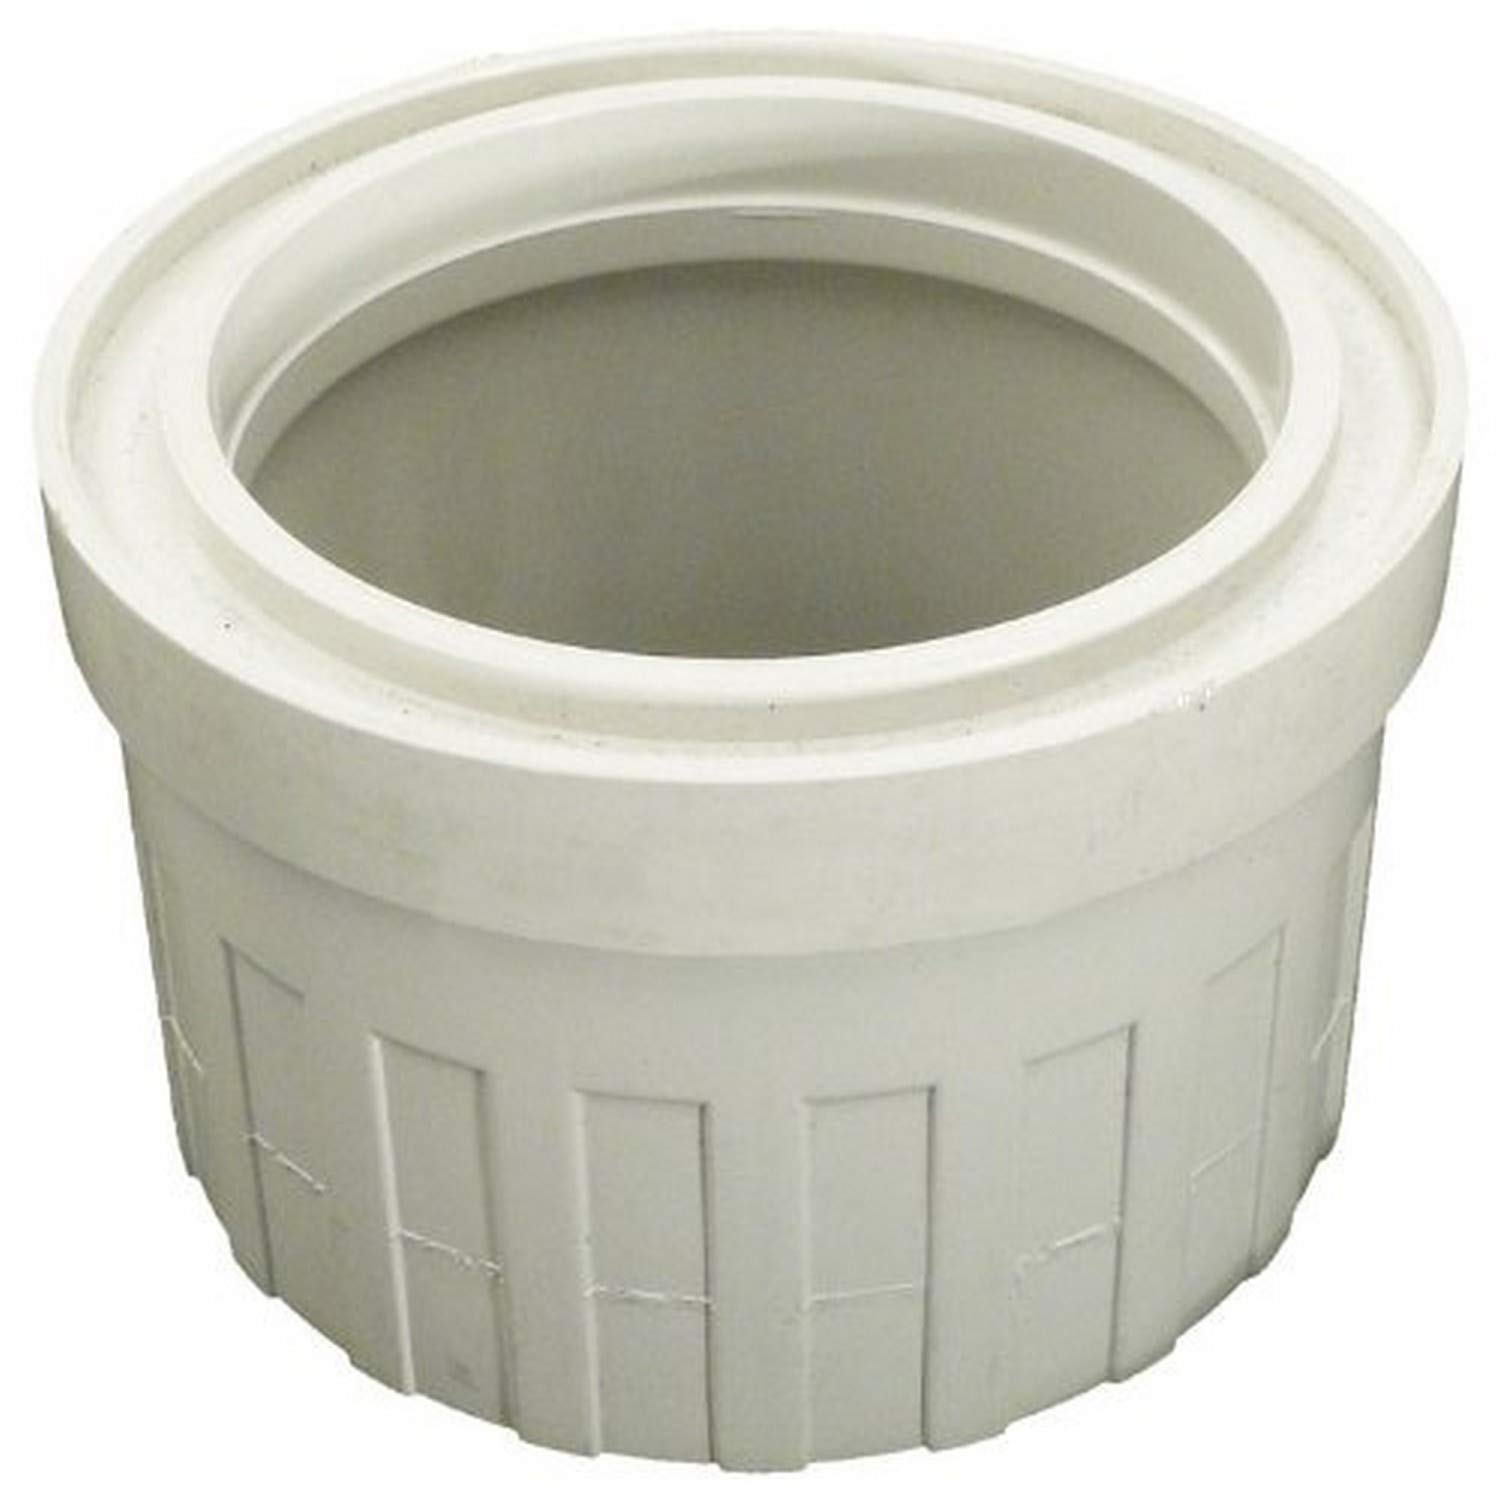
Image showing the Pentair 38405-4095 2-Inch PVC Slip Union Adapter, a white PVC fitting with threaded and slip connections.
Safety Information
Always prioritize safety when working with plumbing and electrical systems. Failure to follow these safety guidelines may result in property damage, serious injury, or death.
- Disconnect Power: Before beginning any installation or maintenance, ensure that all electrical power to the spa pump and associated equipment is turned off at the circuit breaker.
- Close Water Valves: Shut off all water supply valves leading to and from the spa pump to prevent water flow during installation.
- Drain System: Allow the plumbing system to drain completely before attempting to remove or install the adapter.
- Wear Protective Gear: Use appropriate personal protective equipment, including safety glasses and gloves, when handling PVC cement and primer.
- Ventilate Area: Work in a well-ventilated area when using PVC primer and cement, as fumes can be strong.
- Professional Assistance: If you are unsure about any part of the installation process, consult a qualified pool or spa professional.
Setup and Installation
This section outlines the steps for installing the Pentair 38405-4095 PVC Slip Union Adapter. This adapter is typically used to replace an existing damaged adapter or as part of a new pump installation.
Tools and Materials Required:
- PVC pipe cutter or saw
- Measuring tape
- PVC primer
- PVC cement (medium or heavy duty)
- Clean rags
- Safety glasses and gloves
Installation Steps:
- Prepare the System: Follow all safety instructions. Turn off power to the pump and close all water valves. Drain the plumbing system completely.
- Remove Existing Adapter (if applicable): If replacing an old adapter, carefully cut the existing PVC pipe to remove the damaged component. Ensure clean, straight cuts.
- Measure and Cut Pipe: Measure the required length of PVC pipe to connect to the new adapter, ensuring a snug fit. Cut the pipe squarely.
- Clean and Deburr: Use a clean rag to wipe away any dirt or moisture from the pipe ends and the inside of the adapter's slip connections. Deburr the edges of the cut pipe to ensure smooth flow and proper seating.
- Dry Fit: Perform a dry fit of the adapter and pipe sections to ensure all components align correctly and fit without excessive force. Mark the insertion depth on the pipe.
- Apply Primer: Apply a liberal coat of PVC primer to the outside of the pipe end and the inside of the adapter's slip connection. Allow the primer to soften the PVC surface for a few seconds.
- Apply Cement: Immediately after priming, apply an even, generous coat of PVC cement to both the primed pipe end and the primed inside of the adapter's slip connection.
- Join Components: Quickly insert the pipe into the adapter's slip connection, twisting the pipe a quarter turn to distribute the cement evenly. Hold the connection firmly for at least 30 seconds to allow the cement to set.
- Curing Time: Allow the PVC cement to cure according to the manufacturer's recommendations (typically 30 minutes to several hours before handling, and 24 hours before pressurizing the system).
- Test for Leaks: After the curing period, slowly open the water valves to refill the system. Inspect all new connections for any signs of leaks.
- Restore Power: Once the system is leak-free, restore electrical power to the spa pump.
Operation
Once properly installed, the Pentair 38405-4095 PVC Slip Union Adapter functions as a passive component within your spa pump's plumbing system. Its primary role is to provide a secure and watertight connection, allowing the spa pump to circulate water efficiently. No active operation is required from the adapter itself.
- Ensure that all connections remain leak-free after the pump is operational.
- Monitor water pressure and flow to confirm the system is functioning as expected.
Maintenance
Regular inspection of the Pentair 38405-4095 PVC Slip Union Adapter can help prevent potential issues and ensure the longevity of your spa pump system.
- Visual Inspection: Periodically inspect the adapter and surrounding pipework for any signs of cracks, discoloration, or stress.
- Leak Checks: Regularly check for any drips or moisture around the union connections, especially after the pump has been running.
- Environmental Factors: Protect the adapter from extreme temperatures and direct prolonged sunlight if possible, as these can degrade PVC over time.
Troubleshooting
If you encounter issues related to the adapter, consider the following troubleshooting steps:
- Leaks at Connection:
- Ensure proper application of PVC primer and cement during installation.
- Verify that the cement had sufficient curing time before pressurizing the system.
- Check for cracks in the adapter or pipe. If cracked, replacement is necessary.
- Improper Fit:
- Confirm that the pipe diameter matches the 2-inch specification of the adapter.
- Ensure pipe ends were cut squarely and deburred.
For persistent issues, contact Pentair customer support or a qualified service technician.
Specifications
| Model Number | 38405-4095 |
| Size | 2-Inch |
| Material | PVC |
| Compatibility | Pentair Sta-Rite Dyna-Jet Spa Pumps |
| Package Dimensions | 5.9 x 4.2 x 1.9 inches |
| Item Weight | 0.8 ounces |
Warranty Information
For detailed warranty information regarding the Pentair 38405-4095 PVC Slip Union Adapter, please refer to the official Pentair website or the warranty documentation provided at the time of purchase. Warranty terms and conditions may vary and are subject to Pentair's policies.
Customer Support
If you require further assistance, have questions about installation, or need to troubleshoot an issue not covered in this manual, please contact Pentair customer support. You can typically find contact information on the official Pentair website or through your product retailer.
Pentair Official Website: www.pentair.com


