
Important Safety Information
Please read and understand all instructions before beginning installation. Failure to do so may result in electric shock, fire, or other injuries that could be hazardous or even fatal. This manual provides essential information for the safe installation, operation, and maintenance of your Kichler Monroe Glass Wall Sconce Lighting.
- WARNING: To avoid electric shock, ensure power is turned off at the circuit breaker or fuse box before installation or servicing.
- All electrical connections must be in accordance with local codes, ordinances, or the National Electric Code (NEC). Consult a qualified electrician if you are unfamiliar with electrical wiring.
- Use only the specified bulb type and wattage. Exceeding the maximum wattage may cause overheating and damage to the fixture or create a fire hazard.
- Handle glass components with care to prevent breakage.
- This fixture is suitable for damp locations.
Setup and Installation
Before you begin, ensure all components are present and undamaged. If any parts are missing or damaged, do not attempt to install the fixture. Contact Kichler customer service for assistance.
Tools and Materials Required (Not Included):
- Phillips head screwdriver
- Flathead screwdriver
- Wire strippers
- Electrical tape
- Safety glasses
- Ladder (if necessary)
Installation Steps:
- Turn Off Power: Locate the circuit breaker or fuse box controlling the power to the desired installation location. Turn off the power completely to prevent electric shock.
- Prepare Mounting Surface: Ensure the wall surface is clean, dry, and structurally sound to support the fixture's weight.
- Attach Mounting Plate: Secure the mounting plate (usually included with the fixture) to the electrical junction box in the wall using the provided screws. Ensure it is firmly attached.
- Wiring Connections:
- Connect the black wire from the fixture to the black (hot) wire from the junction box using a wire nut.
- Connect the white wire from the fixture to the white (neutral) wire from the junction box using a wire nut.
- Connect the ground wire (bare copper or green) from the fixture to the ground wire from the junction box and the mounting plate using a wire nut.
- Carefully tuck all wires into the junction box.
- Mount Fixture Body: Align the fixture body with the mounting plate and secure it using the provided screws or nuts. Ensure the fixture is flush against the wall and stable.
- Install Glass Shade: Carefully attach the Light Umber Etched Glass shade to the fixture. This fixture may be installed with the glass facing up or down, depending on your preference. Secure the glass according to the specific design of your fixture (e.g., with retaining rings or screws).
- Insert Bulb: Screw in one (1) A19 incandescent bulb (not included) into the socket. Do not exceed the maximum wattage of 100 Watts.
- Restore Power: Once installation is complete and all components are secure, turn the power back on at the circuit breaker or fuse box. Test the fixture.
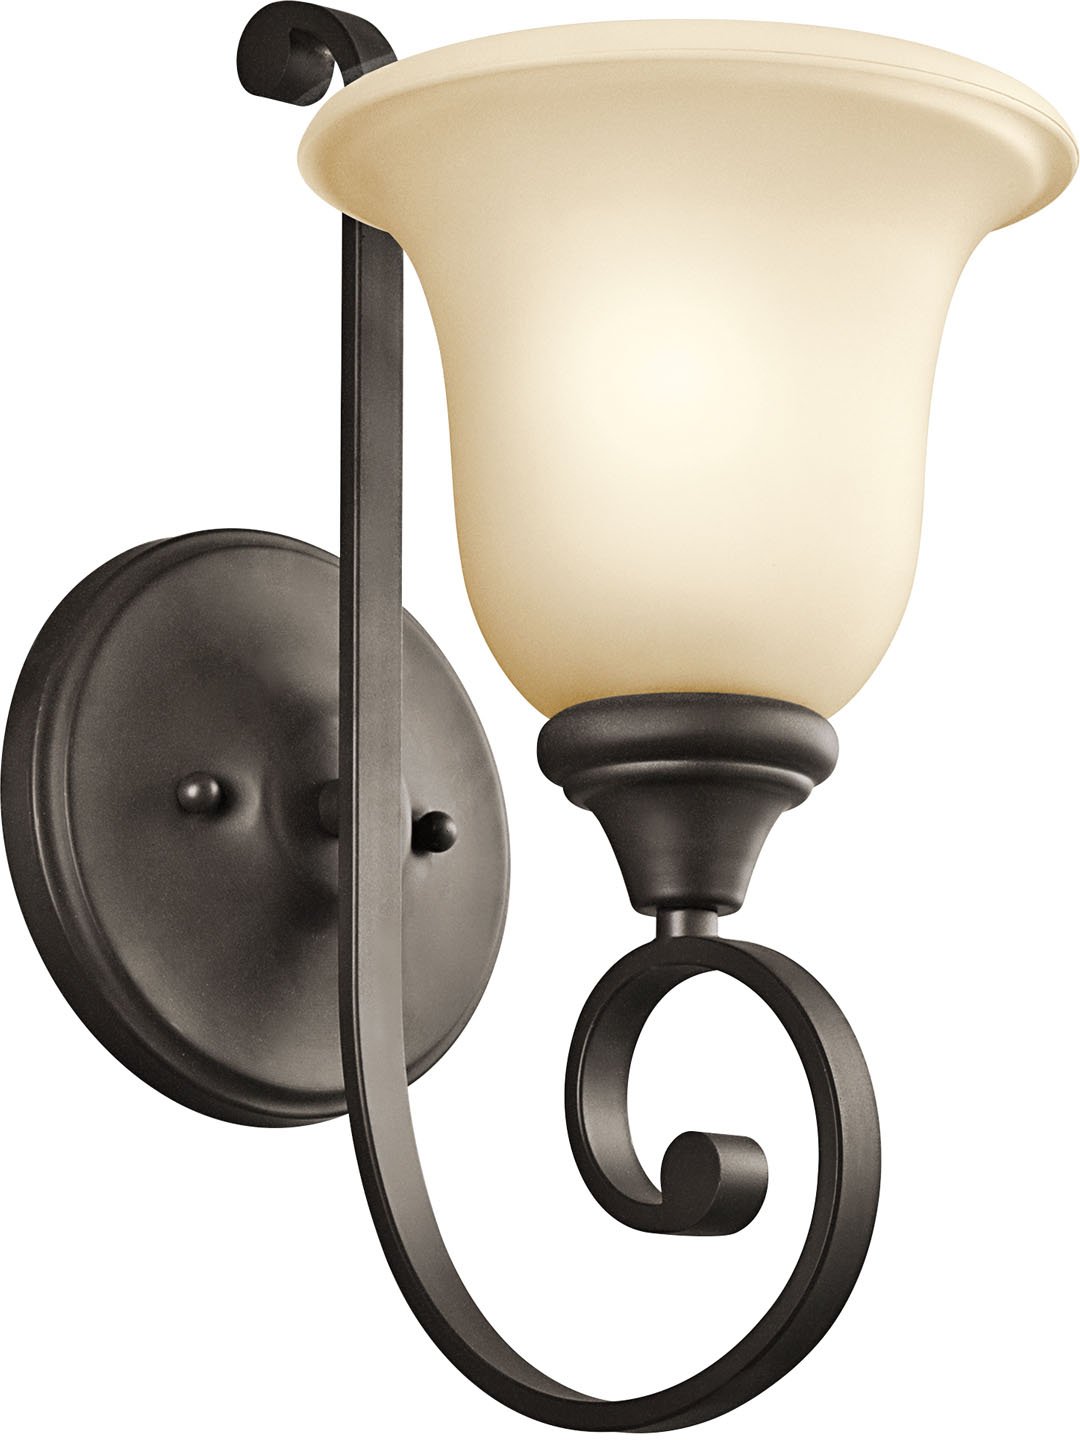
Figure 1: Kichler Monroe Glass Wall Sconce Lighting. This image shows the assembled fixture, demonstrating its design and how it appears when installed.
Operating Instructions
The Kichler Monroe Glass Wall Sconce Lighting is designed for simple operation once installed.
- Power On/Off: Control the light fixture using the standard wall switch connected to its electrical circuit.
- Bulb Type: This fixture requires one (1) A19 incandescent bulb.
- Maximum Wattage: Do not exceed 100 Watts for the bulb. Using a higher wattage bulb can damage the fixture and pose a fire risk.
Maintenance
Regular maintenance will help preserve the appearance and functionality of your Kichler Monroe Glass Wall Sconce Lighting.
- Cleaning:
- Always turn off power at the circuit breaker before cleaning.
- Wipe the fixture with a soft, dry cloth.
- Do not use abrasive cleaners, solvents, or polishes as they may damage the finish.
- For glass components, a mild glass cleaner can be used, applied to a cloth first, not directly to the fixture.
- Bulb Replacement:
- Ensure power is off at the circuit breaker and the bulb has cooled completely before attempting to replace it.
- Carefully unscrew the old bulb and screw in a new A19 incandescent bulb, not exceeding 100 Watts.
Troubleshooting
If your Kichler Monroe Glass Wall Sconce Lighting is not functioning correctly, refer to the following common issues and solutions:
| Problem | Possible Cause | Solution |
|---|---|---|
| Light does not turn on. |
|
|
| Light flickers. |
|
|
If these steps do not resolve the issue, contact Kichler customer support or a qualified electrician.
Specifications
| Model Number | 43170OZ |
| Brand | Kichler |
| Dimensions (H x W) | 14 inches H x 6 inches W |
| Item Weight | 2.7 lb |
| Finish | Olde Bronze |
| Shade Material | Light Umber Etched Glass |
| Material | Metal (fixture body), Glass (shade) |
| Light Source | Incandescent |
| Number of Lights | 1 |
| Bulb Type Required | A19 (not included) |
| Max Wattage | 100 Watts |
| Voltage | 120 Volts |
| Mounting Type | Wall Mount |
| Location Rating | Damp Locations (UL Listed) |
| Backplate Dimensions | 5.75 inch diameter; height from center of junction box is 8 inches |
Warranty and Support
For warranty information or technical support regarding your Kichler Monroe Glass Wall Sconce Lighting, please contact Kichler customer service directly. Details can typically be found on the Kichler official website or on the product packaging.
When contacting support, please have your model number (43170OZ) and purchase information readily available.