1. Introduction
Thank you for choosing the RHYTHM USA Claremont Wall Clock. This manual provides essential information for the proper setup, operation, and maintenance of your new clock. Please read these instructions carefully before use and retain them for future reference.
2. Safety Information
- Ensure the clock is securely mounted on a sturdy wall to prevent falling.
- Keep batteries out of reach of children. Do not mix old and new batteries, or different types of batteries.
- Dispose of used batteries according to local regulations.
- Do not expose the clock to extreme temperatures, direct sunlight, or high humidity.
- Avoid disassembling the clock mechanism, as this may void the warranty and cause damage.
3. Setup
3.1 Unpacking
Carefully remove the clock from its packaging. Inspect for any damage. Retain packaging for future transport or storage.
3.2 Battery Installation
The Claremont Wall Clock requires batteries for operation. Locate the battery compartment on the back of the clock. Insert the required batteries, ensuring correct polarity (+/-). The product typically uses AA batteries.
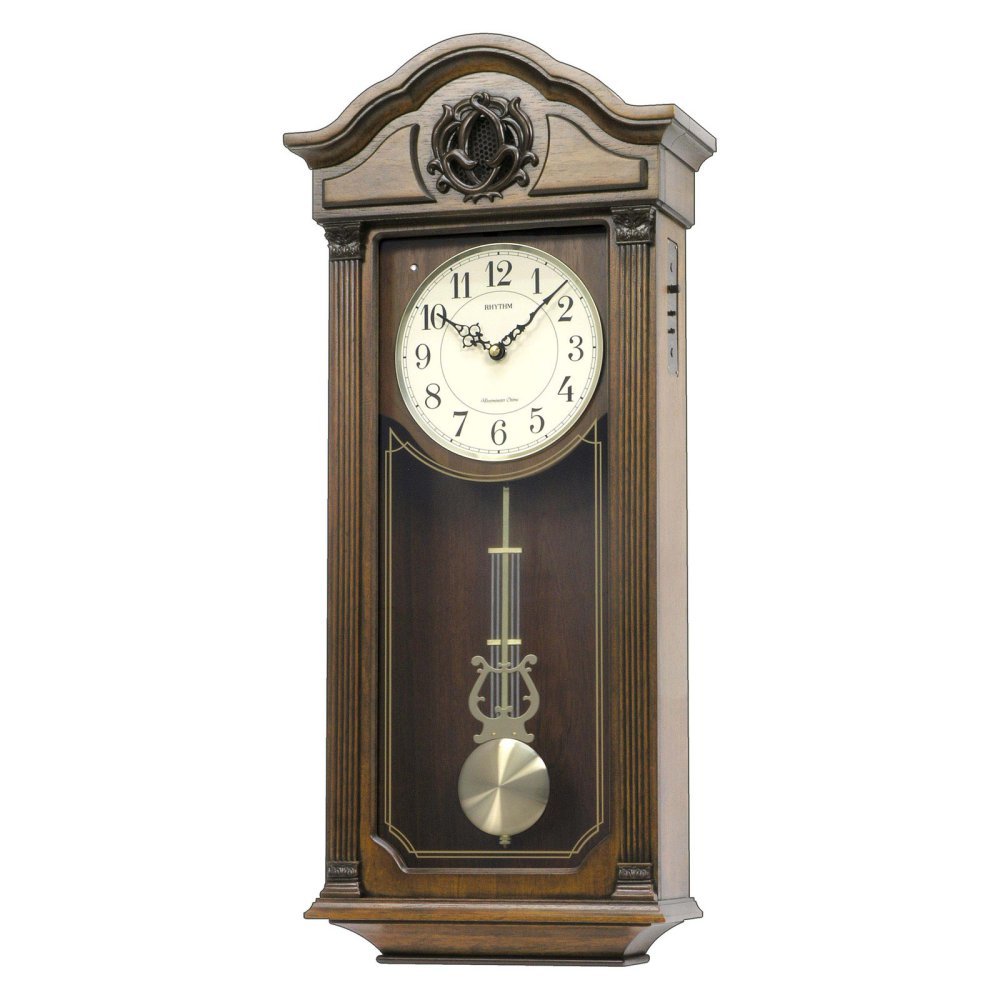
Image: Front view of the Rhythm USA Claremont Wall Clock, showcasing its elegant wooden frame, analog dial, and visible pendulum.
3.3 Setting the Time
After installing the batteries, locate the time-setting knob on the back of the clock mechanism. Gently turn the knob clockwise to set the correct time. Do not force the hands directly.
3.4 Pendulum Setup
The clock features a decorative pendulum. Carefully remove any packing material securing the pendulum during transit. Ensure the pendulum is hanging freely and can swing without obstruction.
3.5 Mounting the Clock
Choose a suitable location on a sturdy wall. Use appropriate wall anchors and screws for secure mounting. The clock can be hung using the integrated hanging slot on the back. Ensure the clock is level for optimal performance and appearance.
3.6 Chime Settings (If Applicable)
If your model includes chimes, locate the chime control switch or volume knob on the side or back of the clock. Adjust settings as desired. Some models may offer different chime melodies or a night-off feature.
4. Operating the Clock
Once set up, the clock will begin to keep time. The pendulum will swing, and the hands will move. If your model has chimes, they will activate at the designated intervals (e.g., hourly).
5. Maintenance
5.1 Cleaning
Wipe the clock's exterior with a soft, dry cloth. Do not use abrasive cleaners, solvents, or polishes, as these may damage the finish. For the glass, use a mild glass cleaner applied to a cloth, not directly to the clock.
5.2 Battery Replacement
Replace batteries annually or when the clock begins to lose time or the chimes weaken. Always replace all batteries at the same time with new ones of the same type.
6. Troubleshooting
| Problem | Possible Cause | Solution |
|---|---|---|
| Clock not running | Dead or incorrectly installed batteries | Check battery polarity; replace with fresh batteries. |
| Clock losing or gaining time | Weak batteries | Replace batteries. |
| Chimes not working (if applicable) | Chime switch off, low battery, or night-off feature active | Check chime switch/volume. Replace batteries. Verify night-off settings. |
| Pendulum not swinging | Obstructed or not properly engaged | Ensure no packing material remains. Gently start the pendulum swing. |
If problems persist after attempting these solutions, please contact customer support.
7. Specifications
- Brand: RHYTHM
- Model: CMJ543UR06
- Color: Brown
- Display Type: Analog
- Style: Classic
- Product Dimensions: 11.9"W x 26.6"H
- Power Source: Battery Powered
- Shape: Round
- Indoor/Outdoor Usage: Indoor
- Material: Wood, Engineered Wood (Frame)
- Mounting Type: Wall Mount
- Item Weight: 12 Pounds
- Operation Mode: Electrical
- UPC: 009136543061
8. Warranty and Support
For warranty information and customer support, please refer to the documentation included with your purchase or visit the official RHYTHM website. Keep your proof of purchase for any warranty claims.


