Introduction
This manual provides essential information for setting up, operating, and maintaining your HP F3510 e-All-in-One printer. The HP F3510 is a versatile device designed for printing, scanning, and copying everyday documents and photos. It features wireless connectivity for convenient use within your network.
Safety Information
Always follow basic safety precautions when using this product to reduce the risk of injury from fire or electric shock.
- Read and understand all instructions in this manual.
- Use only the power cord and adapter supplied with the printer.
- Do not place the printer in a location where the cord can be damaged.
- Keep the printer away from water or moist environments.
- Do not attempt to service the printer yourself. Refer all servicing to qualified service personnel.
What's in the Box
Verify that all components are present before proceeding with setup.
- HP F3510 e-All-in-One Printer
- Power Cord
- Setup Ink Cartridges (Black and Tri-color)
- Software CD (may vary by region)
- Setup Guide
- Envelopes
Setup
1. Unpacking the Printer
Carefully remove the printer from its packaging. Remove all packing materials, tapes, and protective films from the exterior and interior of the printer. Open the cartridge access door to ensure all internal packing materials are removed.
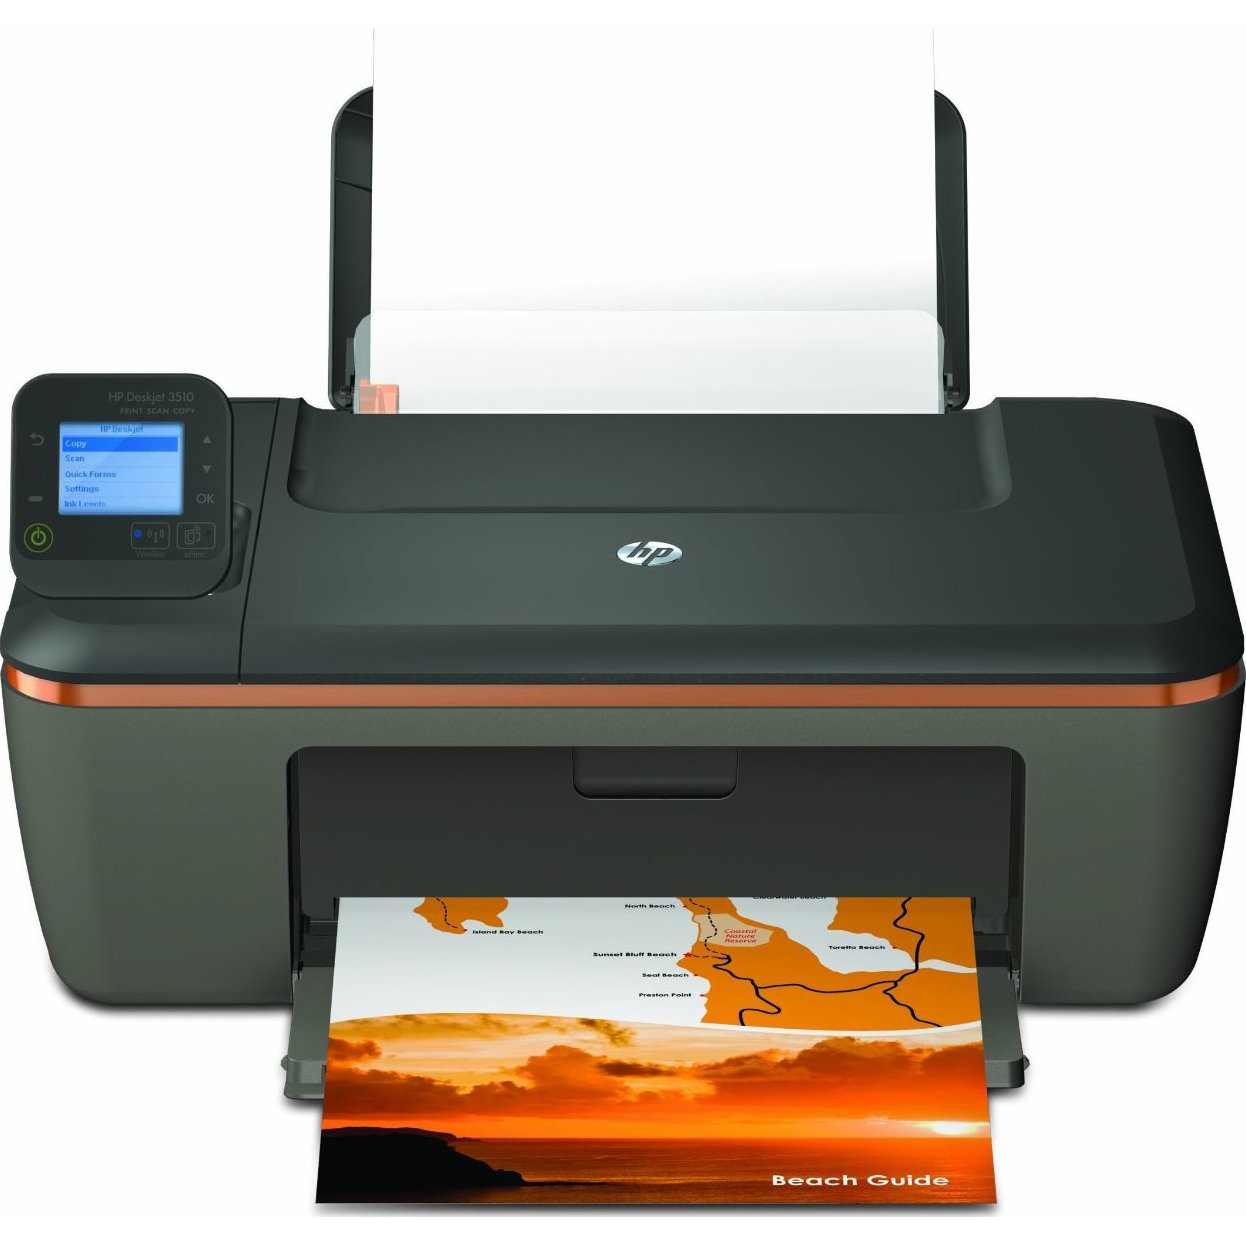
Image: The HP F3510 printer, showing its compact design with the paper input tray visible at the back and the output tray extended at the front. The scanner lid is closed on top.
2. Connecting to Power
Connect the power cord to the back of the printer and then plug the other end into a grounded electrical outlet. Press the Power button to turn on the printer.
3. Installing Ink Cartridges
- Open the ink cartridge access door. The carriage will move to the center.
- Wait until the carriage is idle and silent.
- Gently press down on the cartridge to release it, then pull it out of its slot.
- Remove the new cartridge from its packaging. Pull the orange pull tab to remove the protective tape. Do not touch the copper-colored contacts or ink nozzles.
- Slide the new cartridge into its slot until it clicks into place. Ensure the color cartridge goes into the left slot and the black cartridge into the right slot.
- Close the ink cartridge access door. The printer will perform an alignment page print.
4. Loading Paper
Load plain white paper into the input tray. Adjust the paper guides to fit the paper size snugly. The printer supports standard letter size (8.5 x 11 inches).
5. Wireless Setup
The HP F3510 features HP Auto Wireless Connect, simplifying the process of connecting to your wireless network.
- Install the printer software on your computer using the provided CD or by downloading it from the official HP support website.
- During the software installation, select the "Wireless" connection option.
- Follow the on-screen prompts. The HP Auto Wireless Connect feature will attempt to automatically connect your printer to your wireless network.
- If prompted, enter your network name (SSID) and password (WPA key or WEP key).
- Once connected, the wireless indicator light on the printer will be solid blue.
For mobile printing, you can use HP ePrint. Register your printer with HP ePrint to assign it an email address, allowing you to print documents by sending them to the printer's email address from any internet-connected device.
Operating Instructions
Printing Documents
- From a Computer: Open the document or image you wish to print. Select "Print" from the application's File menu. Choose your HP F3510 printer, adjust settings (e.g., paper size, print quality, color/grayscale), and click "Print".
- Wireless Printing: Ensure your computer or mobile device is connected to the same wireless network as your printer. Use the HP ePrint app or other compatible mobile printing solutions for direct printing from smartphones and tablets.
- Automatic 2-sided Printing: The HP F3510 supports automatic duplex printing. In your print settings, look for an option to print on both sides of the paper and select it. This feature helps reduce paper consumption.
Scanning Documents and Photos
- Place the original document or photo face-down on the scanner glass, aligning it with the guide.
- Close the scanner lid.
- On your computer, open the HP printer software or a scanning application.
- Select "Scan a Document or Photo" and choose your desired settings (e.g., document type, resolution, destination).
- Click "Scan" to begin the process. The scanned image will appear on your computer.
Copying Documents
- Place the original document face-down on the scanner glass.
- Close the scanner lid.
- On the printer's control panel, press the "Black Copy" button for a black and white copy or the "Color Copy" button for a color copy.
- To make multiple copies, press the respective copy button multiple times or use the control panel options if available to specify the number of copies.
Maintenance
Replacing Ink Cartridges
When an ink cartridge runs low or is empty, replace it promptly to ensure optimal print quality. Refer to the "Installing Ink Cartridges" section in Setup for detailed steps. Use genuine HP ink cartridges for best results.
Cleaning the Printer
- Exterior: Wipe the exterior surfaces of the printer with a soft, lint-free cloth. Do not use abrasive cleaners.
- Scanner Glass: Clean the scanner glass with a soft cloth lightly dampened with glass cleaner. Avoid spraying cleaner directly onto the glass.
- Printhead Cleaning: If print quality issues (streaks, faded colors) occur, use the printer software to initiate a printhead cleaning cycle. This helps clear clogged nozzles.
Troubleshooting
This section addresses common issues you might encounter with your HP F3510 printer.
Printer Not Responding
- Ensure the printer is powered on and connected to a working electrical outlet.
- Check the USB cable connection (if using USB) or wireless network connection.
- Restart both the printer and your computer/router.
- Verify that the correct printer is selected in your computer's print dialog.
Wireless Connection Issues
- Confirm your router is on and broadcasting a signal.
- Check the wireless indicator light on the printer; if it's blinking, it's not connected.
- Run the Wireless Setup Wizard from the printer's control panel or through the HP software.
- Ensure the printer is within range of your wireless router.
Poor Print Quality
- Check ink levels and replace any low or empty cartridges.
- Perform a printhead cleaning cycle and print an alignment page using the printer software.
- Ensure you are using appropriate paper for your print job.
- Check print settings to ensure they match your desired quality (e.g., "Best" quality for photos).
Paper Jams
- Turn off the printer and unplug it.
- Carefully remove any jammed paper from the input tray, output tray, or inside the printer. Pull paper slowly and evenly to avoid tearing.
- Ensure paper is loaded correctly and not overfilled in the input tray.
- Remove any foreign objects from the paper path.
Specifications
| Feature | Specification |
|---|---|
| Model Number | F3510 |
| Functions | Print, Scan, Copy |
| Printing Technology | Inkjet |
| Connectivity | Wireless (Wi-Fi), USB 2.0 |
| Maximum Print Speed (Black) | Up to 14 ppm |
| Maximum Print Speed (Color) | Up to 16 ppm |
| Maximum Print Resolution (Black) | 300 dpi |
| Maximum Print Resolution (Color) | 300 dpi |
| Scanner Type | Flatbed with Auto Document Feeder (ADF) |
| Maximum Scan Resolution | 300 dpi |
| Maximum Copy Resolution (Black/Color) | 300 dpi |
| Maximum Media Size | 8.5 x 11 inches (Letter) |
| Input Tray Capacity | 100 sheets |
| Output Tray Capacity | 50 sheets |
| Duplex Printing | Automatic (2-sided) |
| Item Weight | 8.59 pounds |
Warranty and Support
Your HP F3510 printer comes with a limited warranty. For specific warranty terms and conditions, please refer to the documentation included with your product or visit the official HP support website.
For technical assistance, driver downloads, or further troubleshooting, visit the HP support website or contact HP customer service. Have your printer's model number (F3510) and serial number ready when contacting support.
Online Support: support.hp.com