Introduction
This manual provides instructions for the installation, operation, and maintenance of your Honeywell TH1100DH1004 PRO 1000 Non-Programmable Thermostat. This device is designed for heat-only systems and offers basic, reliable temperature control.
Key features include a digital display for clear temperature readings, a backlit screen for visibility in various lighting conditions, and precise temperature control within 1°F (0.5°C) for consistent comfort. It is a non-programmable unit, meaning the temperature setting remains constant until manually adjusted.
Product Overview
The Honeywell TH1100DH1004 thermostat features a simple, intuitive design for ease of use. It includes a digital display and up/down arrow buttons for temperature adjustment, along with a slide switch for selecting operating modes.
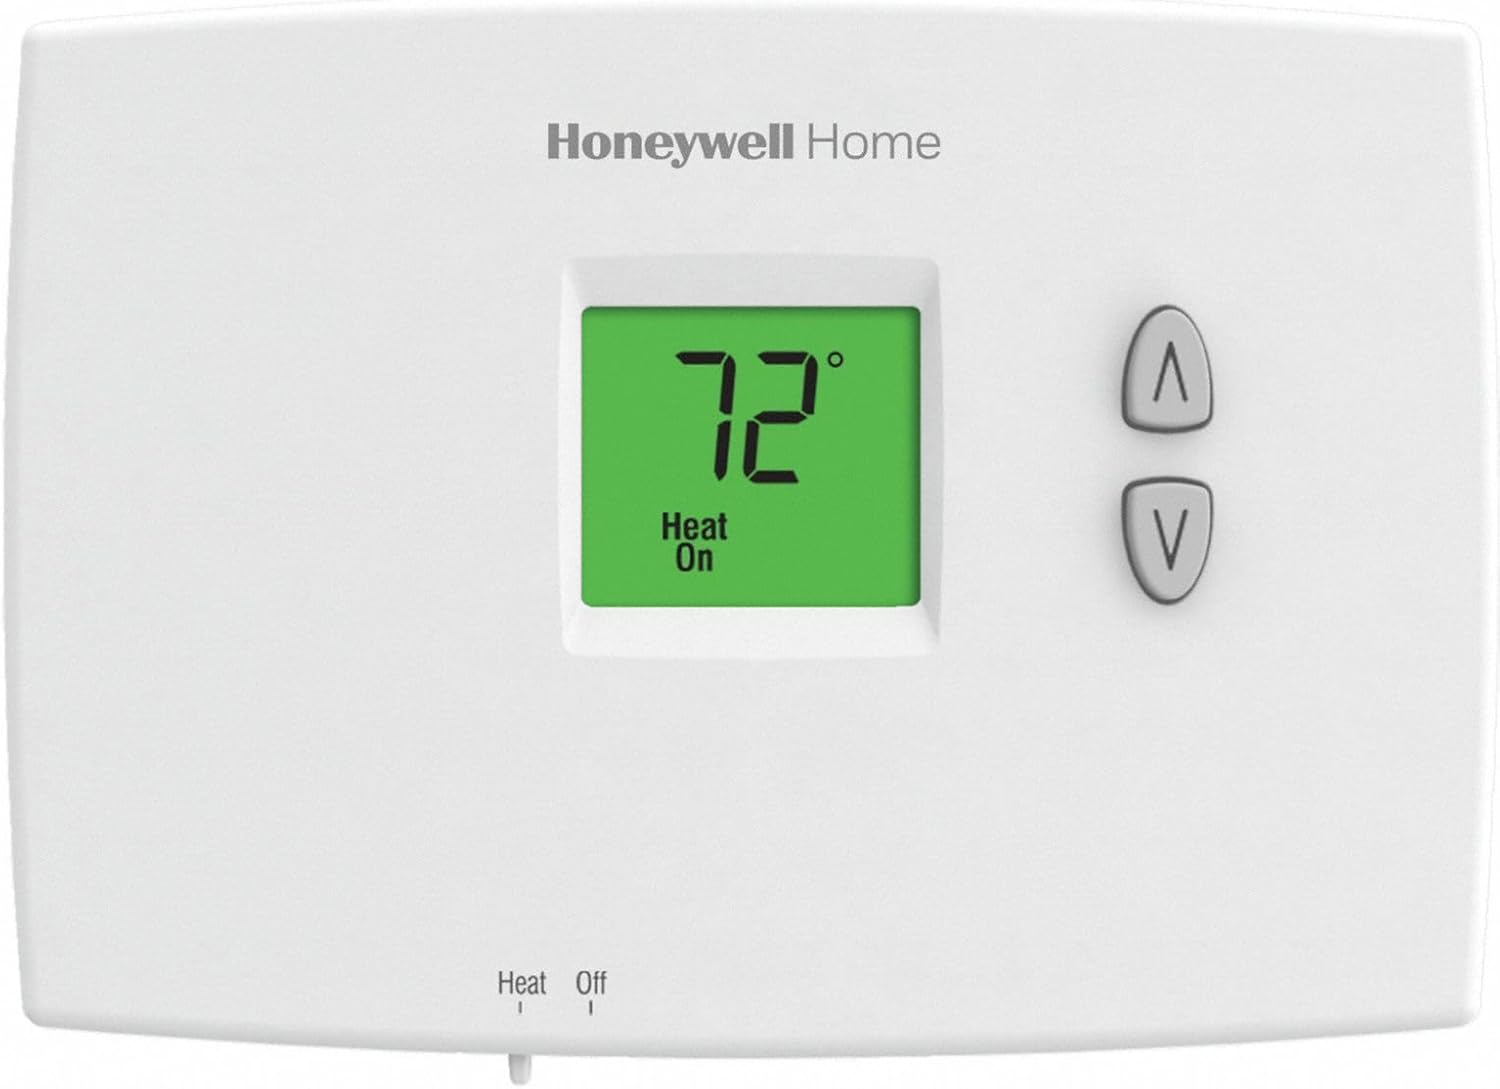
Figure 1: Front view of the Honeywell TH1100DH1004 Thermostat, showing the digital display and control buttons.
Components:
- Digital Display: Shows current and set temperature, and system status.
- Up/Down Buttons: Used to adjust the desired temperature setting.
- System Switch: (Typically located at the bottom) Selects between "Heat" and "Off" modes.
- Backlight: Illuminates the display for improved visibility.
Setup and Installation
Important: Before beginning installation, ensure the power to your heating system is turned off at the circuit breaker or fuse box to prevent electrical shock and equipment damage.
Tools Required:
- Screwdriver (small flathead may be needed for wiring terminals)
- Drill (if new mounting holes are required)
- Wire strippers (if wires need to be trimmed)
Installation Steps:
- Turn Off Power: Locate the circuit breaker or fuse that controls your heating system and turn it off. Verify the power is off by attempting to operate the old thermostat.
- Remove Old Thermostat: Carefully remove the cover of your old thermostat. Disconnect the wires, noting which wire was connected to which terminal. It is recommended to label the wires (e.g., R, W) before disconnecting them.
- Mount New Thermostat Base: Detach the new thermostat's mounting plate from the main unit. Position the mounting plate on the wall where the old thermostat was. Use the provided screws to secure it. Ensure the wires can pass through the opening in the plate.
- Wire the Thermostat: Connect the wires from your heating system to the corresponding terminals on the new thermostat's mounting plate. This model is for heat-only systems, typically requiring two wires (R and W). Refer to the wiring diagram provided with your thermostat for specific connections. Ensure connections are secure.
- Install Batteries: Insert two AA alkaline batteries (not included) into the battery compartment, observing polarity (+/-).
- Attach Thermostat to Base: Carefully align the thermostat body with the mounting plate and snap it into place.
- Restore Power: Turn the power back on at the circuit breaker or fuse box.
Operating Instructions
Setting the Temperature:
- Select Mode: Use the system switch (usually at the bottom of the thermostat) to select "Heat" for heating operation or "Off" to turn the system off.
- Adjust Temperature: Press the Up (▲) or Down (▼) arrow buttons to set your desired temperature. The display will show the set temperature briefly, then revert to showing the current room temperature.
- The thermostat will automatically activate your heating system when the room temperature falls below your set temperature and turn it off when the set temperature is reached.
Temperature Scale Adjustment (Fahrenheit/Celsius):
This thermostat allows selection between Fahrenheit (F) and Celsius (C) temperature scales. Consult the full installation guide for specific instructions on how to change this setting, as it typically involves a jumper or a specific button sequence during installation.
Maintenance
Battery Replacement:
When the battery low indicator appears on the display, replace the two AA alkaline batteries immediately. Failure to do so may result in the thermostat losing power and your heating system not operating correctly.
- Remove the thermostat from its wall plate.
- Remove the old batteries and dispose of them properly.
- Insert two new AA alkaline batteries, ensuring correct polarity.
- Reattach the thermostat to its wall plate.
Cleaning:
Clean the thermostat's exterior with a soft, damp cloth. Do not use abrasive cleaners or solvents. Avoid spraying liquids directly onto the thermostat.
Troubleshooting
| Problem | Possible Cause | Solution |
|---|---|---|
| No Heat / System Not Responding |
|
|
| Inaccurate Temperature Reading |
|
|
| Display is Blank |
|
|
Specifications
- Model: TH1100DH1004
- Brand: Honeywell
- Thermostat Type: Non-Programmable, Digital
- System Compatibility: Heat Only
- Power Source: Dual Powered (Battery Powered for operation, can also be powered by 24V AC from HVAC system if wired)
- Display: Backlit LCD
- Temperature Control Range: 40°F to 90°F (or 35°F to 90°F for Garage selection)
- Control Accuracy: ±1°F (±0.5°C)
- Dimensions: Approximately 1.88 in. x 3.44 in. x 4.63 in.
- System Voltage Controlled: 230 Volts (This refers to the voltage of the heating system the thermostat controls, not the thermostat's operating voltage)
- Connectivity Technology: Bluetooth (Note: This specification may refer to internal components or manufacturing processes and typically does not imply user-accessible smart features for this basic model.)
Warranty and Support
For warranty information and technical support, please refer to the documentation included with your product packaging or visit the official Honeywell website. You can also contact Honeywell customer service directly for assistance with product operation, troubleshooting, or warranty claims.
Honeywell Support: www.honeywellhome.com/us/en/support/