1. Introduction
This manual provides essential information for the safe and proper installation, operation, and maintenance of your MAAX Exhibit Acrylic Right-Hand Bathtub. Please read this manual thoroughly before beginning installation or use, and retain it for future reference.
The MAAX Exhibit bathtub is designed for alcove installation, featuring a right-hand drain location. It boasts a minimalist aesthetic with discreet armrests and a textured floor for enhanced safety. An integrated tiling flange simplifies installation, and an integrated skirt with an access panel (if equipped with a system) allows for easy maintenance.
2. Safety Information
Always adhere to local plumbing and building codes. Professional installation is recommended. Ensure the subfloor can support the weight of the bathtub when filled with water and a person.
- Do not use abrasive cleaners or harsh chemicals on the acrylic surface.
- Ensure proper ventilation in the bathroom to prevent mold and mildew.
- Always test water temperature before entering the bathtub to prevent scalding.
- Keep children supervised when near the bathtub.
- The textured floor is designed to reduce slips, but caution should always be exercised.
This product may expose you to chemicals known to the State of California to cause cancer and birth defects or other reproductive harm. For more information go to www.P65Warnings.ca.gov.
3. Product Features
- Rectangular shape bathtub for alcove installation.
- Features a right-hand drain location.
- Integrated tiling flange for simplified installation and waterproofing.
- Minimalist design with discreet, comfortable armrests.
- Textured floor for enhanced slip resistance.
- Integrated skirt with an optional access panel for system maintenance (if applicable).
4. Setup and Installation
Installation should be performed by a qualified professional in accordance with all local plumbing and building codes. Ensure the installation area is level and structurally sound to support the bathtub's weight when filled.
4.1 Pre-Installation Checklist
- Verify all components are present and undamaged.
- Confirm rough-in dimensions match the bathtub specifications.
- Ensure adequate access for plumbing connections.
4.2 Installation Steps (General Guidelines)
- Prepare the alcove: Ensure walls are plumb and square, and the floor is level.
- Install drain assembly: Connect the drain and overflow according to manufacturer instructions and local codes.
- Position the bathtub: Carefully place the bathtub into the alcove, ensuring the integrated tiling flange is properly aligned with the wall studs.
- Secure the bathtub: Fasten the bathtub to the wall studs through the tiling flange.
- Connect plumbing: Connect the water supply lines to the faucet (if applicable) and verify all connections are watertight.
- Seal edges: Apply a high-quality silicone sealant around the perimeter of the bathtub where it meets the walls and floor.
- Test for leaks: Fill the bathtub with water and check for any leaks around the drain and overflow.

Image: MAAX Exhibit Bathtub installed in a bathroom setting, showcasing its right-hand drain and the integrated skirt. The bathtub is positioned under a window, highlighting its alcove installation.

Image: A wider view of the MAAX Exhibit Bathtub in a bathroom, illustrating its minimalist design and how it integrates into a modern bathroom environment. The image shows the full length of the tub and its surrounding wall and floor.
5. Operating Instructions
The MAAX Exhibit bathtub is designed for simple operation.
- Ensure the drain stopper is closed before filling.
- Turn on the hot and cold water faucets to achieve desired water temperature.
- Fill the bathtub to a comfortable level, ensuring not to exceed the overflow drain.
- After use, open the drain stopper to empty the bathtub.
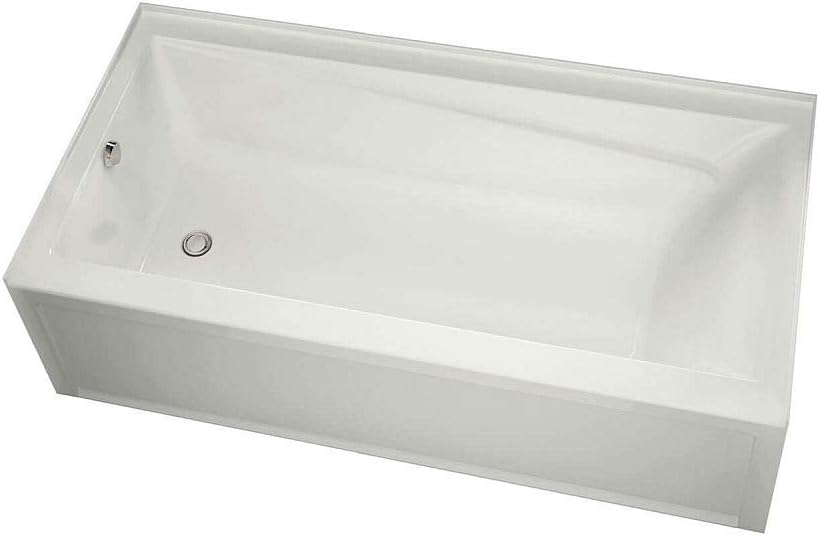
Image: A close-up, top-down perspective of the MAAX Exhibit Bathtub, clearly showing the right-hand drain and overflow assembly, along with the textured floor and discreet armrests.
6. Maintenance
Proper care and maintenance will ensure the longevity and appearance of your MAAX Exhibit bathtub.
6.1 Cleaning the Bathtub
- Clean the acrylic surface regularly with a soft cloth or sponge and a non-abrasive, mild liquid cleaner specifically designed for acrylic or fiberglass bathtubs.
- Rinse thoroughly with clean water after cleaning.
- Avoid using abrasive cleaners, scouring pads, steel wool, or harsh chemicals (e.g., acetone, paint thinner, strong acids/bases) as these can damage the acrylic finish.
6.2 Drain and Overflow Maintenance
- Periodically remove and clean the drain stopper to prevent hair and debris buildup.
- If equipped with an access panel, periodically check for any leaks or issues with the plumbing connections.
7. Troubleshooting
| Problem | Possible Cause | Solution |
|---|---|---|
| Slow Draining | Hair or debris in drain. | Remove and clean drain stopper. Use a drain snake if necessary. Avoid chemical drain cleaners on acrylic. |
| Water Leaks | Loose plumbing connections; damaged sealant. | Check all plumbing connections and tighten if loose. Reapply silicone sealant if damaged. Consult a plumber if leaks persist. |
| Surface Scratches | Abrasive cleaning or sharp objects. | Use a fine grit sandpaper (e.g., 1000-2000 grit) followed by a plastic polish for minor scratches. For deep scratches, professional repair may be required. |
| Dull Finish | Residue buildup; improper cleaning. | Clean with a non-abrasive cleaner. Use an acrylic polish to restore shine. |
8. Specifications
| Attribute | Detail |
|---|---|
| Model Number | 105519-R-000-001 |
| Brand | MAAX |
| Material | Acrylic |
| Color | White |
| Product Dimensions (L x W x H) | 59.75 in x 30 in x 17.75 in |
| Item Weight | 155 Pounds |
| Capacity | 76 Gallons |
| Drain Location | Right-Hand |
| Installation Type | Alcove |
| UPC | 623163544763 |

Image: The MAAX Exhibit Bathtub integrated into a bathroom with a glass shower enclosure, showing how it can be part of a shower-tub combination. This view highlights the overall bathroom design and the tub's fit.
9. Warranty and Support
For specific warranty details and customer support, please refer to the official MAAX website or contact MAAX customer service directly. Keep your proof of purchase for warranty claims.
MAAX contact information can typically be found on their official website or on the product packaging.