Introduction
This manual provides comprehensive instructions for the installation, operation, and maintenance of your Western Digital WD5000HHTZ VelociRaptor 500GB 10000RPM SATA 6.0Gb/S 3.5" Internal Hard Drive. Please read this manual thoroughly before proceeding with installation or use to ensure proper functionality and data integrity.
Safety Information
- Always handle the hard drive with care to prevent physical damage.
- Avoid exposing the drive to extreme temperatures, humidity, or strong magnetic fields.
- Ensure your computer is powered off and unplugged before installing or removing the hard drive.
- Use appropriate anti-static precautions (e.g., anti-static wrist strap) to prevent electrostatic discharge (ESD) damage.
- Do not open the hard drive enclosure; doing so will void the warranty and expose sensitive components.
Package Contents
Verify that your package contains the following items:
- Western Digital WD5000HHTZ VelociRaptor 500GB Internal Hard Drive
- (Note: SATA data cables, power cables, and mounting screws are typically sold separately and are not included with a bare drive.)
Setup and Installation
Follow these steps to properly install your internal hard drive into a desktop computer.
1. Prepare Your System
- Power off your computer and unplug the power cord from the wall outlet.
- Open the computer case. Refer to your computer's manual for specific instructions on how to open the case.
- Ground yourself by touching an unpainted metal surface of the computer chassis to discharge any static electricity.
2. Mount the Hard Drive
Locate an available 3.5-inch drive bay in your computer case. The VelociRaptor drive includes a built-in IcePack heat sink, which may require slightly more clearance than a standard 3.5-inch drive.
- Slide the hard drive into the chosen drive bay. Ensure the SATA connectors face the inside of the computer case.
- Secure the drive using appropriate mounting screws (not included) on both sides of the drive bay. Ensure it is firmly seated to prevent vibration.
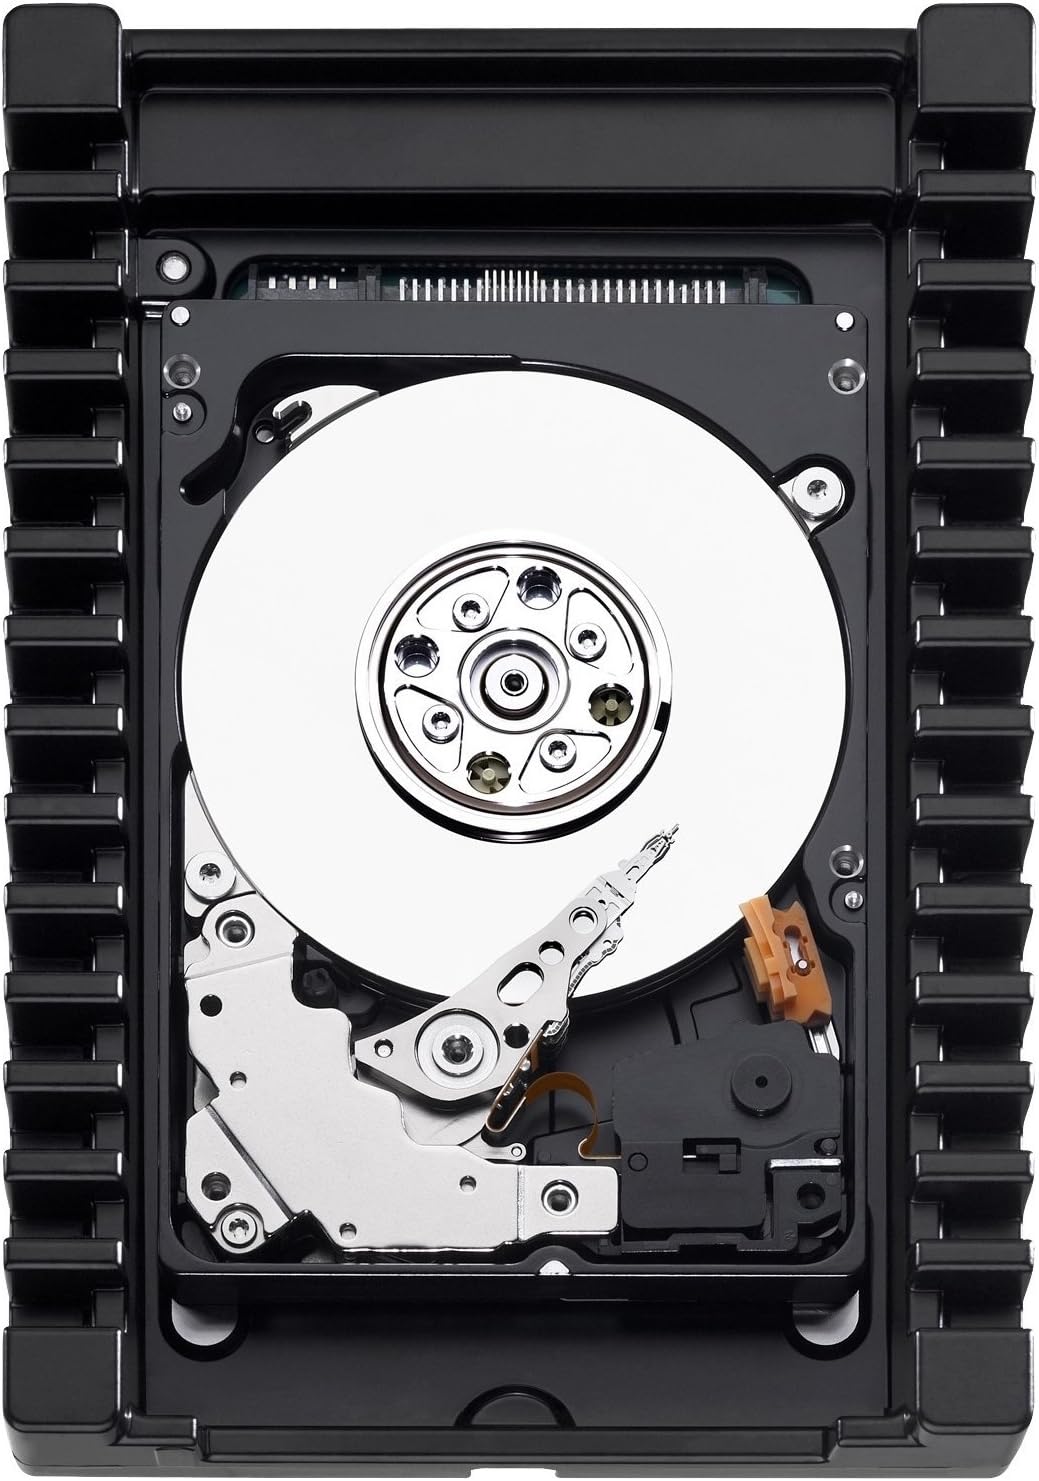
This image displays the internal components of the WD VelociRaptor hard drive, including the shiny data platters, the delicate read/write head assembly, and the robust black heat sink enclosure designed for optimal cooling. The SATA data and power connectors are visible at the top edge.
3. Connect Cables
- Connect one end of a SATA data cable (not included) to the data connector on the hard drive.
- Connect the other end of the SATA data cable to an available SATA port on your computer's motherboard.
- Connect a SATA power cable (from your computer's power supply, not included) to the power connector on the hard drive.
4. Close and Power On
- Carefully close your computer case.
- Plug the power cord back into the wall outlet and power on your computer.
Operating the Hard Drive (Initial Setup)
After physical installation, the operating system needs to recognize and prepare the new drive.
1. Initialize and Partition the Drive
For Windows operating systems:
- Right-click on the "Start" button and select "Disk Management".
- The "Initialize Disk" dialog box should appear automatically for new drives. Select MBR (Master Boot Record) or GPT (GUID Partition Table) based on your system requirements (GPT is recommended for drives larger than 2TB or for UEFI systems). Click "OK".
- Locate your new drive, which will appear as "Unallocated Space". Right-click on the unallocated space and select "New Simple Volume".
- Follow the New Simple Volume Wizard to assign a drive letter, choose a file system (NTFS for Windows), and perform a quick format.
For other operating systems (macOS, Linux), refer to their respective disk utility documentation for initializing and formatting new drives.
2. Data Storage
Once formatted, the drive will appear as a new volume in "This PC" (Windows) or your file manager. You can now use it to store files, install applications, or as a secondary storage device.
Maintenance
- Regular Backups: Regularly back up important data to another storage device. No hard drive is immune to failure.
- Monitor Drive Health: Use S.M.A.R.T. (Self-Monitoring, Analysis and Reporting Technology) tools to monitor the health status of your drive. Many operating systems and third-party utilities offer this functionality.
- Keep System Cool: Ensure adequate airflow within your computer case to prevent overheating, which can reduce the lifespan of the drive. The VelociRaptor's IcePack heat sink assists with cooling, but good case ventilation is still important.
- Defragmentation (for HDDs): While modern operating systems often handle this automatically, occasional defragmentation can help maintain performance on traditional hard drives.
Troubleshooting
Drive Not Detected
- Check Cables: Ensure both the SATA data cable and power cable are securely connected to the drive and the motherboard/power supply.
- BIOS/UEFI Settings: Verify that the SATA port the drive is connected to is enabled in your computer's BIOS/UEFI settings.
- Power Supply: Ensure your power supply has sufficient wattage and available SATA power connectors.
- Disk Management: For new drives, check "Disk Management" (Windows) or equivalent utility to see if the drive is detected but uninitialized or unformatted.
- Try Different Port/Cable: Test with a different SATA data cable, power cable, or motherboard SATA port.
Slow Performance
- Check S.M.A.R.T. Status: A failing drive can exhibit slow performance. Check its S.M.A.R.T. status.
- Defragmentation: Ensure the drive is not heavily fragmented.
- System Resources: Check if other system components (CPU, RAM) are bottlenecking performance.
- Temperature: Ensure the drive is not overheating.
Unusual Noises
- Clicking, grinding, or repetitive beeping sounds often indicate a mechanical failure. Immediately back up any accessible data and consider replacing the drive.
Specifications
| Feature | Specification |
|---|---|
| Model Number | WD5000HHTZ |
| Capacity | 500 GB |
| Interface | SATA 6.0Gb/s |
| Rotational Speed | 10000 RPM |
| Cache | 64 MB |
| Form Factor | 3.5 Inches |
| Dimensions (LxWxH) | 7.24 x 5.67 x 1.65 inches |
| Weight | 1.28 pounds |
| Compatibility | Desktop PCs |
Warranty Information
Western Digital products are covered by a limited warranty. The specific terms and duration of your warranty may vary based on region and point of purchase. Please retain your proof of purchase for warranty claims.
For detailed warranty information, please visit the official Western Digital website or refer to the warranty statement included with your product at the time of purchase.
Support
For technical assistance, product registration, or to access additional resources, please visit the official Western Digital support website:
You may also find helpful information and community forums on the Western Digital website.


