1. Introduction
This manual provides instructions for the installation, operation, maintenance, and troubleshooting of the TP-Link TL-WDR4300 N750 Wireless Dual Band Gigabit Router. The TL-WDR4300 is designed to provide high-speed wireless connectivity across both 2.4 GHz and 5 GHz bands, offering a combined bandwidth of up to 750 Mbps. It features Gigabit Ethernet ports and USB 2.0 ports for versatile network capabilities.
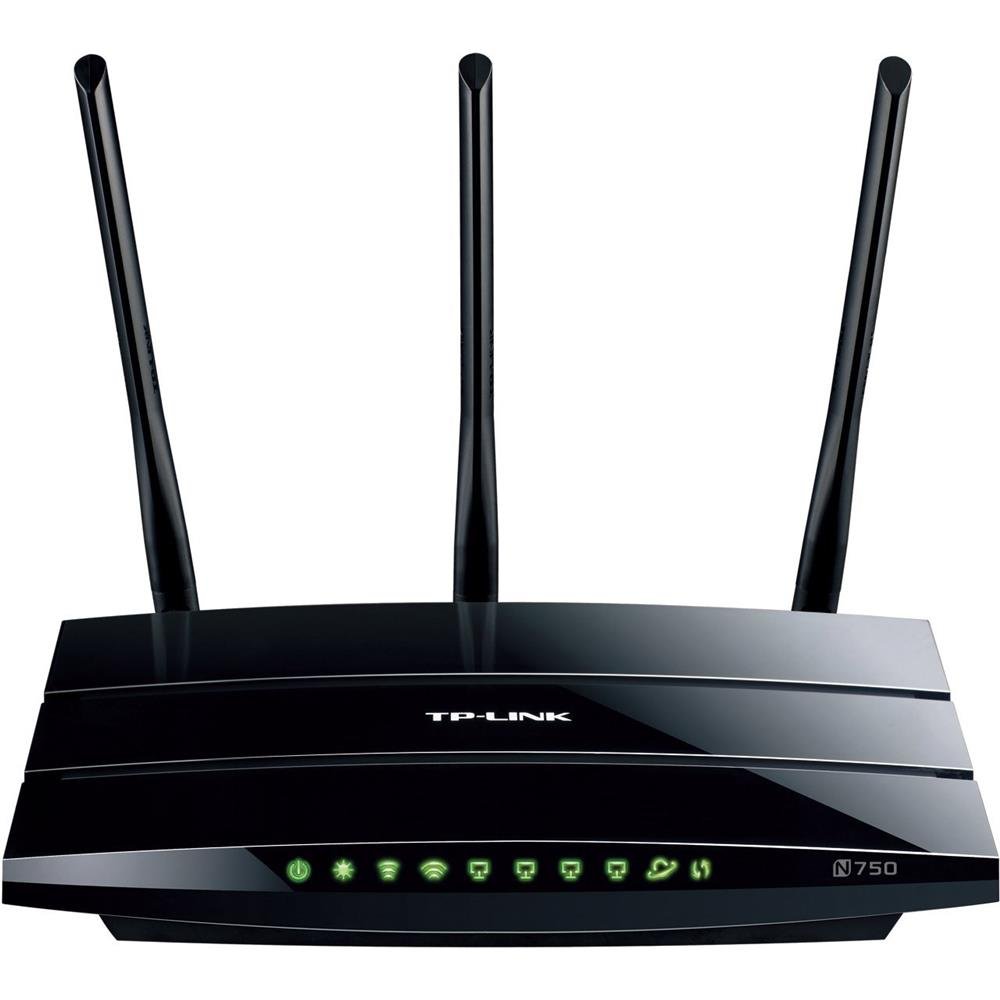
Figure 1: TP-Link TL-WDR4300 N750 Wireless Dual Band Gigabit Router. This image shows the top-down view of the black router with three detachable antennas and front-facing LED indicators.
2. Setup
2.1 Package Contents
- TP-Link TL-WDR4300 Router
- Power Adapter
- Ethernet Cable
- Quick Installation Guide
- Resource CD
2.2 Physical Connection
- Power Off: Disconnect power from your modem and router (if applicable).
- Connect Antennas: Screw the three detachable antennas onto the corresponding connectors on the rear panel of the router.
- Connect Modem: Connect an Ethernet cable from your modem's Ethernet port to the blue WAN port on the TL-WDR4300 router.
- Connect Devices: Connect your computer or other wired devices to any of the four yellow LAN ports using Ethernet cables.
- Power On: Connect the power adapter to the router's power jack and plug it into a power outlet. Power on your modem, then the router. Wait for the LED indicators to stabilize.
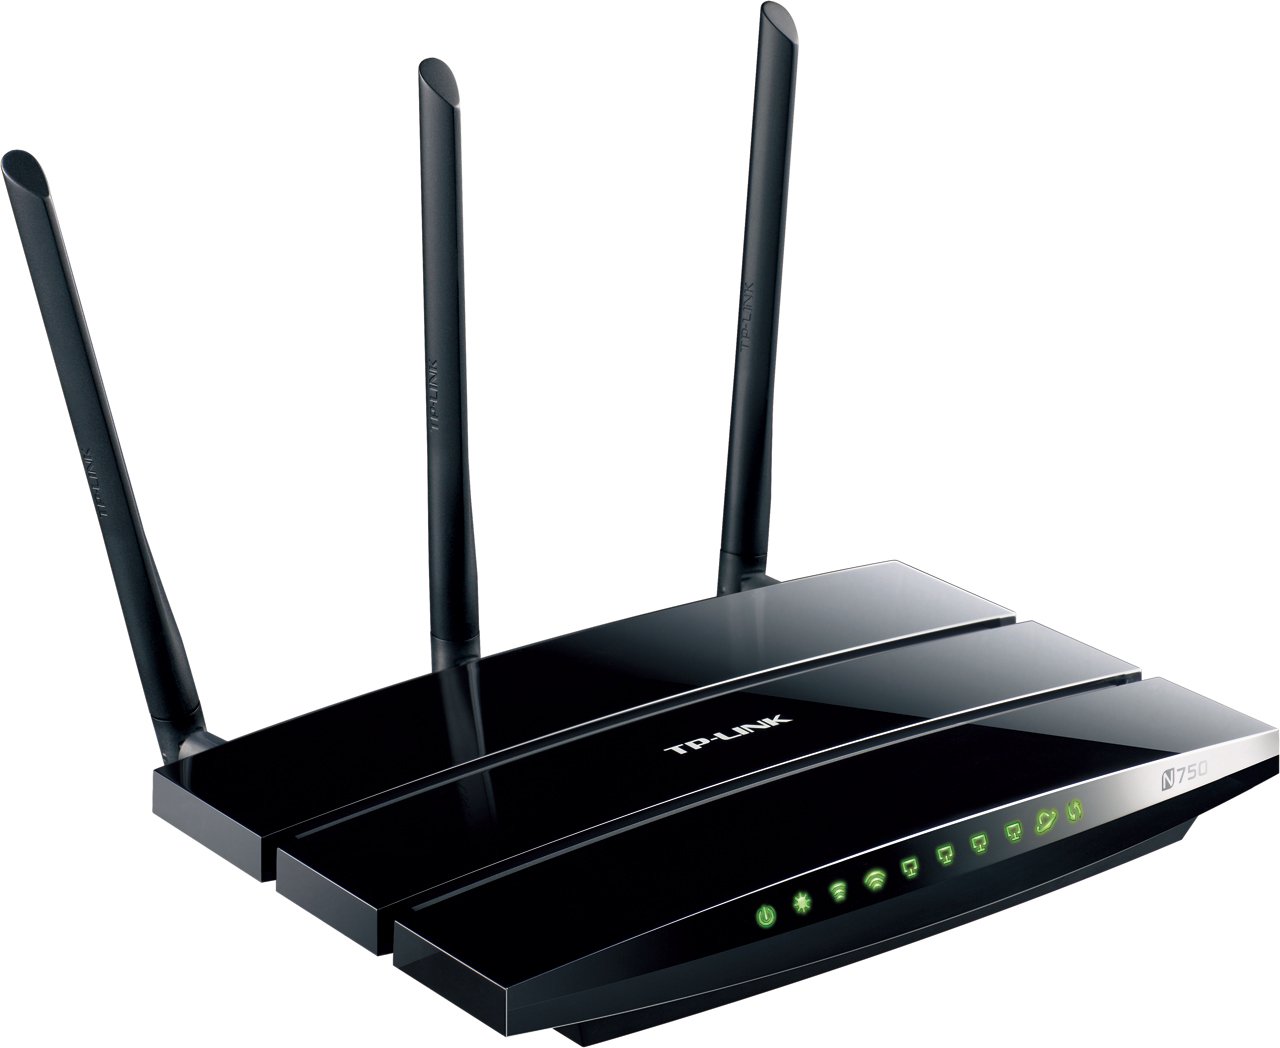
Figure 2: Rear panel connections. This image displays the rear of the router, showing the power input, WAN port (blue), four LAN ports (yellow), two USB 2.0 ports, and the three antenna connectors.
2.3 Initial Configuration (Web Interface)
- Access Router: Open a web browser on a connected computer. In the address bar, type http://tplinkwifi.net or http://192.168.0.1 (or http://192.168.1.1) and press Enter.
- Login: Enter the default username and password, which are typically admin for both. If prompted, change the default password for security.
- Run Quick Setup: Follow the on-screen instructions of the Quick Setup Wizard to configure your internet connection type and basic wireless settings.
2.4 Wireless Network Setup
The TL-WDR4300 operates on two frequency bands:
- 2.4 GHz Band: Provides wider coverage and is suitable for general internet use.
- 5 GHz Band: Offers higher speeds and less interference, ideal for online gaming and HD video streaming.
During the Quick Setup, you will set up separate SSIDs (network names) and passwords for each band. Ensure you use strong, unique passwords for both.
2.5 WPS (Wi-Fi Protected Setup)
To quickly connect WPS-compatible devices without entering a password:
- Press the WPS button on the router (usually located on the rear or side panel).
- Within two minutes, press the WPS button on your client device.
- The device will automatically connect to the wireless network.
2.6 Guest Network
The Guest Network feature provides secure Wi-Fi access for guests without sharing your main network's password or resources. This can be configured via the router's web interface under the "Guest Network" settings.
3. Operation
3.1 Dual Band Wireless Functionality
The TL-WDR4300 operates simultaneously on both 2.4 GHz and 5 GHz wireless bands. This allows for flexible network management:
- Use the 2.4 GHz band for devices that require wider range or are older, such as smartphones, tablets, and general web browsing.
- Utilize the 5 GHz band for bandwidth-intensive applications like HD video streaming, online gaming, and large file transfers, which benefit from higher speeds and reduced interference.
3.2 USB Sharing Ports
The router is equipped with two USB 2.0 ports, enabling various sharing functionalities:
- Printer Sharing: Connect a USB printer to the router to make it accessible to all connected devices on your network.
- File Sharing: Attach a USB storage device (flash drive or external hard drive) to share files and media across your local network or remotely via an FTP server.
- Media Server: Configure the router as a media server to stream content from a connected USB storage device to compatible devices (e.g., smart TVs, media players) on your network.
3.3 Gigabit Ethernet Ports
The TL-WDR4300 features one Gigabit WAN port and four Gigabit LAN ports. These ports provide high-speed wired connections, which are essential for:
- Connecting desktop computers, gaming consoles, and network-attached storage (NAS) devices.
- Ensuring optimal performance for latency-sensitive applications like online gaming and large data transfers.
3.4 IP QoS (Quality of Service)
IP QoS allows you to manage and prioritize bandwidth for specific devices or applications. This ensures that critical applications receive sufficient bandwidth, preventing network congestion and maintaining performance for all users. Configuration is available in the router's web interface.
3.5 Parental Controls
The Parental Controls feature enables you to restrict access to certain websites or limit internet usage times for specific devices on your network. This helps in managing internet access for children or employees. Settings are accessible through the router's web management page.
4. Maintenance
4.1 Firmware Updates
Regularly check for and install firmware updates from the official TP-Link website. Firmware updates can improve performance, add new features, and address security vulnerabilities. Always follow the instructions provided with the firmware update carefully to avoid damaging the device.
- Download the latest firmware for your specific model (TL-WDR4300) from the TP-Link support website.
- Access the router's web interface.
- Navigate to the "System Tools" or "Firmware Upgrade" section.
- Upload the downloaded firmware file and follow the prompts. Do not power off the router during the upgrade process.
4.2 Factory Reset
A factory reset restores the router to its default settings. This can be useful for troubleshooting persistent issues or when reconfiguring the router. There are two methods:
- Hardware Reset: With the router powered on, press and hold the Reset button (usually a small pinhole button on the rear panel) for approximately 10 seconds until the system LED flashes rapidly. Release the button and wait for the router to restart.
- Software Reset: Log in to the router's web interface, navigate to "System Tools" > "Factory Defaults," and click "Restore."
Note: Performing a factory reset will erase all custom configurations, including Wi-Fi settings and passwords.
4.3 Physical Cleaning
Keep the router clean and free from dust to ensure proper ventilation and prevent overheating. Use a soft, dry cloth to wipe the exterior. Do not use liquid cleaners or abrasive materials.
5. Troubleshooting
5.1 No Internet Access
- Check Connections: Ensure all Ethernet cables are securely connected, especially the one from your modem to the router's WAN port.
- Modem Status: Verify that your modem is working correctly and has an active internet connection.
- Router LEDs: Check the WAN LED on the router. If it's off or red, there might be an issue with the internet connection from your ISP or modem.
- Reboot: Power cycle your modem and router (unplug, wait 30 seconds, plug back in modem first, then router).
- Clone MAC Address: Some ISPs require MAC address cloning. Access the router's web interface and check WAN settings for this option.
5.2 Slow Wireless Speed
- Band Selection: Ensure devices requiring high speed are connected to the 5 GHz network.
- Interference: Move the router away from devices that emit radio frequency interference (e.g., cordless phones, microwaves, Bluetooth devices).
- Channel Optimization: In the router's wireless settings, try changing the wireless channel for both 2.4 GHz and 5 GHz bands to a less congested one.
- Router Placement: Position the router in a central location, away from obstructions, and elevate it if possible.
- Firmware: Ensure the router's firmware is up to date.
5.3 Cannot Connect to Wi-Fi
- Check Password: Verify that you are entering the correct Wi-Fi password (WPA/WPA2-PSK key).
- SSID Broadcast: Ensure the SSID (network name) is being broadcast. If hidden, manually enter the SSID.
- WPS: Try connecting using the WPS button if your device supports it.
- Security Type: Confirm that your device supports the security type configured on the router (e.g., WPA2-PSK).
- Factory Reset: If all else fails, perform a factory reset and reconfigure the router.
6. Specifications
| Feature | Detail |
|---|---|
| Brand | TP-Link |
| Model | TL-WDR4300 |
| Wireless Standards | IEEE 802.11a/b/g/n |
| Frequency | 2.4 GHz and 5 GHz (Dual-Band) |
| Data Transfer Rate | Up to 750 Mbps (300 Mbps at 2.4 GHz, 450 Mbps at 5 GHz) |
| Ethernet Ports | 1x Gigabit WAN, 4x Gigabit LAN |
| USB Ports | 2x USB 2.0 Ports |
| Antennas | 3x Detachable Dual Band Antennas |
| Dimensions (L x W x H) | 24.3 x 16.06 x 3.25 cm |
| Item Weight | 213 g |
| Voltage | 12 Volts (DC) |
7. Warranty and Support
7.1 Warranty Information
TP-Link products are covered by a limited warranty. The specific terms and duration of the warranty may vary by region and product. Please refer to the warranty card included with your product or visit the official TP-Link website for detailed warranty information applicable to your purchase.
7.2 Technical Support
For technical assistance, product registration, or to download the latest drivers and firmware, please visit the official TP-Link support website:
You may also find answers to common questions and troubleshooting tips in the FAQ section of the support website.


