Introduction
This manual provides essential information regarding the DB Electrical AMT0038 Alternator. This unit is designed to meet OEM specifications for various Ford and Mazda vehicles, ensuring reliable performance for your automotive electrical system. An alternator is a key component responsible for generating electricity to power the vehicle's electrical systems and recharge the battery while the engine is running.
Product Specifications
| Attribute | Value |
|---|---|
| Unit Type | Alternator |
| Voltage | 12V |
| Rotation | CW (Clockwise) |
| Amperage | 70A |
| Clock Position | 12 |
| Pulley Class | S3 |
| Regulator Type | IR (Internal Regulator) |
| Fan Type | IF (Internal Fan) |
| Item Weight | 12.54 pounds |
| Product Dimensions | 5.65 x 4.86 x 5 inches |
Replaces OEM Numbers:
- ARROWHEAD: AMT0038, A2T19991
- CARGO: 110664
- FORD: F02Z-10346-B, F02Z-10346-D, F02Z-10346-F
- J & N: 400-48282
- LESTER: 13297, 13347
- MAZDA: E285-18-300B, F285-18-300B, F285-18-300C, F290-18-300, F290-18-300A, F290-18-300B
- MITSUBISHI: A2T19991, A2T19991A, A2T20191, A2T20191ZC
- MOTORCRAFT: GLE-275, GLE-302
- NSA: ALT-3065
- REMY LIGHT DUTY: 14968
- UNIPOINT: ALT-3065
- VALEO: TA000A62002
Compatibility
This alternator is compatible with the following vehicle models:
- FORD: PROBE 1990-1992 (2.2L engines)
- MAZDA: 626 1990-1992 (2.2L engines), MX-6 1990-1992 (2.2L engines)
Important: Always verify part fitment with your vehicle's specific make, model, and year before purchasing and installation.
Setup and Installation
Installation of an automotive alternator requires specific tools and technical knowledge. It is highly recommended that installation be performed by a certified automotive technician to ensure proper function and safety. Incorrect installation can lead to damage to the alternator, vehicle electrical system, or personal injury.
General Installation Steps (For Professional Reference Only):
- Safety First: Disconnect the vehicle's battery (negative terminal first) to prevent electrical shorts.
- Access: Locate the existing alternator. This may require removing other components like belts, hoses, or air intake ducts.
- Disconnect Wiring: Carefully disconnect all electrical connections from the old alternator (battery cable, regulator wires). Note their positions.
- Remove Old Alternator: Loosen and remove mounting bolts. Take note of any spacers or brackets.
- Install New Alternator: Position the new DB Electrical AMT0038 alternator, ensuring proper alignment with mounting points. Secure with bolts, tightening to manufacturer specifications.
- Connect Wiring: Reconnect all electrical wires to the new alternator, ensuring secure and correct connections.
- Reinstall Components: Reattach any removed belts, hoses, or ducts. Ensure belt tension is correct.
- Reconnect Battery: Reconnect the vehicle's battery (positive terminal first, then negative).
- Test: Start the engine and check for proper charging voltage (typically 13.5V-14.5V) using a multimeter. Observe dashboard warning lights.
Warning: Always consult your vehicle's specific service manual for detailed, model-specific installation procedures and torque specifications.
Operating Principles
The DB Electrical AMT0038 Alternator operates by converting mechanical energy from the engine's crankshaft (via a drive belt) into electrical energy. This process involves a rotating magnetic field (rotor) within stationary wire coils (stator), inducing an alternating current (AC). An internal rectifier then converts this AC into direct current (DC), which is used to power the vehicle's electrical accessories (lights, radio, HVAC, etc.) and recharge the 12V battery. The internal voltage regulator maintains a stable output voltage, preventing overcharging or undercharging of the battery.
Maintenance
While alternators are generally low-maintenance components, periodic checks can help ensure their longevity and proper function:
- Belt Inspection: Regularly check the serpentine belt (or V-belt) that drives the alternator for cracks, fraying, or excessive wear. Ensure it has proper tension. A loose belt can cause slipping and reduce alternator output.
- Wiring Connections: Periodically inspect the electrical connections to the alternator for corrosion, looseness, or damage. Ensure they are clean and securely fastened.
- Battery Health: A weak or failing battery can put extra strain on the alternator. Ensure your vehicle's battery is in good condition and holds a charge properly.
- Cleanliness: Keep the alternator free from excessive dirt, oil, and debris, which can impede cooling and affect performance.
Troubleshooting
If you suspect an issue with your alternator, observe the following common symptoms:
- Battery Warning Light: The most common indicator. This light (often shaped like a battery) illuminates on your dashboard when the alternator is not charging the battery correctly.
- Dimming Lights: Headlights, dashboard lights, or interior lights appear dim, especially at idle or low RPMs.
- Electrical Component Malfunctions: Power windows operate slowly, radio cuts out, or other electrical accessories behave erratically.
- Dead Battery: If the alternator isn't charging, the battery will eventually drain, leading to a no-start condition.
- Growling or Whining Noises: Worn bearings within the alternator can produce mechanical noises.
- Burning Rubber Smell: A slipping or worn serpentine belt can cause a burning smell.
If you experience any of these symptoms, it is advisable to have your vehicle's charging system inspected by a qualified technician promptly.
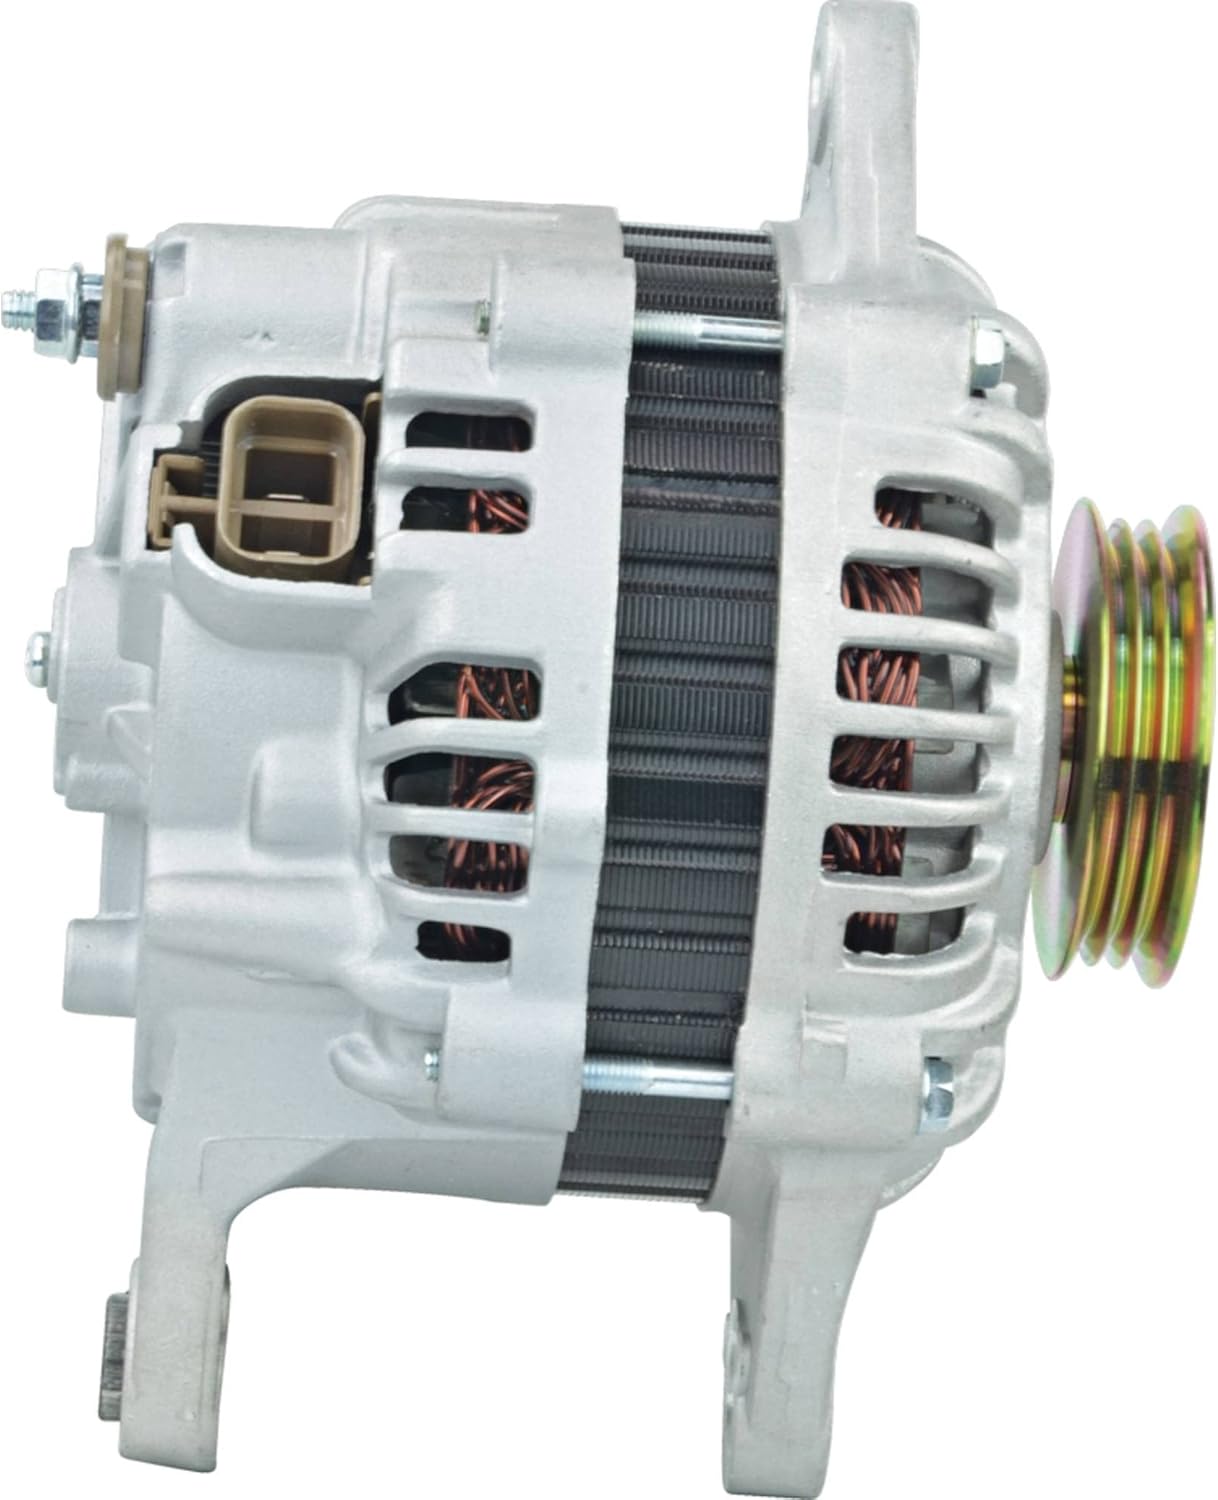
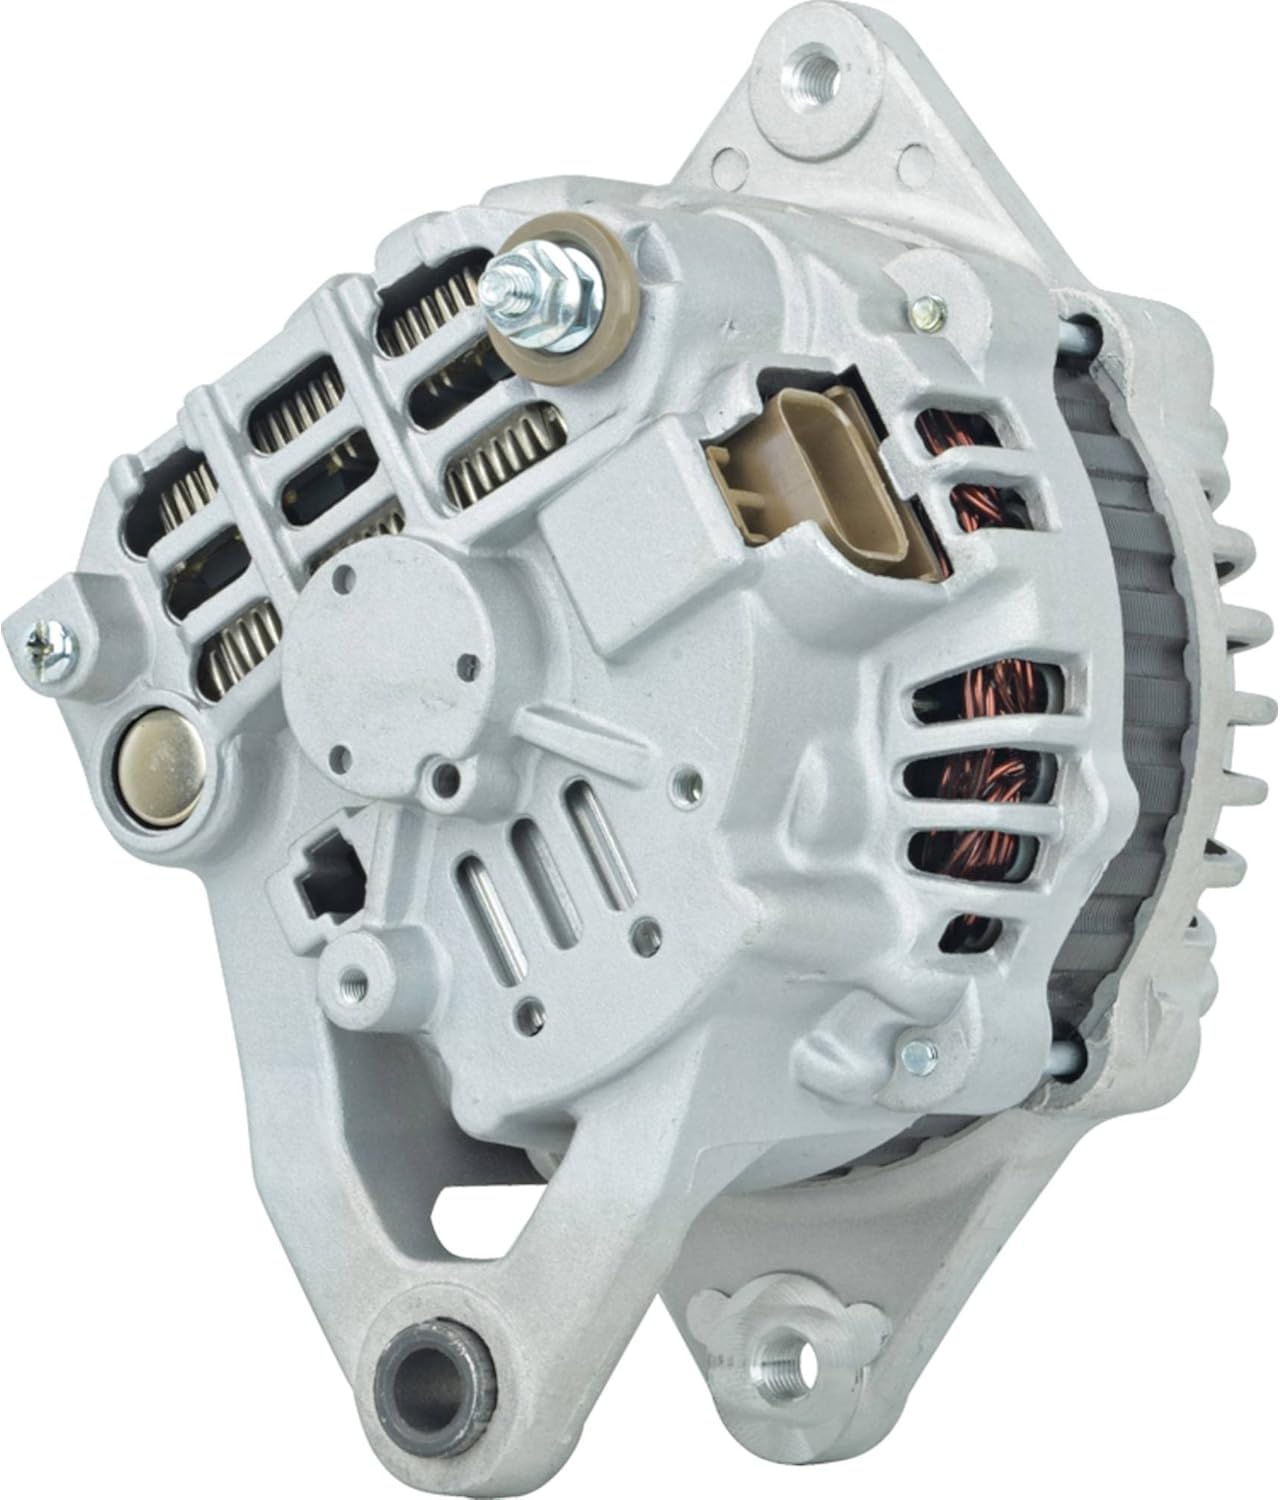
Product Images


Warranty and Support
The DB Electrical AMT0038 Alternator comes with a 1-year warranty from the date of purchase. This warranty covers defects in materials and workmanship. If the product does not function as expected within this period, please contact DB Electrical for assistance or a replacement.
For technical support or warranty claims, please refer to the contact information provided by DB Electrical at the time of purchase or visit their official website.


