
1. Introduction
This manual provides comprehensive instructions for the installation, programming, operation, and maintenance of your Weiser SmartCode 5 Electronic Deadbolt. This device offers enhanced security and convenience through its keypad entry system and SmartKey re-keying technology. Please read this manual thoroughly before installation and use to ensure proper function and longevity of your lock.
2. Package Contents
Verify that all components are present before beginning installation. If any parts are missing or damaged, contact Weiser customer support.
- Exterior Keypad Assembly
- Interior Assembly (with turn piece)
- Deadbolt Latch
- Strike Plate
- Mounting Hardware (screws, bolts)
- Keys (for traditional key entry)
- SmartKey Re-key Tool
- Installation Guide / Drilling Template (if applicable, not explicitly listed but standard)
- 4 AA Batteries (required, may not be included in all packages)
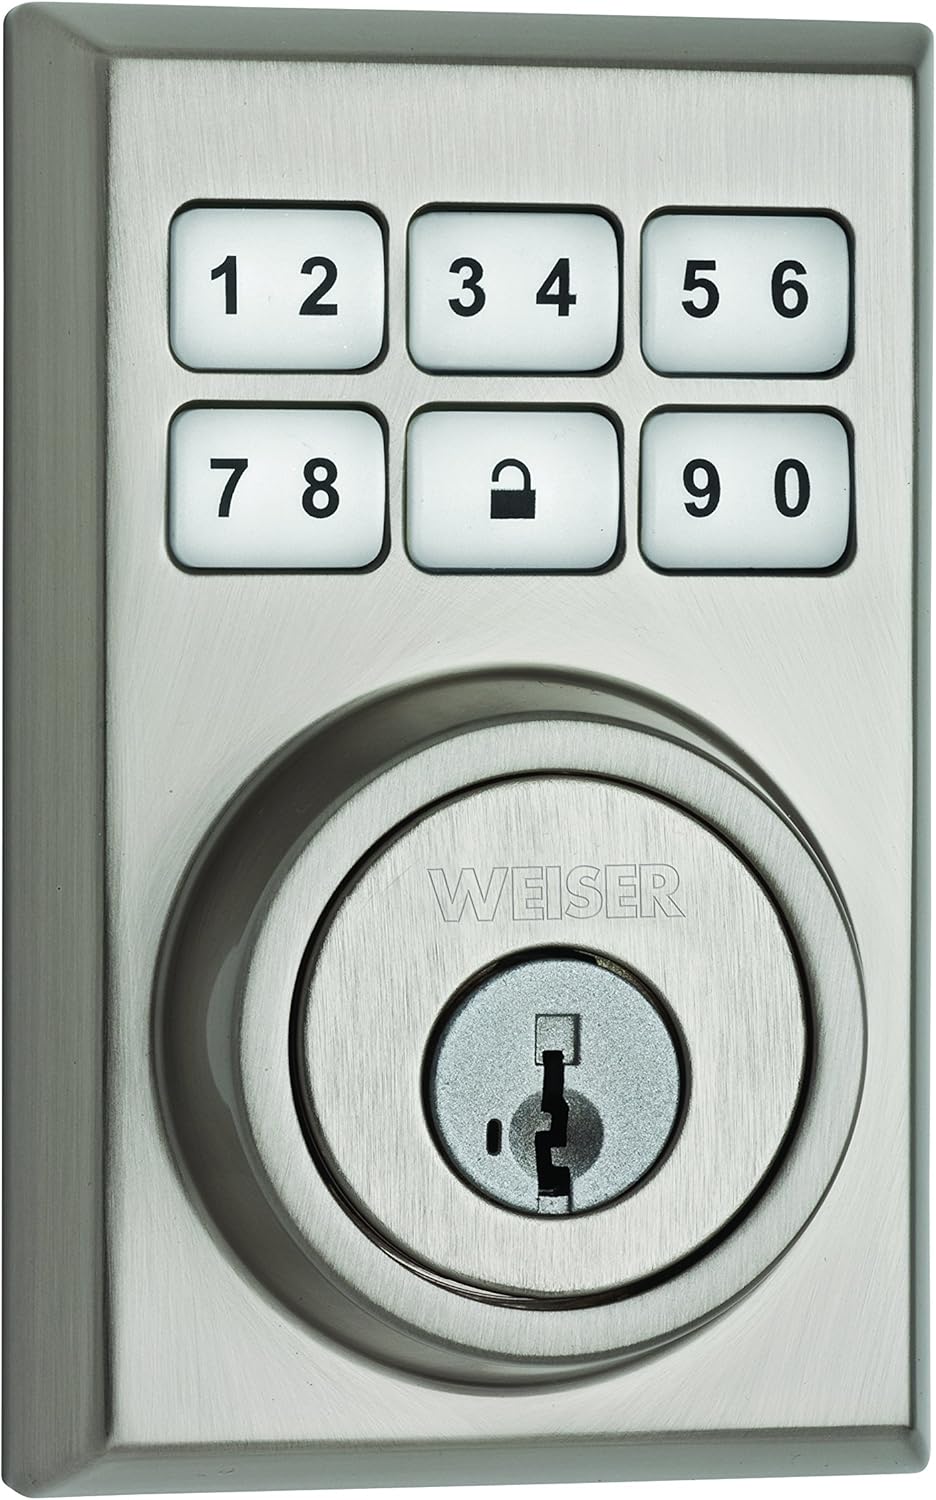
Image 2.1: Exterior Keypad Assembly. This image displays the front view of the Weiser SmartCode 5 Electronic Deadbolt, featuring the illuminated keypad with numbers 1-9 and 0, and the central key cylinder with the Weiser brand logo. The finish is satin nickel.

Image 2.2: Interior Assembly. This image shows the interior portion of the deadbolt, which includes the thumb turn for manual locking and unlocking from inside the door. The design is sleek and contemporary, matching the satin nickel finish of the exterior unit.
3. Installation
Proper installation is crucial for the optimal performance and security of your SmartCode 5 deadbolt. It is recommended to follow the detailed step-by-step instructions provided in the separate installation guide included with your product. Ensure your door preparation meets the specified dimensions for the deadbolt.
- Prepare the Door: Verify door thickness and backset. Ensure the door frame is properly prepared for the strike plate.
- Install Latch: Insert the deadbolt latch into the door edge.
- Install Exterior Assembly: Mount the exterior keypad assembly, ensuring the cable passes through the door.
- Install Interior Mounting Plate: Secure the interior mounting plate to the exterior assembly.
- Connect Cable and Install Interior Assembly: Connect the cable from the exterior assembly to the interior assembly. Mount the interior assembly onto the mounting plate.
- Install Batteries: Insert 4 AA batteries into the battery pack.
- Perform Door Handing Process: This step is critical for the lock to learn the orientation of your door. Refer to the installation guide for specific instructions.

Image 3.1: Installed Exterior View. This image shows the Weiser SmartCode 5 Electronic Deadbolt installed on a white door, viewed from the exterior. The lock's contemporary design integrates seamlessly with the door, providing a clean and modern aesthetic.
4. Setup and Programming
After installation, you will need to program user codes and can utilize the SmartKey re-keying feature.
4.1 Programming User Codes
The SmartCode 5 allows for up to sixteen customizable user codes. A master code option is also available for increased security and simplified programming.
- Access Program Button: Remove the interior cover to access the program button.
- Enter Programming Mode: Press the program button once.
- Enter New User Code: On the exterior keypad, enter a new 4-8 digit user code.
- Confirm Code: Press the Lock button (padlock icon) on the keypad.
- Test Code: Test the new user code to ensure it unlocks the deadbolt.
For adding multiple codes or using the master code feature, refer to the detailed programming instructions in your product's full manual.

Image 4.1: Interior Assembly with Cover Removed. This image displays the interior unit of the deadbolt with its cover removed, revealing the battery compartment, the program button, and DIP switches for various settings such as mute beeper and LED notification. This area is used for programming and configuration.
4.2 SmartKey Re-keying
The SmartKey Security feature allows you to re-key your lock to work with an existing Weiser key in seconds, providing convenience and enhanced security against advanced break-in techniques.
- Insert Current Key: Insert the currently working key fully into the cylinder.
- Rotate Key: Rotate the key 90 degrees clockwise.
- Insert SmartKey Tool: Insert the SmartKey re-key tool firmly into the SmartKey hole.
- Remove SmartKey Tool: Remove the SmartKey re-key tool.
- Remove Current Key: Remove the current key.
- Insert New Key: Insert the new key you wish to use.
- Rotate New Key: Rotate the new key 90 degrees counter-clockwise.
- Test New Key: Test the new key to ensure it operates the lock smoothly.

Image 4.2: SmartKey Security Features. This graphic highlights the protective features of Weiser's patented SmartKey Security, including resistance to kick-ins, bumping, picking, drilling, and sawing. It illustrates how the technology enhances the physical security of the deadbolt.
5. Operating Instructions
The SmartCode 5 deadbolt offers multiple ways to lock and unlock your door.
5.1 Unlocking the Door
- Using a User Code: Enter your 4-8 digit user code on the keypad. The deadbolt will retract, and the door can be opened.
- Using a Key: Insert the key into the cylinder and turn to unlock.
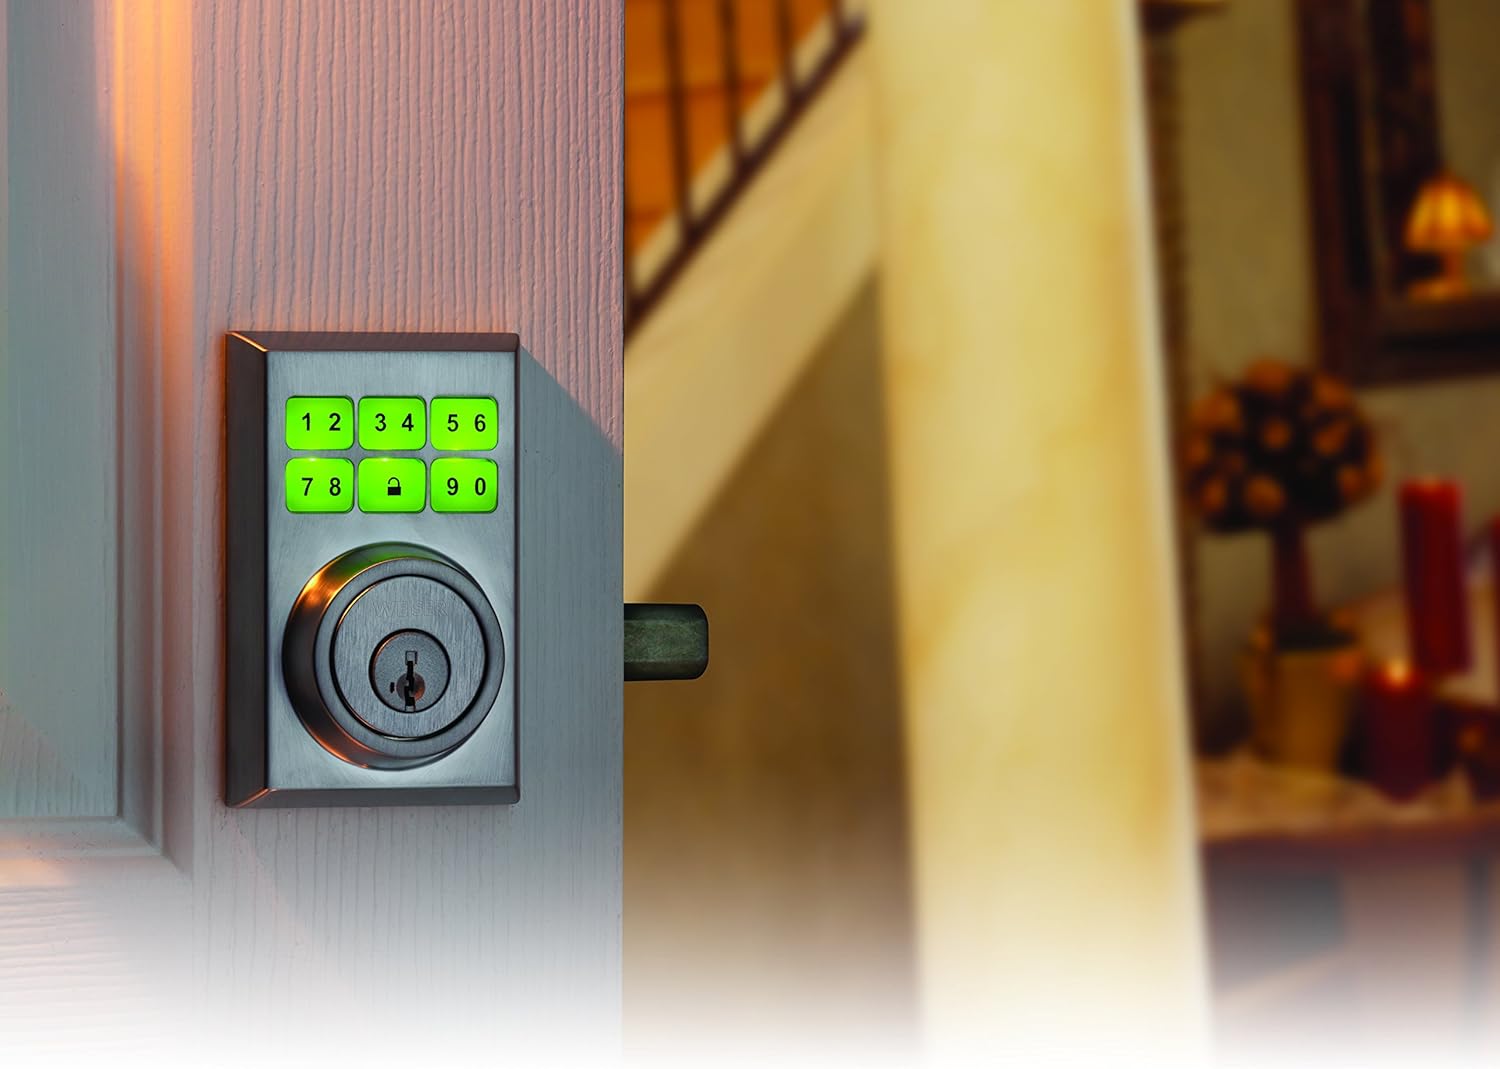
Image 5.1: Illuminated Keypad in Use. This image shows the Weiser SmartCode 5 Electronic Deadbolt's keypad with its numbers illuminated in green, indicating active use or successful code entry. This feature enhances visibility in low-light conditions.
5.2 Locking the Door
- From Exterior (Keypad): Press the Lock button (padlock icon) on the keypad. The deadbolt will extend.
- From Interior (Turn Piece): Rotate the turn piece on the interior assembly to extend the deadbolt.
- Automatic Locking: If enabled, the deadbolt will automatically lock after a set period (typically 30 seconds) after being unlocked. This feature can be configured using the DIP switches on the interior assembly (refer to Image 4.1 and your full manual).
5.3 SecureScreen™ Technology
SecureScreen™ is a patented technology designed to prevent code detection from fingerprints on the touchscreen. Before entering your code, the system prompts you to touch random digits, smudging the screen and making it difficult for unauthorized individuals to guess your code based on fingerprint residue.
5.4 9V Backup Power
In the event that the 4 AA batteries run out, a 9V battery can be used as a temporary backup power source. Touch a 9V battery to the two terminals located below the keypad on the exterior assembly to provide temporary power and enter your code.
6. Maintenance
- Battery Replacement: The lock will provide a low battery warning (e.g., flashing light, audible beeps). Replace all four AA batteries promptly to ensure continuous operation. Use high-quality alkaline batteries.
- Cleaning: Clean the keypad and lock surfaces with a soft, damp cloth. Avoid abrasive cleaners or solvents, which can damage the finish or electronic components.
- Lubrication: Periodically lubricate the deadbolt latch mechanism with a silicone-based lubricant to ensure smooth operation. Do not lubricate the key cylinder unless specifically instructed by Weiser support.
7. Troubleshooting
| Problem | Possible Cause | Solution |
|---|---|---|
| Lock does not respond to keypad entry. | Dead batteries; incorrect code entered; lock in programming mode. | Replace batteries; ensure correct code is entered; exit programming mode. Use 9V backup if needed. |
| Deadbolt does not extend or retract fully. | Misalignment of lock components; door frame obstruction; low batteries. | Check alignment of strike plate and latch; ensure door closes freely; replace batteries. Perform door handing process again. |
| Keypad lights up but code does not work. | Incorrect user code; lock is jammed. | Verify user code; check for obstructions in the deadbolt path. |
| Low battery indicator is active. | Batteries are low. | Replace all four AA batteries immediately. |
If you encounter issues not listed here or if the suggested solutions do not resolve the problem, please contact Weiser customer support for further assistance.
8. Specifications
- Model: Weiser SmartCode 5 Electronic Deadbolt (9GED14900-018)
- Type: Single Cylinder Electronic Deadbolt
- Finish: Satin Nickel
- Material: Metal
- Dimensions: Approximately 8.89 x 13.97 x 25.4 cm (3.5 x 5.5 x 10 inches)
- Weight: Approximately 1.36 kg (3 lbs)
- Power Source: 4 AA Batteries (required)
- Backup Power: 9V Battery (for temporary use)
- User Codes: Up to 16 customizable codes
- Special Features: Keyless entry, SmartKey Security, SecureScreen Technology, Master Code option
9. Warranty and Support
Weiser products are backed by a limited lifetime mechanical and finish warranty, and a 1-year electronics warranty. For specific warranty details, please refer to the warranty card included with your product or visit the official Weiser website. For technical support, replacement parts, or further assistance, please contact Weiser customer service.
Weiser Customer Support: Refer to your product packaging or the official Weiser website for current contact information.


