Introduction
Thank you for choosing the Hifonics Zeus ZRX1000.1D Mono Class D Car Audio Amplifier. This amplifier is designed to provide powerful and clear audio performance for your vehicle's sound system. This manual provides essential information for proper installation, operation, and maintenance to ensure optimal performance and longevity of your amplifier.
Safety Information
Please read all instructions carefully before installing and operating your amplifier. Failure to follow these guidelines may result in damage to the amplifier, vehicle, or personal injury.
- Professional Installation Recommended: For best results and safety, professional installation by an authorized Hifonics dealer is highly recommended.
- Power Connections: Always disconnect the vehicle's battery negative terminal before making any power connections. Ensure all power and ground wires are securely connected to prevent shorts and fire hazards.
- Proper Fusing: Use the correct fuse rating as specified for the amplifier. Incorrect fusing can lead to damage or fire.
- Ventilation: Mount the amplifier in a location that allows for adequate air circulation to prevent overheating. Avoid mounting in enclosed spaces without ventilation.
- Avoid Moisture: Do not expose the amplifier to moisture or water.
- Volume Levels: Prolonged exposure to high volume levels can cause hearing damage. Adjust volume responsibly.
Product Overview
The Hifonics Zeus ZRX1000.1D is a 1000W Mono Class D amplifier featuring a 4-way system protection circuitry to safeguard against overload, short circuits, thermal issues, and DC offset. Its robust design ensures reliable performance for driving subwoofers.
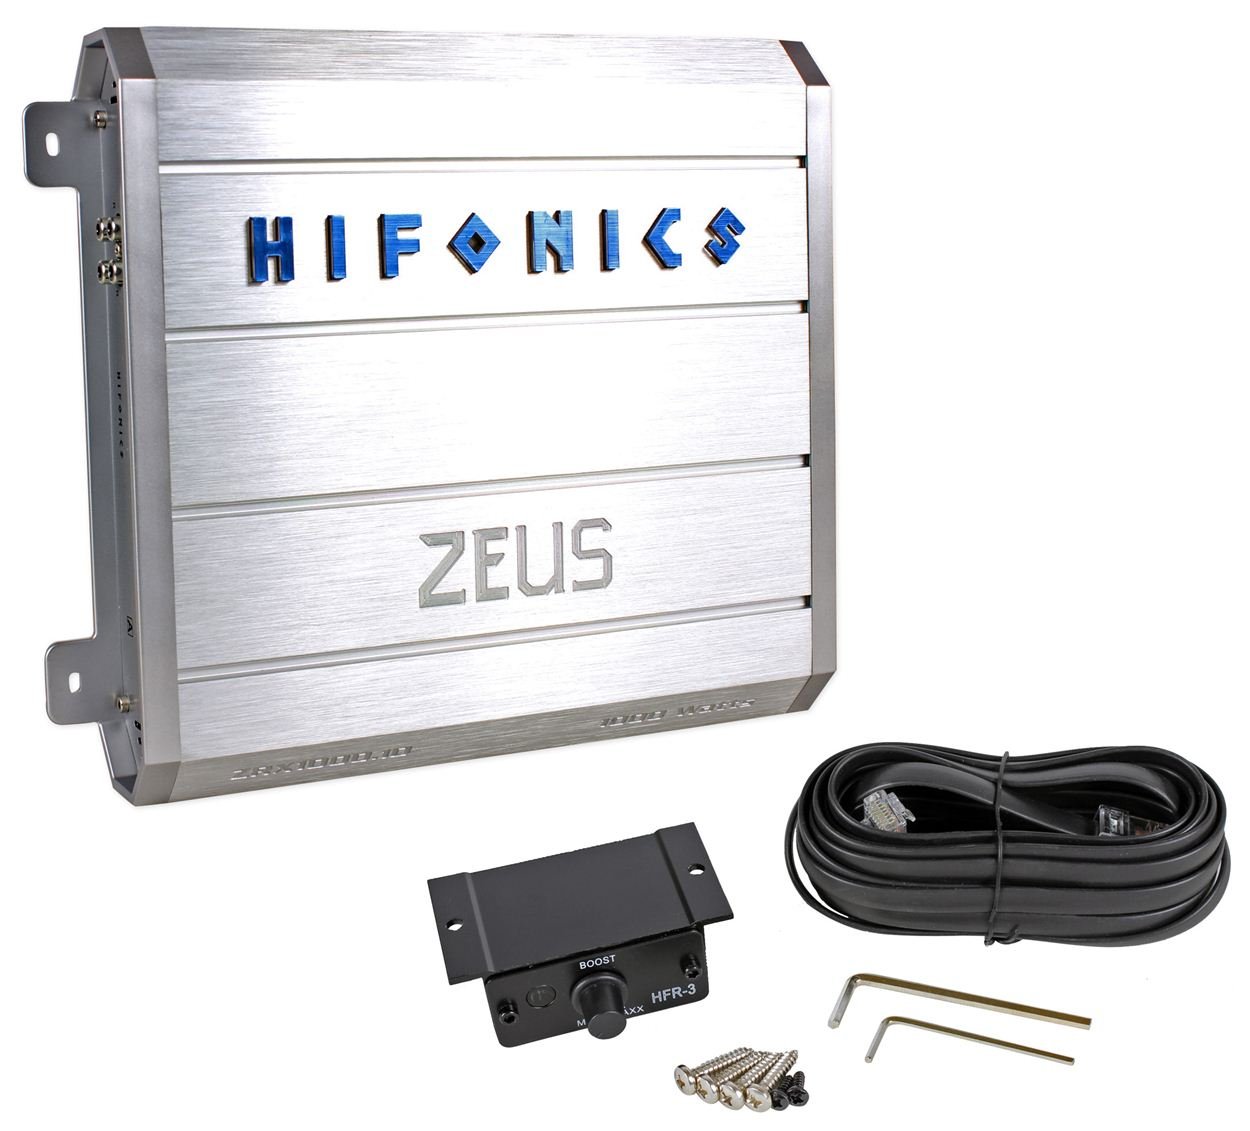
Figure 1: Top view of the Hifonics Zeus ZRX1000.1D amplifier, showcasing its silver finish and Hifonics branding.
Control Panel Features

Figure 2: Input and control panel of the amplifier, showing RCA inputs, gain control, bass EQ, remote port, subsonic filter, and low pass filter controls.
- OUTPUT/INPUT (RCA): RCA jacks for audio signal input and output.
- LEVEL: Gain control knob to match the output of your source unit.
- BASS EQ: Bass equalization control for boosting low frequencies.
- REMOTE: Port for connecting an optional remote bass level control.
- SUB SONIC: Subsonic filter control to remove ultra-low frequencies below the audible range.
- LOW PASS: Low pass filter control to allow only low frequencies to pass to the subwoofer.
- POWER/PROTECT LEDs: Indicators for power status and protection mode.
Power and Speaker Terminal Features

Figure 3: Power and speaker output panel of the amplifier, displaying power input terminals (GND, REM, BATT+12V), fuse slot, and speaker output terminals.
- POWER INPUT (GND, REM, BATT+12V): Terminals for ground, remote turn-on, and 12V battery connections.
- FUSE: Slot for the main power fuse.
- SPEAKER OUTPUT: Terminals for connecting your subwoofer(s).
Setup and Installation
Proper installation is crucial for the performance and safety of your amplifier. If you are unsure about any steps, consult a professional installer.
Mounting the Amplifier
- Choose a mounting location that is dry, well-ventilated, and away from direct sunlight or heat sources.
- Ensure the mounting surface is sturdy enough to support the amplifier's weight.
- Allow at least 2-3 inches of space around the amplifier for proper heat dissipation.
- Use the provided mounting hardware to secure the amplifier firmly.
Wiring Connections
Before making any connections, disconnect the negative terminal of your vehicle's battery.
- Ground (GND) Connection: Connect a heavy-gauge wire from the amplifier's GND terminal to a clean, unpainted metal surface on the vehicle's chassis. Ensure a solid, low-resistance connection.
- Remote (REM) Turn-On Connection: Connect a remote turn-on wire from your head unit's remote output to the amplifier's REM terminal. This wire turns the amplifier on and off with your head unit.
- Battery (+12V) Connection: Connect a heavy-gauge power wire from the amplifier's BATT+12V terminal directly to the positive terminal of your vehicle's battery. Install an appropriate fuse holder with the correct fuse rating (e.g., 80A) within 18 inches of the battery.
- RCA Input Connection: Connect RCA cables from your head unit's subwoofer or full-range pre-outs to the amplifier's INPUT RCA jacks.
- Speaker Output Connection: Connect your subwoofer(s) to the amplifier's SPEAKER OUTPUT terminals. Ensure correct polarity (+ to + and - to -) for optimal sound. Refer to your subwoofer's specifications for proper wiring configurations (e.g., parallel or series for multiple subwoofers) to achieve the desired impedance.
Operating Instructions
Once all connections are made and verified, reconnect the vehicle's battery negative terminal. Turn on your head unit to power up the amplifier.
Adjusting Controls
- LEVEL (Gain) Control: Start with the LEVEL control set to minimum. Play a familiar track with a strong bass signal. Slowly increase the LEVEL control until you hear distortion, then back it off slightly. This matches the amplifier's input sensitivity to your head unit's output.
- LOW PASS Filter: Adjust the LOW PASS filter to the desired crossover frequency, typically between 80Hz and 120Hz for subwoofers. This ensures only low frequencies are sent to the subwoofer.
- SUB SONIC Filter: Set the SUB SONIC filter to a frequency below your subwoofer's resonant frequency or port tuning frequency (if applicable). This protects the subwoofer from playing frequencies too low for it to reproduce effectively, improving sound quality and preventing damage. A common setting is 25Hz-35Hz.
- BASS EQ: Use the BASS EQ control to fine-tune the bass response. Start with it at 0dB and adjust incrementally if more bass emphasis is desired. Excessive bass boost can lead to distortion and potential damage.
- Remote Bass Control (Optional): If connected, the remote bass control allows for convenient adjustment of the bass level from the driver's seat.
Maintenance
The Hifonics Zeus ZRX1000.1D amplifier requires minimal maintenance.
- Cleaning: Periodically wipe the amplifier's exterior with a soft, dry cloth to remove dust. Do not use harsh chemicals or abrasive cleaners.
- Connection Checks: Annually, inspect all power, ground, remote, and speaker connections to ensure they are secure and free from corrosion. Loose connections can cause performance issues or damage.
- Ventilation: Ensure that the amplifier's cooling fins are not obstructed by debris or other objects to maintain proper airflow.
Troubleshooting
If you experience issues with your amplifier, refer to the following troubleshooting guide before contacting support.
| Problem | Possible Cause | Solution |
|---|---|---|
| No Power (POWER LED off) | Blown fuse, loose power/ground/remote wire, no remote signal. | Check amplifier and inline fuses. Verify all power, ground, and remote connections are secure. Ensure head unit is on and sending a remote signal. |
| Amplifier in Protection Mode (PROTECT LED on) | Short circuit in speaker wiring, amplifier overheating, impedance too low, DC offset. | Check speaker wires for shorts to ground or each other. Ensure proper ventilation. Verify speaker impedance matches amplifier's capabilities. Allow amplifier to cool down. |
| No Sound Output | No input signal, incorrect gain setting, faulty RCA cables, speaker wiring issues. | Verify RCA cables are connected and functional. Adjust LEVEL control. Check speaker connections and ensure they are not reversed or loose. |
| Distorted Sound | Gain set too high, improper crossover settings, poor ground connection, damaged speakers. | Reduce LEVEL control. Adjust LOW PASS and SUB SONIC filters. Check ground connection for tightness. Inspect speakers for damage. |
Specifications
The following are key specifications for the Hifonics Zeus ZRX1000.1D amplifier:
- Model: ZRX1000.1D
- Type: Mono Class D Car Audio Amplifier
- Power Output: 1000 Watts (peak/max, refer to product documentation for RMS ratings)
- Protection Circuitry: 4-Way System Protection (Overload, Short Circuit, Thermal, DC Offset)
- Filters: Adjustable Low Pass Filter, Adjustable Sub Sonic Filter
- Equalization: Adjustable Bass EQ
- Input Sensitivity: Adjustable Level Control
- Remote Control: Wired Remote Bass Level Control Port
- Date First Available: April 10, 2012
Warranty and Support
Hifonics products are designed and manufactured to the highest quality standards. This amplifier is covered by a limited warranty provided by the manufacturer. Please refer to the warranty card included with your product for specific terms, conditions, and duration.
For technical support, service, or warranty claims, please contact Hifonics customer service or visit their official website. Keep your purchase receipt as proof of purchase for warranty validation.


