1. Introduction
The Rowlinson Timber Coldframe (Model COLDFR2) is designed to provide a protected environment for young plants, seedlings, and tender crops. Its pressure-treated timber frame ensures durability and resistance to rot, while the clear glazing allows for optimal light transmission. The coldframe features two independently opening lids, offering flexible ventilation and easy access for plant care.
This manual provides essential information for the assembly, operation, and maintenance of your coldframe to ensure its longevity and effective use.
2. Safety Information
- Always wear appropriate safety gear, such as gloves and eye protection, when handling and assembling the coldframe components.
- Be aware of sharp edges on timber or glazing components during assembly.
- Follow the manufacturer's instructions for proper assembly and anchoring to prevent damage or injury from tipping or collapse.
- Position the coldframe in a location that receives adequate sunlight but is also protected from strong winds.
- Keep the coldframe away from direct, intense sunlight during peak summer hours to prevent overheating of plants, unless specifically designed for such conditions.
- Do not use harsh chemicals or solvents near the coldframe, as they may damage the timber or glazing and contaminate plants.
- Always follow local regulations and guidelines for coldframe installation and maintenance.
- Ensure children and pets are supervised around the coldframe, especially when lids are open.
3. Package Contents
Before beginning assembly, ensure all parts are present and undamaged. If any parts are missing or damaged, contact Rowlinson customer support.
- Pressure-treated timber frame components
- Clear perspex glazing panels (for two lids)
- Two independently opening lids
- Hinges and associated fasteners
- Lid stays with two height settings
- Assembly screws and hardware
- Instruction leaflet (if included in physical package)
4. Setup & Assembly
Assembly of the Rowlinson Timber Coldframe typically requires basic hand tools such as a screwdriver and possibly a drill for pilot holes. While specific instructions are usually provided with the physical product, the general steps are as follows:
- Unpack Components: Carefully unpack all timber sections, glazing panels, and hardware. Check against the package contents list.
- Assemble Base Frame: Connect the side and end timber panels to form the rectangular base of the coldframe using the provided screws. Ensure all joints are secure and square.
- Attach Lids: Position the two lid frames onto the top of the base frame. Attach the hinges to the back edge of the lids and the corresponding top edge of the coldframe base. Ensure the lids open and close smoothly.
- Install Glazing: Carefully insert the clear perspex glazing panels into the lid frames. Secure them according to the specific design, often using small battens or clips.
- Install Lid Stays: Attach the lid stays to the inside of the coldframe and the underside of each lid. These allow the lids to be propped open at different heights for ventilation.
- Placement: Choose a level, well-drained site in your garden that receives appropriate sunlight for the plants you intend to grow.
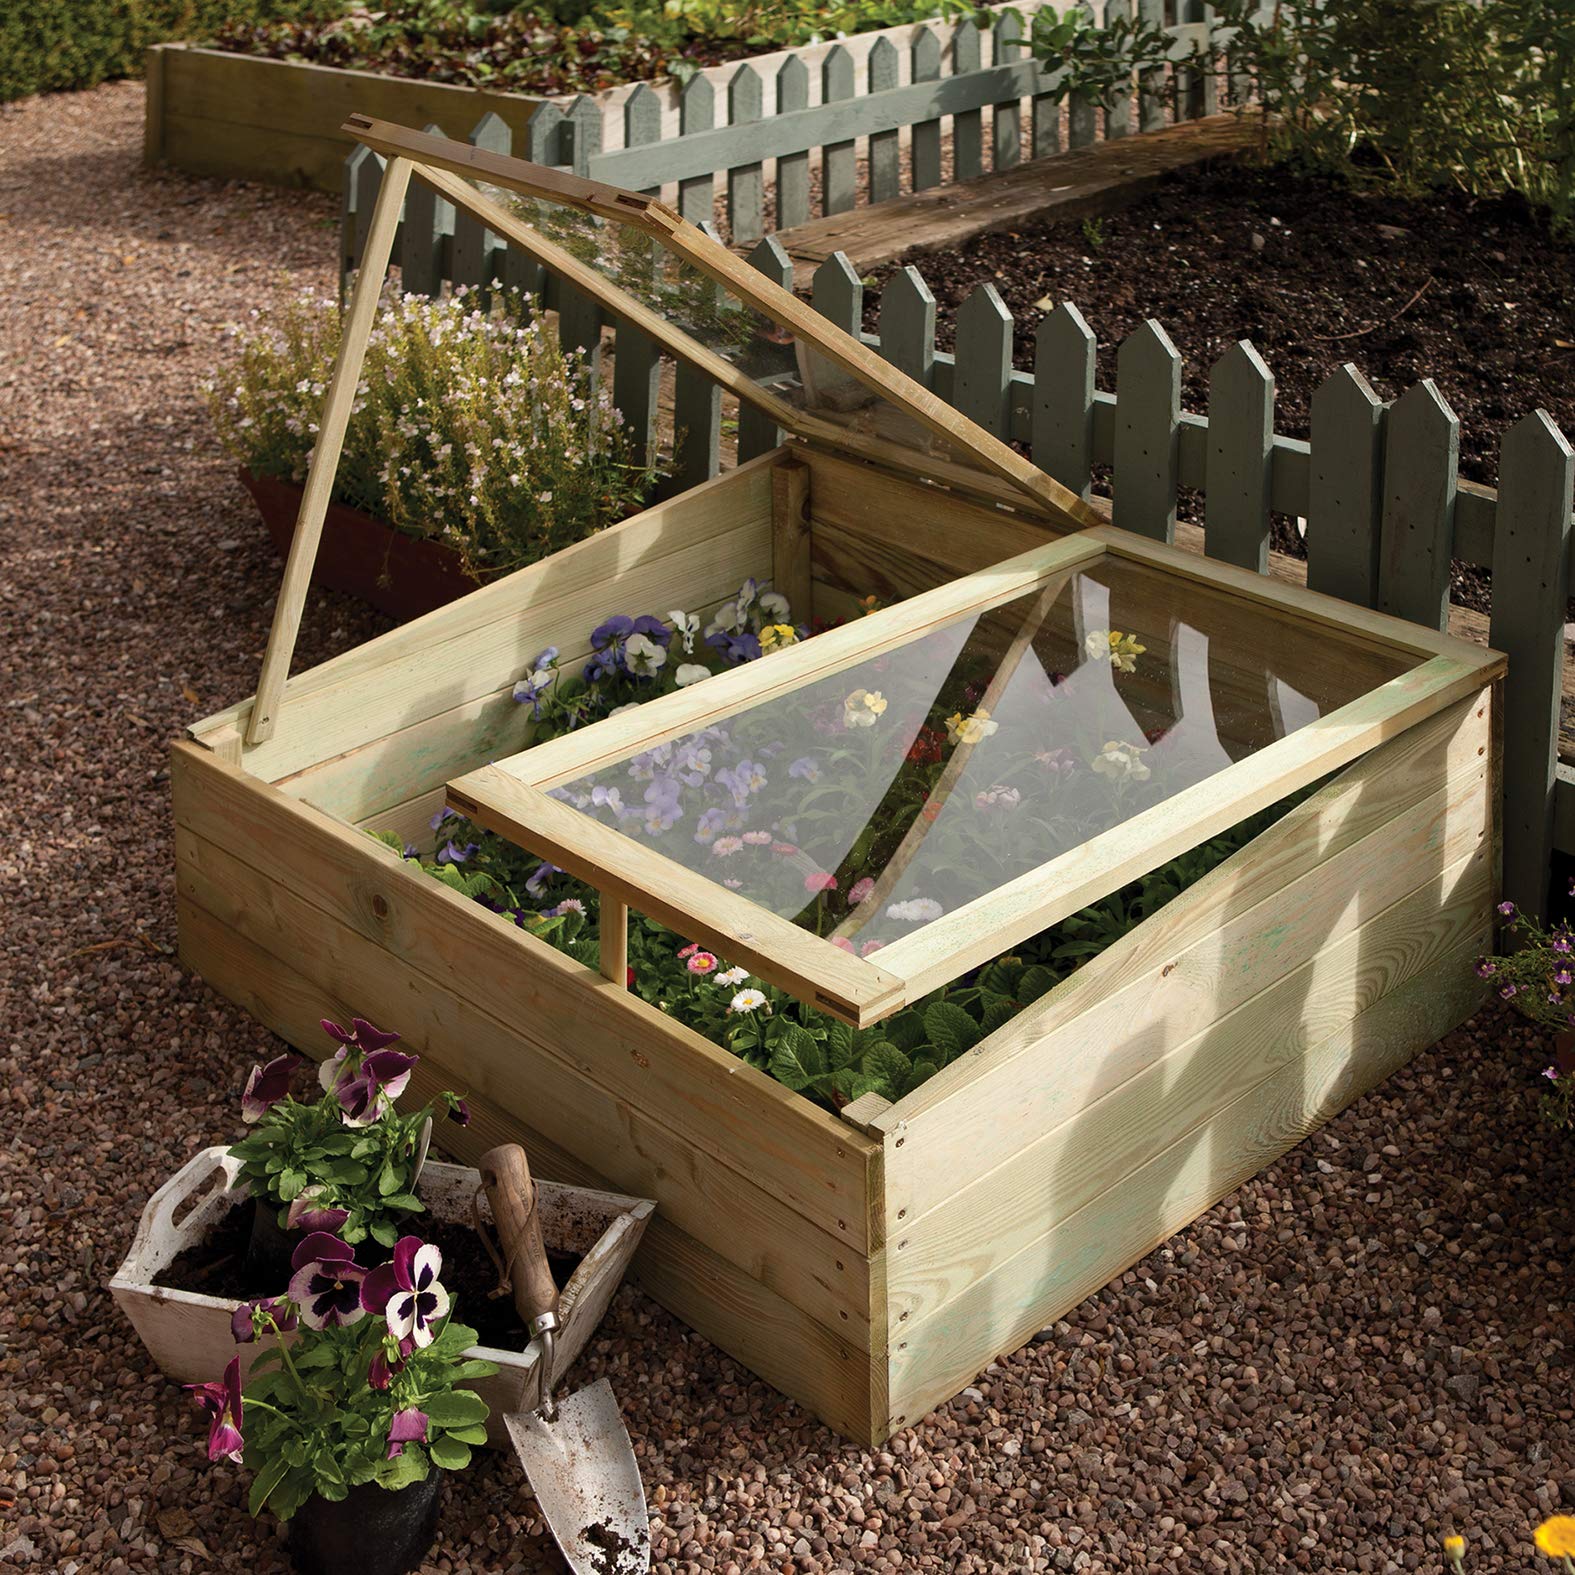
Figure 1: An assembled Rowlinson Timber Coldframe, constructed from pressure-treated timber, featuring two independently opening lids with clear glazing. The coldframe is shown in a garden setting, protecting young plants.
5. Operating Instructions
The coldframe is designed to extend the growing season and protect plants from adverse weather conditions.
- Planting: Place young plants, seedlings, or tender crops directly into the soil within the coldframe or keep them in pots.
- Ventilation: The two independently opening lids allow for controlled ventilation. On warm days, prop the lids open using the lid stays to prevent overheating and ensure air circulation. Adjust the opening height based on external temperature and plant needs.
- Protection: Close the lids completely during cold nights, frosts, heavy rain, or strong winds to protect plants.
- Watering: Water plants as needed. The lids can be opened for easy access.
- Hardening Off: Use the coldframe to gradually acclimatize plants grown indoors to outdoor conditions before permanent planting. Start by opening the lids for a few hours each day, gradually increasing the duration.
6. Maintenance
- Cleaning: Regularly clean the perspex glazing with a soft cloth and mild soapy water to ensure maximum light penetration. Avoid abrasive cleaners.
- Timber Care: Although the timber is pressure-treated for rot resistance, periodic inspection for signs of wear or damage is recommended. Re-apply a suitable timber preservative if necessary to extend its lifespan.
- Hardware Check: Periodically check all screws, hinges, and lid stays to ensure they are secure. Tighten any loose fasteners.
- Winter Storage: If not used during winter, ensure the coldframe is clean and dry before storing. Alternatively, it can be used to protect dormant plants or store garden tools.
7. Troubleshooting
| Problem | Possible Cause | Solution |
|---|---|---|
| Plants wilting or scorching | Insufficient ventilation; too much direct sun. | Ensure lids are propped open during warm periods. Consider partial shading during intense midday sun. |
| Plants not growing well | Lack of light; insufficient water; poor soil quality; too cold. | Ensure glazing is clean. Check soil moisture. Improve soil if necessary. Ensure lids are closed during cold periods. |
| Lids not staying open | Lid stays incorrectly installed or damaged. | Check installation of lid stays. Replace if damaged. |
| Water pooling inside | Poor drainage in the coldframe's base or surrounding area. | Ensure the coldframe is on a well-drained site. Improve soil drainage if planting directly into the ground. |
8. Specifications
- Model: COLDFR2
- Brand: Rowlinson
- Color: Natural
- Product Dimensions (L x W x H): 40.16" x 31.89" x 14.96" (102cm x 81cm x 38cm approx.)
- Item Weight: 13 Kilograms
- Frame Material: Pressure-Treated Wood
- Cover Material: Plastic (Perspex Glazing)
- Nominal Wall Thickness: 19 millimeters
- Number of Doors/Lids: 2 (Independently opening)
- Number of Vents: 2 (via adjustable lids)
- Closure Type: Hinge
9. Warranty & Support
Rowlinson products are manufactured to high standards. For specific warranty details, please refer to the documentation included with your purchase or visit the official Rowlinson website. For technical support, missing parts, or warranty claims, please contact Rowlinson customer service directly.
Note: Rowlinson does not deliver to certain postcode areas (BT, GY, HS, IM, JE, KW, PA (20-78), ZE, PO (30-40)). This information is for delivery purposes and does not affect product functionality or warranty.


